Affiliate disclosure: As an Amazon Associate I earn from qualifying purchases. This article may contain affiliate links, and Bay & Bench may earn a commission at no extra cost to you. Read our full Affiliate Disclosure.
A garage workbench height guide starts with your elbow and the work you plan to do. Product listing numbers come later. A surface that feels right for sanding a small part may feel too tall when you lean into a hand plane. The same bench can also feel too high after a benchtop machine, vise, or project platform raises the point where your hands work. Start by measuring your standing elbow height, then compare that measurement with the task. Build a temporary mockup before you buy or cut anything. Ten minutes spent marking, clamping, and applying gentle pressure at a trial height tells you more than a generic chart. This guide gives you a repeatable way to find a useful range while keeping garage clearance, seated work, and other users in the decision.
Quick answer
Measure from the floor to the point of your relaxed elbow while wearing your usual shop shoes. For close visual work, test a working point near or slightly above elbow height. For light assembly, start a few inches below it. Forceful work usually needs a lower point so you can use controlled body weight. Measure both the bare bench and the top of the workpiece or tool. Mock up two or three heights and use each for the tasks you actually perform.
Garage workbench height guide: begin at the elbow
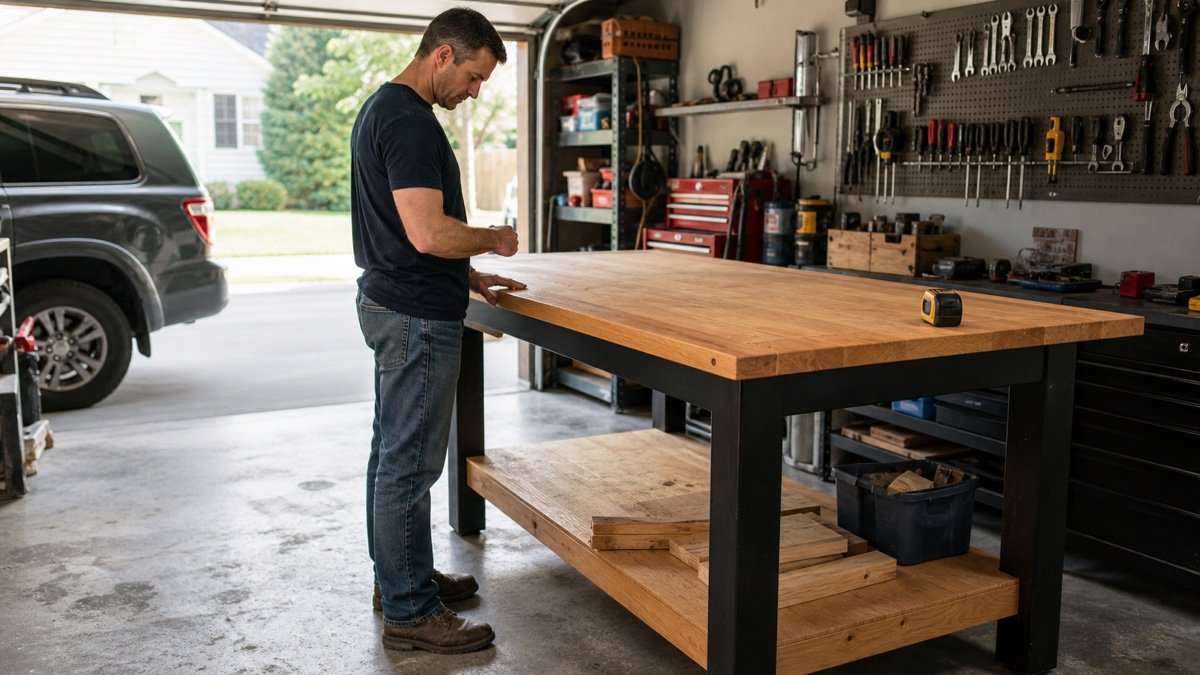
Stand on the floor where the bench will sit and wear the shoes you normally use in the garage. Let both arms hang loose, then bend one elbow to roughly a right angle without lifting the shoulder. Ask someone to measure from the floor to the point of the elbow. Repeat the measurement twice and use the average if the numbers differ.
This is a reference point, not the finished bench height. Your hand may work above the bare top because of a thick board, a vise, a cutting mat, or a machine table. Subtract that added height when choosing the bench itself. A 36 inch bench under a 4 inch project can put your hands at a 40 inch working level.
Measure the floor, too. A sloped slab can make one end of a long bench sit higher relative to your body. If you have not mapped the room, use the garage measuring guide to record floor changes, outlets, doors, and vehicle movement before settling on a location.
Match the working point to the task
Ergonomic guidance treats task type as part of the height decision. The Canadian Centre for Occupational Health and Safety places precision work about 2 inches above elbow height, light work about 2 to 4 inches below, and heavy downward work much lower. The UK Health and Safety Executive uses similar task based bands and recommends adjustable surfaces where practical.
| Task at the bench | Published reference relative to elbow | What to test at home |
|---|---|---|
| Close inspection or fine assembly | About 2 inches above in CCOHS guidance; 2 to 4 inches above in HSE guidance | Raise the workpiece until you can see it without lifting your shoulders |
| Light assembly or mechanical work | About 2 to 4 inches below elbow height | Check for relaxed shoulders and a straight wrist |
| Forceful downward work | About 8 to 16 inches below in CCOHS guidance; up to 10 inches below in HSE guidance | Start conservatively and test the exact motion with light force |
Those ranges come from workplace ergonomics, not a promise that every point in the band will suit a home shop. Use them to choose trial heights, then let your posture and task settle the result.
Count the workpiece, vise, and machine
The height that matters is where your hands meet the work. A thick butcher block top is already part of the published bench height, but anything placed on top raises the working point again. A benchtop planer, drill press table, carving platform, machinist vise, or tall assembly can add several inches.
List the five tasks you do most often. For each one, measure the typical vertical distance between the bench and your hands. If the installed vise jaw and clamped part sit 5 inches above the top, record a 5 inch rise. Subtract that rise from your preferred hand height to estimate the bare bench height for that task.
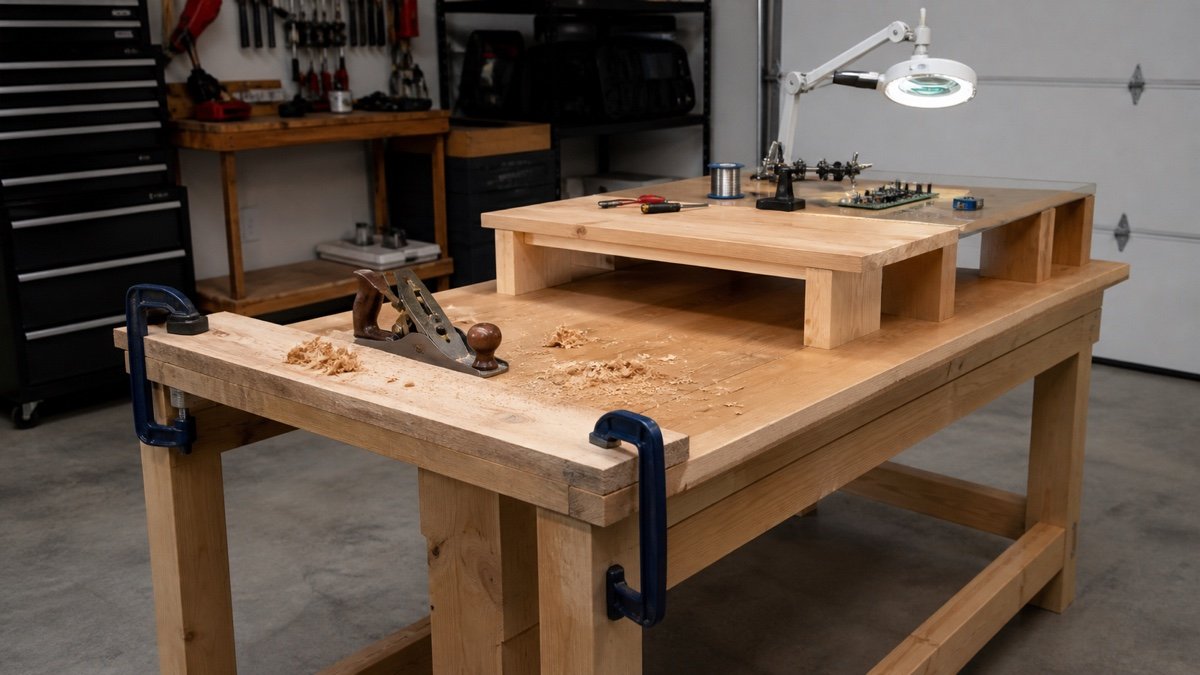
One surface will not land perfectly for every job. That is normal. Keep a lower main top for clamping and forceful work, then add a stable removable platform for soldering, model work, sharpening, or close inspection. Follow the platform maker’s instructions or build it so it cannot slide, rack, or tip. A loose stack of scraps is not a working platform.
Run a temporary height test before buying
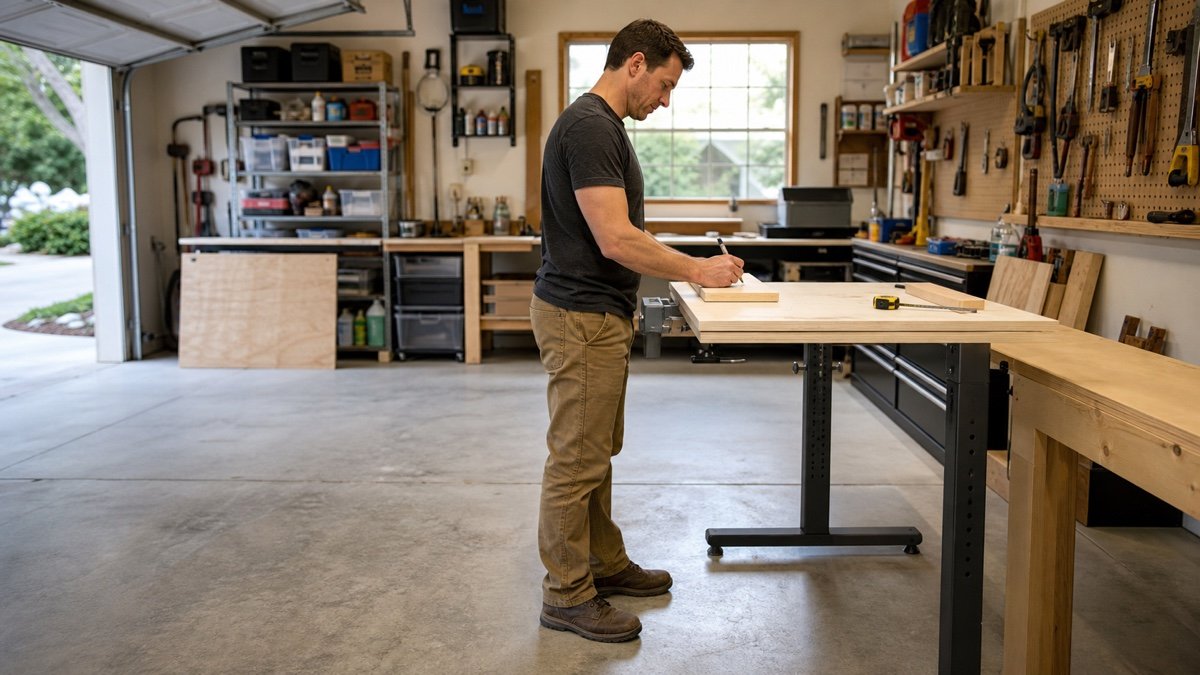
Create trial heights with a sturdy table plus a securely supported sheet of plywood, or use an adjustable bench if one is available. Do not balance the surface on paint cans, loose blocks, or narrow offcuts. Mark three points around your calculated range and test each for ten to fifteen minutes.
- Draw layout lines and measure small parts.
- Clamp a board and make a few controlled sanding strokes.
- Pick up and set down the heaviest normal project without twisting.
- Reach for the tools you expect to keep at the back of the top.
- Notice whether your shoulders rise, your back folds forward, or your wrists stay bent.
The workbench height calculator can turn your elbow measurement and task into starting points. Treat its output as a mockup range. Discomfort, an awkward line of sight, or a bad reach is a reason to adjust the test, not something to work through.
Plan for seated work and shared users
A bench that serves one standing user is simpler than a bench shared by two people or used from a stool. For seated work, chair height, foot support, thigh clearance, top thickness, and the height of the task all interact. Choose the stool and bench together. A tall stool cannot fix a thick apron that blocks your knees.
For two standing users with different elbow heights, a fixed surface can favor the task that needs the most force while the shorter user gets a stable platform and the taller user gets a raised project fixture. Any standing platform must support the full foot, resist slipping, and leave a clear step off. General CCOHS guidance for standing work recommends adjustment or a suitable platform when one working level has to serve different bodies.
If the bench switches between seated and standing work every week, a crank or powered adjustable frame may be worth the cost. Check the adjustment range with the top installed, not the empty frame range alone.
Fit the chosen height into the garage
A comfortable bench can still be wrong for its room. Tall tops may cover the lower part of a window or interfere with a wall cabinet. A low bench can leave wall storage within easy reach, but it may invite clutter above the work. Check outlets, light switches, garage door hardware, and the path of a vehicle hatch.
Use the garage storage fit calculator to test the bench footprint against parked vehicles and walking space. Then open drawers, doors, and the vise within that taped area. Height affects clearance under the top as well. A bench with a deep apron may leave less room for a stool, knees, a rolling cabinet, or a shop vacuum than its outside dimensions suggest.
Lighting changes with height, too. Raising a reflective workpiece closer to a lamp may create glare, while lowering fine work can leave your head blocking the light. Test the proposed surface under the lights you use at night and again with the garage door open.
Fixed and adjustable benches solve different problems
A fixed bench costs less, has fewer moving parts, and can feel reassuring under a vise. It is a sensible choice when one person does a narrow set of tasks and has already tested the height. Build or buy it around the dominant job, then use fixtures for occasional higher work.
An adjustable bench helps when users differ, tasks swing between force and precision, or seated work is common. Look at the usable range, adjustment method, cross bracing, top capacity, and what happens to cords and wall clearance as the surface moves. A frame rating may exclude the top, vise, cabinet, or tools you add.
The garage workbench buying guide covers frame, top, storage, and size choices alongside height. Read the current manual for any adjustable model and confirm whether the stated capacity is static or applies while the bench moves. Never change height while a project can fall, shift, or catch a cord.
Use posture clues instead of chasing a perfect number
A good trial height usually lets you stand close to the work with your shoulders down and your elbows near your sides. Your wrists should not spend the whole task sharply bent. You should be able to see the work without holding a deep forward bend, and forceful strokes should not make you shrug.
There is no posture that stays comfortable forever. The NIOSH review of prolonged standing found that movement and changes in position matter. Leave room for a footrest, a stool, or a short walk between operations. An anti fatigue mat can help on a hard slab, but it should not create a rolling or tripping problem near mobile equipment.
Recheck the setup after a real project. A height that felt fine during a two minute demonstration may expose a long reach or poor sight line during an hour of assembly. Small changes to the fixture or task position can be more useful than rebuilding the whole bench.
A practical workbench height checklist
- Measure standing elbow height in normal shop shoes.
- Record the thickness of common workpieces, vises, mats, and benchtop tools.
- Choose trial levels for precision, light assembly, and forceful work.
- Test each level with real motions and only light force.
- Check seated knee space if a stool will be used.
- Confirm vehicle, drawer, outlet, window, and lighting clearance.
- Read the manual before adding risers, platforms, casters, or a heavier top.
Write the tested range on your garage plan. If you are choosing a fixed model, buy inside that range rather than assuming a common 36 inch top will work. If two task ranges do not overlap, design a secure raised fixture or choose an adjustable bench. Your final range should still feel comfortable after the mockup, the room check, and a normal work session.
Useful products to compare
These links open current Amazon search results so you can compare dimensions, manuals, ratings, and availability for the exact models on your shortlist.
Before you buy or install
Check the current manual for the exact product you are considering. Confirm the assembled dimensions, load rules, mounting requirements, included hardware, clearances, warranty, and any limits that apply to your wall, floor, or garage layout.
Frequently asked questions
What is the standard height for a garage workbench?
Many benches are sold around common counter heights, but there is no single standard that fits every user and task. Measure your elbow height, count the workpiece or tool, and test a range before choosing.
Should a workbench be level with my elbows?
Elbow height is a reference. Close visual work may sit near or above it, light assembly often feels better a little below it, and forceful downward work generally needs a lower working point.
Does a vise change the correct bench height?
Yes. The jaws and the workpiece raise your hands above the bare top. Measure the usual working point in the vise and subtract that rise when you compare bench heights.
Can I raise a workbench with casters or blocks?
Only with hardware and a method suited to the bench, load, floor, and manufacturer instructions. Loose blocks can shift. Casters also change stability and the total working height, so test and calculate before installing them.