Tag: workshop lighting

  • Garage workshop lighting guide: build layers instead of chasing brightness

    Garage workshop lighting guide: build layers instead of chasing brightness

    Affiliate disclosure: As an Amazon Associate I earn from qualifying purchases. This article may contain affiliate links, and Bay & Bench may earn a commission at no extra cost to you. Read our full Affiliate Disclosure.

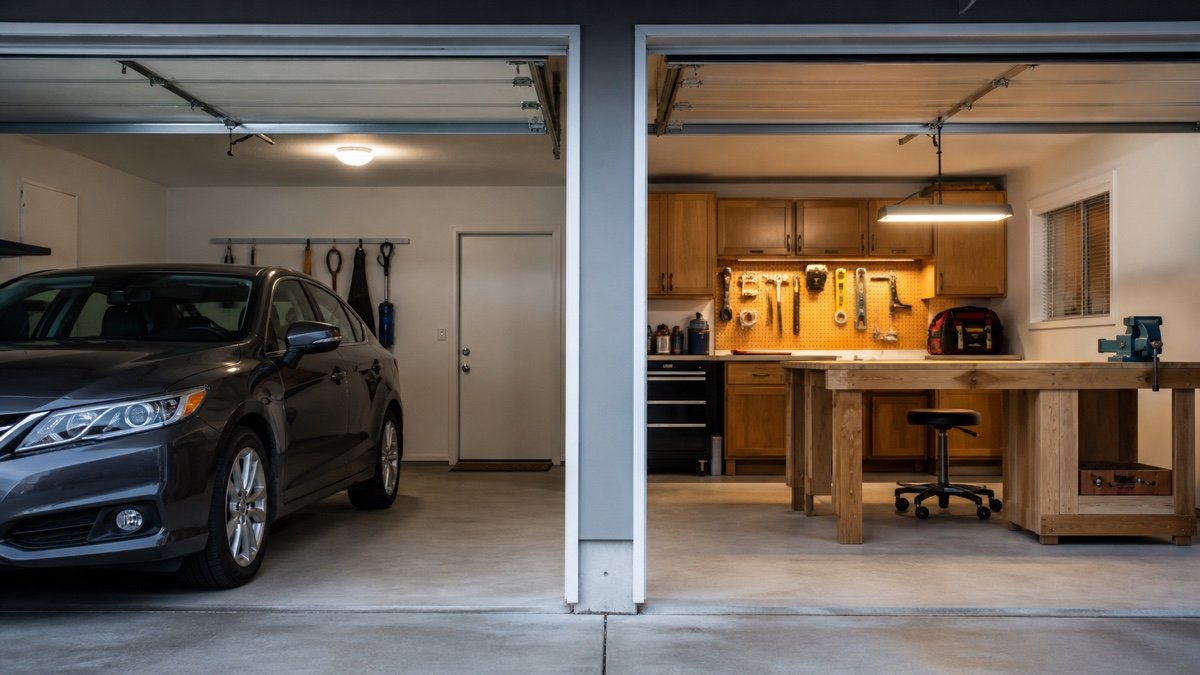
    A useful garage workshop lighting guide should begin with shadows, not fixture count. One bright lamp in the center can make the floor look impressive while your hands disappear into darkness at the bench. Open garage doors, tall cabinets, your own shoulders, and raised workpieces all interrupt light. A successful room uses several calm sources and a focused task layer.

    Plan around what happens in each zone: parking, walking, storage labels, bench work, machine setup, finishing, and cleanup. Then choose fixtures that spread light where it is needed, render colors honestly, suit the garage environment, and can be controlled without turning on the entire room.

    Quick answer

    Use two lighting layers. Start with evenly spaced, diffused ceiling fixtures for safe movement and general work. Add dedicated task lights at the bench, saw, sharpening area, or inspection surface. Put ceiling rows to either side of the main work line so your body does not cast one deep shadow. Compare lumens, beam distribution, CCT, color quality, dimming, temperature limits, and fixture listing. Install a small sample before committing to the whole ceiling.

    Garage workshop lighting guide: the layers at a glance

    LayerJobGood placementCommon mistake
    AmbientWalking, parking, cleanup, finding storageEven ceiling rows across active floor areaOne central fixture with dark walls
    Bench taskAssembly, measuring, repair, hand toolsForward of the worker or from both sidesLight behind the head
    Machine taskSetup lines, controls, cut line inspectionFixed to illuminate the machine surface safelyPortable lamp and loose cord near moving work
    Vertical storageLabels, cabinets, wall toolsWide distribution toward the wall faceAll light aimed straight at the floor
    InspectionFinish, paint, defects, color decisionsAccurate, controlled light from more than one angleJudging color under one harsh source

    Start by mapping these zones in the garage workshop layout guide. Lighting follows the layout, because a bench moved after wiring can put the user directly between the fixture and the work.

    Begin with tasks and surfaces

    Write down what you do after sunset. Reading tote labels needs vertical illumination. Sanding a panel needs grazing light that reveals texture. Measuring a pencil line needs contrast at the work surface. Parking needs broad, low-glare coverage, especially near steps and door thresholds.

    Note surface colors. A white ceiling and pale walls return more useful light than black cabinets, dark rafters, and a charcoal floor. Dust, fixture aging, and storage that grows toward the ceiling also reduce the light reaching the work. This is why a lumen total alone cannot describe the finished room.

    Walk the garage with the door open and closed. The raised door may sit between ceiling fixtures and the workbench. If so, mount task lighting below that shadow plane or locate the bench elsewhere. Never place a fixture where door movement or service work can strike it.

    Use two ceiling rows to control body shadows

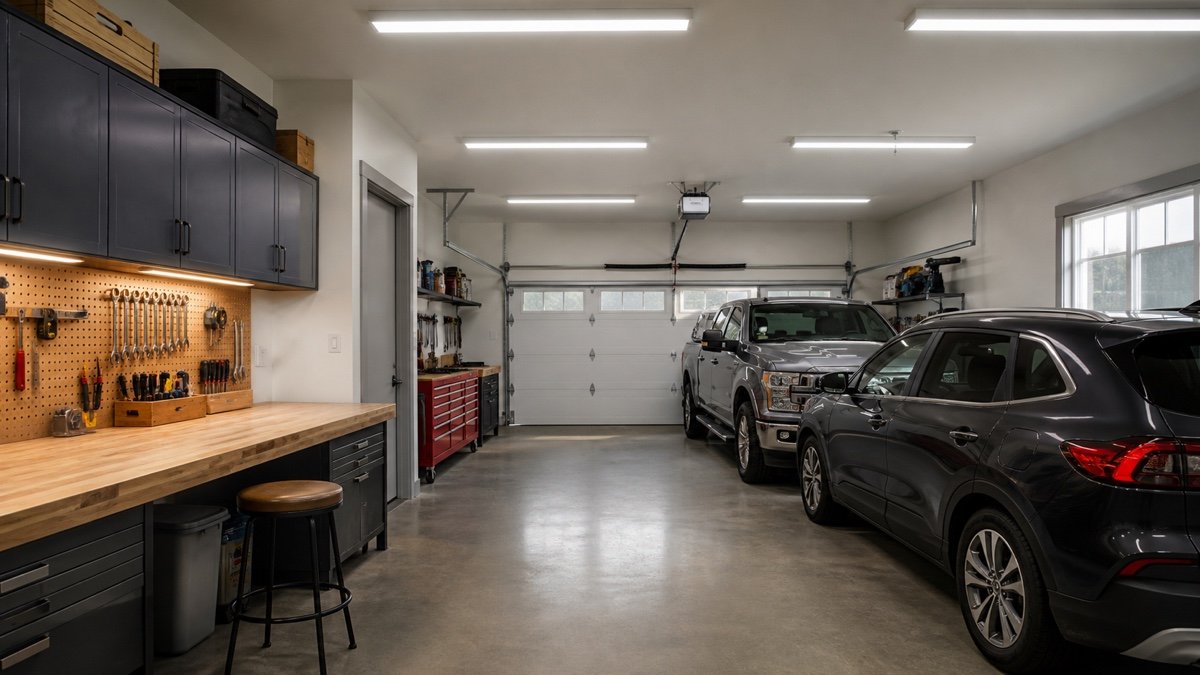
    In many rectangular garages, two rows running with the long dimension create more useful overlap than one bright center row. Place them on either side of the primary standing and work line. When one side is blocked by your body, the other still reaches the surface.

    Do not space fixtures by appearance alone. Look at the manufacturer’s photometric information or distribution diagram when available. A fixture with a broad, diffuse pattern can cover a larger area smoothly; a narrow pattern may create bright lanes and dim gaps even with the same lumen rating. Ceiling height changes the spread.

    Draw circles or cones on the plan, then verify with a temporary sample. The exact spacing depends on beam distribution, mounting height, surface reflectance, and the work below. The garage lighting calculator gives a starting lumen budget, but the layout turns that budget into usable light.
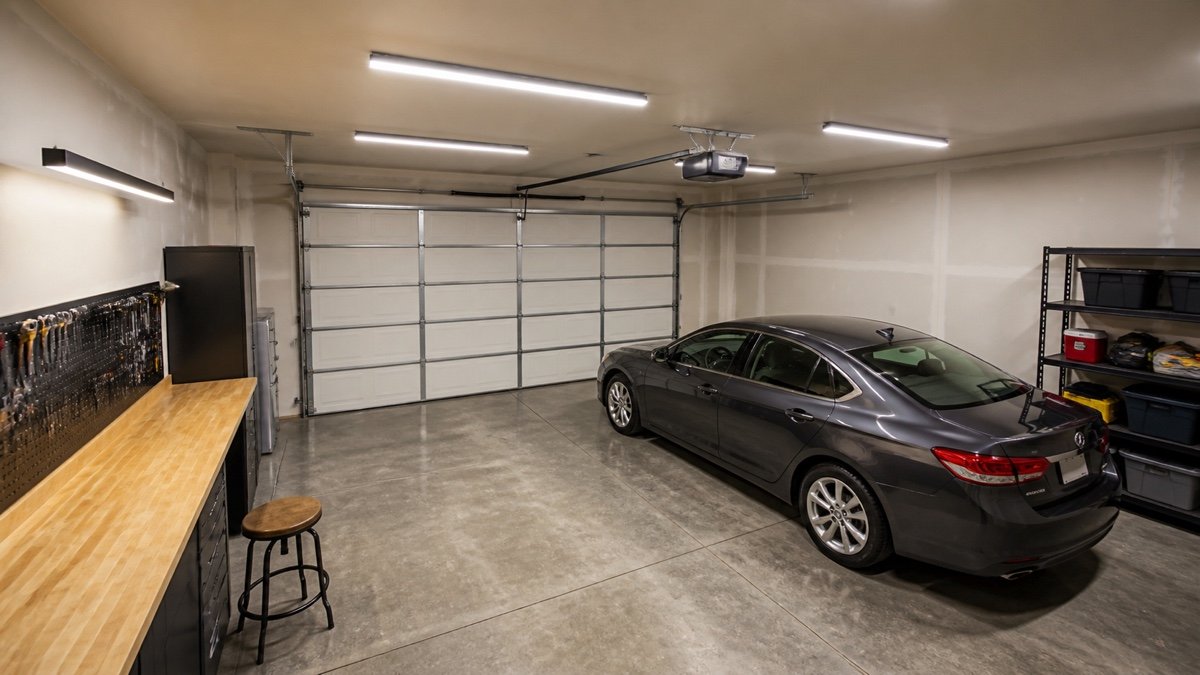
    Two rows of diffused LED fixtures over a garage workshop
    Two deliberate rows usually control body shadows better than one intense strip down the center.

    Add bench light in front of the worker

    A task fixture mounted behind your shoulders lights the back of your head. Place it near the front edge of the bench, above and slightly forward of the normal hand position, or use two sources from opposing sides. Diffusion matters when tools, varnish, or metal reflect a bare LED image.

    The task layer should have its own switch. Quick jobs should not require flooding the parking bay, and delicate inspection may benefit from a brighter local setting than the rest of the room. Dimming can help when a reflective surface becomes uncomfortable, provided the fixture and control are compatible.

    Keep fixtures, cords, and controls outside clamp paths and material travel. A swinging arm lamp can be convenient for small work, but lock it away from rotating tools and hot or wet processes. Follow product instructions for mounting, clearance, and environment.

    Focused task light illuminating a wooden workbench without glare
    Task light should reach the front of the bench without placing a bare source in the normal line of sight.

    Read lumens and distribution together

    Lumens describe the light output leaving a source. They do not guarantee that the workbench receives an even or comfortable level. The U.S. Department of Energy’s LED basics explains that LED products vary in efficacy, distribution, color, lifetime, and other performance characteristics. Compare the complete fixture, not watts alone.

    A high-lumen shop light can waste output above cabinets or create sharp glare if its optics are poor. Several lower-output fixtures may provide better overlap, easier zoning, and fewer deep shadows. More fixtures also mean more connections and cost, so balance smoothness against installation complexity.

    Use the lumen calculation as a first pass, then examine photometric files or manufacturer spacing guidance where provided. For demanding design work, the Illuminating Engineering Society offers its official Illuminance Selector for application-specific recommendations. A residential garage owner can also consult a lighting professional when the work is specialized.

    Choose color temperature for the room, not the label

    Correlated color temperature, or CCT, describes whether white light appears warmer or cooler. Around 4000K often feels neutral and works well in a garage shared with household storage. Around 5000K looks cooler and can feel crisp for detail, though a poor-quality product may appear stark.

    CCT does not tell you brightness or color fidelity. Two 4000K fixtures can render wood, paint, wire insulation, and skin differently. If material color matters, compare color quality metrics and sample the actual fixture. In a compact room, the one-car garage workshop layout helps you see how the raised door, vehicle, and bench can divide the lighting zones.

    Avoid random mixtures. Warm and cool stripes across one workpiece make finish inspection confusing. If you want a cooler task zone, separate it deliberately and check how the transition feels from the normal standing position.

    Color quality matters at the bench

    Color rendering index, or CRI, is familiar, but it does not capture every aspect of color appearance. DOE notes that color quality is broader than CCT and that newer tools such as IES TM-30 provide additional information. For ordinary interior lighting, CRI in the 80s is common; work involving finishes, wiring colors, or matching materials often benefits from a well-made higher-fidelity source.

    Do not buy by a single CRI number from an untraceable listing. Look for complete manufacturer documentation, consistent model identification, and warranty support. Color consistency between fixtures matters too. A replacement that looks greener than its neighbors can be distracting even if both boxes claim the same CCT.

    Inspect familiar objects under a sample: red and blue wire, unfinished wood, painted metal, and your skin. If colors look dull or strange, another fixture is worth trying before the full purchase.

    Control glare before adding more output

    Glare comes from a bright source in the line of sight, hard reflections, or a large contrast between a brilliant fixture and a dark room. Look up from the normal bench posture. If exposed diodes dominate your view, diffusion, repositioning, or a different fixture may help more than lower wattage.

    Glossy floors can mirror ceiling strips. Polished tools and white benchtops can produce their own hot spots. Test a fixture at night, when contrast is strongest. A phone photo may reveal gross unevenness, but your eyes and the work surface are the final judge.

    Place light to reveal texture when sanding or inspecting a finish. A source that skims across the surface shows scratches better than one directly overhead. Keep this inspection light controllable so it does not create constant sideways glare.

    Select fixtures for the garage environment

    A garage may see cold starts, summer heat, humidity, dust, insects, and occasional dampness. Check the fixture’s listed operating temperature, location rating, enclosure, mounting orientation, and compatibility with the intended control. A generic indoor lamp may not be suitable for every unfinished or damp garage condition.

    ENERGY STAR’s downlight criteria illustrate the breadth of performance details that credible lighting documentation can address, including light output, color, dimming, and lifetime requirements. Your chosen product need not be a downlight, but the principle holds: a fixture is more than wattage and color temperature.

    Use listed equipment and follow the instructions. Hardwired additions, new circuits, or uncertain boxes should be assessed and installed by a qualified electrician under applicable local requirements.

    Divide controls around real visits

    At minimum, separate general lighting from bench task lighting. A larger garage may benefit from parking, workshop, and storage zones. Put controls where you enter from both the overhead door and the house, or use suitable controls that achieve the same convenience.

    Occupancy sensing can be helpful for quick trips, but an aggressive timeout is maddening when you are standing still at a bench. Confirm sensor coverage and provide manual control. Dimmers need compatible fixtures and controls; otherwise flicker, limited range, or buzzing can appear.

    Consider what happens during a power outage and whether any path needs separate emergency planning. Do not let decorative smart functions replace a dependable wall control that every household member understands.

    Test the finished lighting with actual work

    After installation, park the vehicles, open the garage door, load the shelves, and place a project on the bench. Check the floor, steps, wall labels, machine surfaces, and the underside of shelves. Look for alternating bright and dark bands as you move.

    Use the workshop aisle guide to walk each route while carrying a box. Light should reveal obstacles without forcing you to stare into a fixture. Clean lenses after dusty work and recheck output as storage changes.

    Finish with a short punch list:

    • No fixture conflicts with the moving door or stored items.
    • Both hands stay visible at the bench.
    • Vertical labels can be read without a flashlight.
    • Glare is controlled from seated and standing positions.
    • Switches match quick visits and long work sessions.
    • Model numbers, instructions, and warranty records are saved.

    If a corner remains dim, fix that corner. Raising the output of every fixture can make the comfortable zones worse.
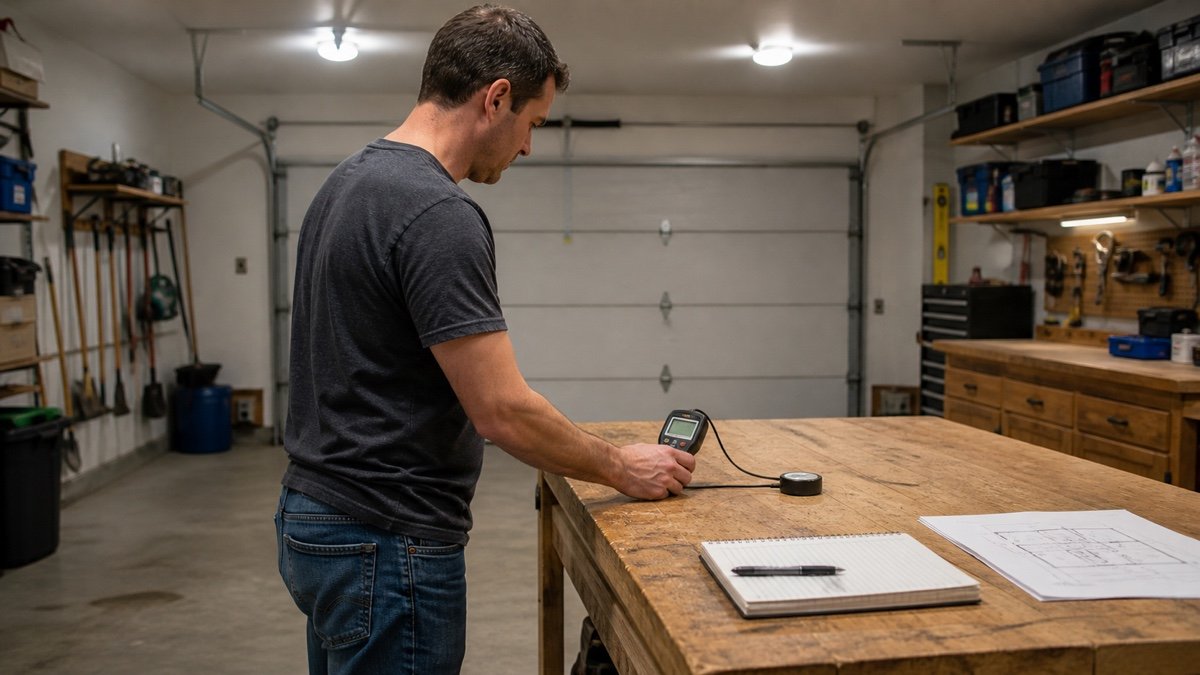
    Homeowner checking garage workshop light at several work surfaces
    Final aiming and switching decisions should follow real tasks, not the appearance of an empty room.

    Useful products to compare

    These links open current Amazon search results. Check the dimensions, manual, mounting hardware, warranty, and current availability for the exact model before you order.

    Before you buy or install

    Read the current manual for the exact product you are considering. Confirm its assembled dimensions, rated capacity, mounting requirements, included hardware, working clearances, warranty, and any limits that apply to your wall, floor, electrical circuit, or garage layout.

    Frequently asked questions

    How should shop lights be arranged in a garage?

    Two even rows on either side of the main work line often control shadows better than one center row. Adjust spacing for ceiling height and the fixture’s distribution, then add local task light at benches and machines.

    Is one very bright garage light enough for a workshop?

    Usually not. A central source creates body shadows and poor vertical light. Several well-spaced ambient fixtures plus a separate task layer give smoother coverage and more useful control.

    Should garage workshop lighting be 4000K or 5000K?

    Both can work. 4000K usually feels neutral and comfortable in a shared garage. 5000K looks cooler and may appeal in a detail-focused shop. Compare fixtures with similar color quality and sample one in the room.

    Do I need high CRI lighting in a garage?

    For parking and storage, a credible fixture with ordinary interior color quality may be adequate. Higher-fidelity light is helpful when matching finishes, identifying wire colors, painting, or judging material appearance.

  • How many lumens for garage workshop? A measured starting point

    How many lumens for garage workshop? A measured starting point

    Affiliate disclosure: As an Amazon Associate I earn from qualifying purchases. This article may contain affiliate links, and Bay & Bench may earn a commission at no extra cost to you. Read our full Affiliate Disclosure.

    How many lumens for garage workshop? That short question needs a measured starting number, not a magic answer. Lumens describe fixture output. They do not account for a black ceiling, a raised garage door, crowded shelves, narrow beam patterns, dirty lenses, or your body standing between the light and the project. That is why two garages with the same floor area can need different fixtures.

    Calculate a general-light budget from area and activity, add local task lighting where fine work happens, and then test the finished room. The goal is even, comfortable visibility. An enormous total printed on a product listing is not useful when most of the light lands on the floor between two cars.

    Quick answer

    For planning, multiply garage floor area by roughly 20 to 30 lumens per square foot for parking and storage, or 40 to 60 for an active home workshop. Treat those ranges as editorial starting allowances, not code values. Add 15 to 25 percent when dark surfaces, high ceilings, dusty conditions, or uncertain distribution justify it. Then use dedicated task lighting at benches and machines instead of forcing the whole room to support fine detail.

    How many lumens for garage workshop: starting allowances

    The ranges below are practical planning allowances for fixture output in a residential garage. They are not legal minima, IES application recommendations, or guaranteed surface readings. Use the lower end in a bright, reflective room with broad fixtures and modest tasks. Move upward when the room is dark, the ceiling is high, or workshop activity is frequent.

    Garage usePlanning allowanceWhat it should supportNext step
    Parking and basic storage20 to 30 lumens per sq ftWalking, unloading, labels, cleanupCheck steps and vertical shelving
    Mixed parking and hobby work30 to 45 lumens per sq ftRepairs, sorting, occasional bench useAdd a bench task fixture
    Active home workshop40 to 60 lumens per sq ftGeneral making, setup, broad work areasLayer task light for detail
    Fine inspection zoneDo not size the whole room from this taskFinish defects, precise assembly, colorUse controlled local lighting

    Enter your dimensions in the garage lighting calculator for a quick version of the same first-pass estimate.

    The simple lumen formula

    Measure the interior length and width of the garage floor. Multiply them to get square feet. Then use:

    Nominal fixture lumens = floor area x chosen planning allowance

    A 20 by 20-foot garage has 400 square feet. At 40 lumens per square foot, the nominal budget is 16,000 lumens. At 60, it is 24,000. That range does not say you need one 24,000-lumen fixture. Four 5,000-lumen fixtures or six lower-output units may distribute the light better, depending on their photometrics and the layout.

    If only half the garage is a workshop, do not blindly apply the highest allowance to the whole floor. Give the parking side calm ambient coverage and concentrate separate task lighting over the active zone. Zoning usually produces a more comfortable room and sensible energy use.

    Example for a one-car garage workshop

    Imagine a 12 by 22-foot one-car garage, or 264 square feet. It contains a side-wall bench but still parks a compact car. Start at 35 to 45 lumens per square foot for the mixed room. The calculation gives 9,240 to 11,880 nominal lumens.

    Instead of installing one central high-output lamp, divide that budget among ceiling fixtures that cover the parking aisle, rear storage, and the bench approach. Add a separate diffused task light over the work surface. When the car is absent, both ceiling rows can serve the open project area; when it is present, the bench light still reaches the hands.

    Use the one-car garage workshop layout to map the vehicle and bench first. The raised garage door may block ceiling light near the opening, so calculate with the actual fixture locations rather than an empty rectangle.

    Homeowner measuring garage length and width for a lighting calculation
    Use the active floor area and the real workshop zones, then write down the assumptions behind the calculation.

    Example for a two-car shared garage

    Now take a 22 by 22-foot garage, which has 484 square feet. At a mixed-use allowance of 35 lumens per square foot, the nominal output is 16,940 lumens. At an active-workshop allowance of 50, it becomes 24,200 lumens.

    The higher number makes sense only if much of the room supports regular work. If one bay is parking and the other contains a bench, racks, and a mobile saw, zone the system. Two ambient rows might cover the floor, while a bench light and a controllable machine-area fixture supply detail. This avoids a blinding parking side simply because one bench needs more light.

    Keep the fixture count flexible until you check distribution. A product described as 5,000 lumens may send light in a narrow pattern or lose useful output above a cabinet. Manufacturer photometric files and spacing guidance are more informative than dividing the total by fixture count alone.

    Add a realistic adjustment factor

    The simple area calculation assumes the output reaches useful surfaces reasonably well. Real garages introduce losses. Dark walls absorb light, open rafters scatter it, tall shelves create vertical shadows, dust coats lenses, and fixtures run at different heights.

    Adding roughly 15 to 25 percent to the nominal budget is a practical planning adjustment when several of those conditions apply. Label it as an assumption, not a universal rule. For the 16,000-lumen example, a 20 percent adjustment produces 19,200 lumens. That might be achieved by better fixture placement rather than raw output.

    The U.S. Department of Energy explains in its LED basics that LED performance includes distribution, color, efficacy, controls, and lifetime. Buying additional lumens cannot repair every weakness. Sometimes painting a dark ceiling or moving a fixture out from behind the open door is the cleaner solution.

    Use task lighting instead of overlighting the room

    A small workpiece needs light at the hands, not across 500 square feet. Put a diffused fixture above and slightly forward of the bench, or use light from both sides. Machine setup, sharpening, and finish inspection may need their own controlled sources.

    Task fixtures let the ambient system remain comfortable for parking and cleanup. They also reduce body shadows. A ceiling source directly behind you may add thousands of lumens to the product total while contributing little at the pencil line.

    Plan task lights after the work surfaces are fixed. The table saw clearance guide helps locate feed paths and operating zones; lighting must stay outside moving stock, dust hoses, and safe access. Avoid loose cords near machines and have electrical work performed appropriately.

    Bright task lighting over a detailed garage workbench project
    Local task light is more efficient than raising the brightness of the entire garage for one small work surface.

    Understand lumens, lux, and foot-candles

    Lumens measure total emitted light. Lux and foot-candles describe illuminance arriving on a surface. One foot-candle is one lumen per square foot; one lux is one lumen per square meter. OSHA’s lighting interpretation explains the foot-candle concept in plain terms.

    A room can contain 20,000 fixture lumens while a bench corner remains dim because distribution and obstructions are poor. This is why surface readings are useful after installation. Measure at the bench top, machine table, floor path, and vertical shelf face instead of checking only the point directly under a fixture.

    Do not borrow a workplace minimum and call it a residential design target. OSHA’s construction illumination standard applies to the stated construction settings. It is not a recipe for a comfortable home workshop. Application-specific design should come from appropriate guidance or a qualified lighting professional.

    Fixture wattage is not a lumen target

    Watts describe electrical power, not delivered brightness. Efficient fixtures can produce more lumens per watt than older or poorly designed products. Compare published lumens for the exact fixture and confirm whether the number refers to initial output, delivered fixture output, or an ambiguous collection of LED chips.

    Then read operating temperature, color temperature, color quality, dimming, location rating, warranty, and expected lumen maintenance. A cold garage may expose weak drivers. A hot ceiling near the roof can stress another product. Use the fixture within its listed conditions.

    Beware of exaggerated marketplace claims. A compact screw-in device described with an implausibly huge lumen number deserves skepticism. Look for traceable manufacturer documentation, model identification, safety listing, and realistic photometric information.

    Spread the budget across rows and zones

    Convert the total into a preliminary fixture count, then draw the positions. For a 20,000-lumen budget, four fixtures near 5,000 lumens is an easy arithmetic start. Six fixtures around 3,300 lumens might produce smoother overlap in the same room. The better choice depends on distribution, ceiling height, obstructions, switching, and cost.

    Keep rows outside the direct line behind the worker. Light vertical walls and storage as well as the floor. Separate parking, workshop, and task controls when the room is large enough to benefit. The garage workshop aisle guide identifies movement paths that should remain visible without glare.

    Do not place fixtures where the overhead door can hit them or where future storage will surround them. Preserve access for cleaning, replacement, and driver service.

    Verify the room instead of trusting the arithmetic

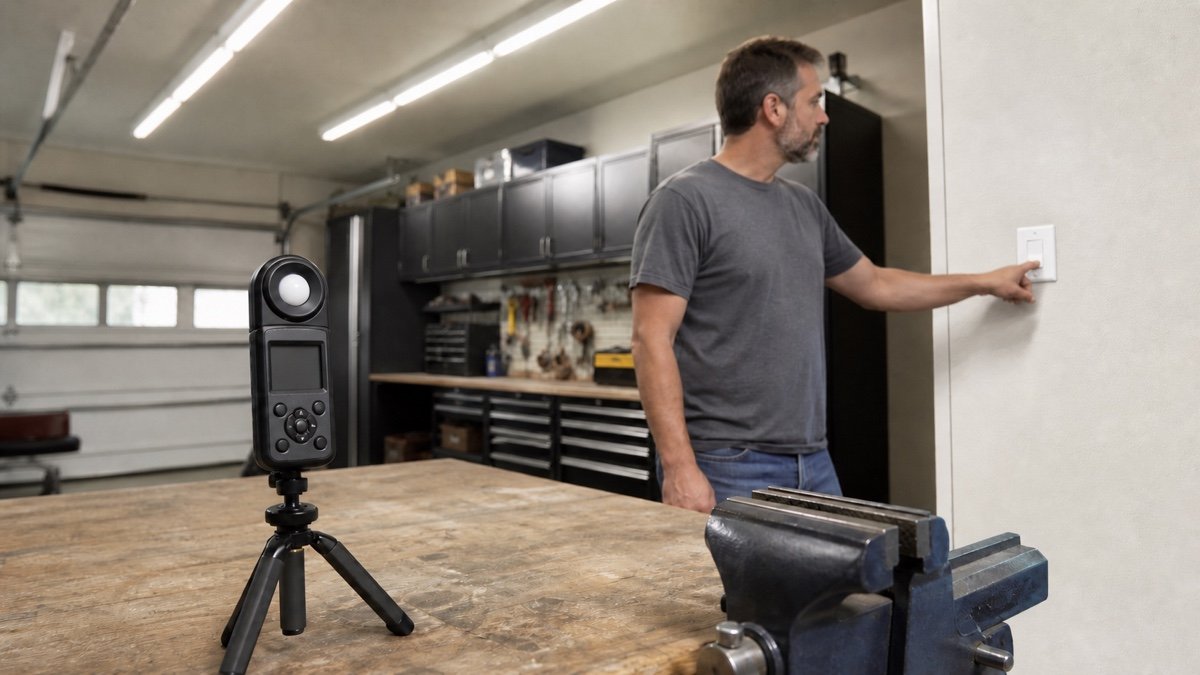
    Once the system is installed, check it at night with vehicles, shelves, and the overhead door in their normal positions. Place a light meter at the actual work plane and record several points. Consumer meters are not laboratory instruments, but repeatable readings can reveal a dark end or a dramatic falloff.

    The Illuminating Engineering Society’s Illuminance Selector provides formal application guidance for people who need an established target. For a casual home garage, the practical question is still whether every task can be performed comfortably and clearly.

    Check for flicker on low dimmer settings, glare from standing and seated positions, and shadows cast by your own body. Re-aim or relocate local lights before increasing the whole-room output.

    Light meter on a tripod checking illumination at a garage workbench
    A meter reading at the task surface can reveal dark zones that the ceiling-level lumen total misses.

    Keep a calculation sheet with the assumptions

    Write down:

    • Interior length, width, and calculated area.
    • The planning allowance chosen for each zone.
    • Nominal lumens and any adjustment factor.
    • Fixture model, published lumens, distribution, CCT, and color quality.
    • Ceiling height and row spacing.
    • Task-light locations and controls.
    • Final meter readings or visual problems.

    This record prevents confusion when a fixture fails or the workshop moves. It also makes future changes honest. If dark cabinets replace white shelves, you can see why the original result no longer feels the same.

    A calculated range is a good buying filter. The finished answer comes from distribution and observation. Spend the last ten percent of your attention after the lights are on, when small position changes can rescue a shadow without adding another fixture.

    Useful products to compare

    These links open current Amazon search results. Check the dimensions, manual, mounting hardware, warranty, and current availability for the exact model before you order.

    Before you buy or install

    Read the current manual for the exact product you are considering. Confirm its assembled dimensions, rated capacity, mounting requirements, included hardware, working clearances, warranty, and any limits that apply to your wall, floor, electrical circuit, or garage layout.

    Frequently asked questions

    How many lumens do I need for a two-car garage workshop?

    For a 400 to 500-square-foot active workshop, a starting allowance of 40 to 60 lumens per square foot suggests roughly 16,000 to 30,000 nominal lumens. Use the actual area, then zone the room and add task lights rather than choosing from size alone.

    Is 10,000 lumens enough for a garage?

    It can be enough for a small, reflective one-car garage used mainly for parking and storage. It may feel inadequate in a dark two-car workshop or when one fixture creates shadows. Area, distribution, surfaces, and tasks decide.

    Should I add 20 percent to my garage lumen calculation?

    A 15 to 25 percent planning adjustment is reasonable when dark surfaces, high ceilings, dust, or uncertain distribution create likely losses. It is an editorial allowance, not a code rule. Better placement may solve the problem with fewer lumens.

    Can a light meter tell me how many fixtures to buy?

    A meter measures existing illuminance at a surface. It is most useful for finding weak zones after a sample or installation. Fixture count also depends on distribution, ceiling height, layout, and the target chosen for the task.