Affiliate disclosure: As an Amazon Associate I earn from qualifying purchases. This article may contain affiliate links, and Bay & Bench may earn a commission at no extra cost to you. Read our full Affiliate Disclosure.
Garage workshop zones solve a problem that shelves alone cannot: the same floor often has to park a car, move long material, support a project, store household gear, and leave access to doors and utilities. When every activity spreads everywhere, a ten-minute repair begins with forty minutes of moving bins. Zoning gives each kind of work a home and a boundary. The boundaries do not need paint or permanent walls. They need measurements, a clear operating rule, and a reset routine that the room can survive on an ordinary weeknight.
Quick answer
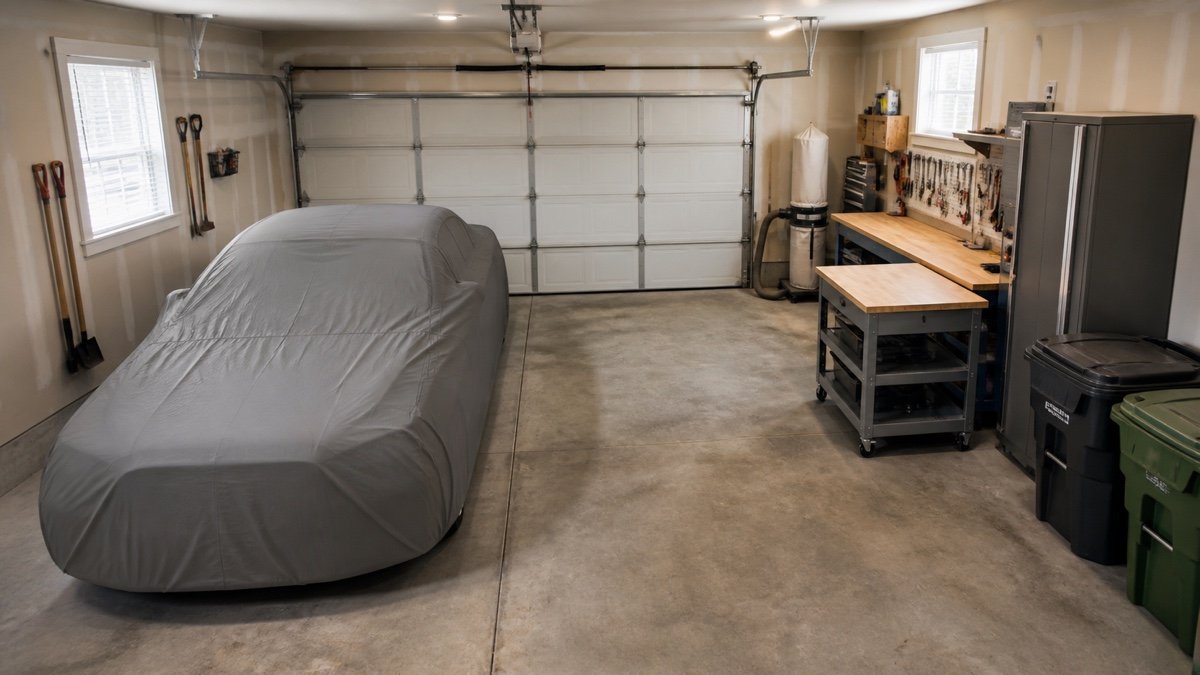
Start with fixed boundaries and the vehicle envelope. Put the main bench and daily tools in a fixed work zone, dusty machines near source capture, household items in closed clean storage, and mobile equipment in a marked parking zone. Keep one uninterrupted movement path from the garage door to the house or service door. In a parking-first garage, define shop mode and parking mode so tools, cords, hoses, and stock return to known locations before the car enters.
Garage workshop zones begin with nonnegotiable space
Measure finished wall to finished wall at several heights. Record the curb, steps, columns, overhead door tracks, opener, windows, electrical panel, water heater, utility equipment, and every door swing. Then measure the vehicle with mirrors, open doors, raised hatch, charging or fueling access, and the path used to park it. The instructions in our garage measurement guide turn those facts into a usable boundary plan.
Color the nonnegotiable areas first: door travel, electrical access, utility service, parking envelope, and normal exit path. Do not assign these spaces to a zone simply because they are empty most of the day. A rolling cart parked in front of a panel is still an obstruction when something goes wrong.
The remaining area is the workshop budget. It may be one full bay, an eight-foot rear wall, or a narrow strip beside the car. Accepting that budget early prevents a layout that functions only when every object is temporarily in the driveway.
Use six zones instead of dozens of categories
| Zone | What belongs there | Best location | Boundary test |
|---|---|---|---|
| Fixed work | Workbench, vise, daily hand tools | Wall with light, power, and no door conflict | Drawers and vise open without entering the aisle |
| Dirty work | Sawing, sanding, grinding appropriate materials | Near source capture and cleanup equipment | Dust does not start beside clean household storage |
| Clean storage | Seasonal gear, paper goods, household supplies | Closed cabinets across from dusty work | Doors open without touching a vehicle |
| Mobile work | Assembly cart, wheeled machines, project stand | Open bay during work, marked parking spot afterward | Every mobile item has a smaller stored envelope |
| Material path | Lumber, sheet goods, mower, bicycles | Direct route between door, storage, and tool | Longest item can turn without striking fixed storage |
| Vehicle and transition | Car envelope and changeover space | Measured parking bay | Shop resets before the vehicle crosses the threshold |
Six zones are enough to guide placement without creating a label for every shelf. Some can overlap in time. The mobile work zone may occupy the vehicle bay only after the car leaves. The material path can become assembly space once long stock is put away. Fixed and utility zones should not depend on such overlap.
Anchor the fixed work zone to a useful wall
The fixed work zone holds the bench, vise, task light, daily tools, and the outlets used most often. Choose a wall where the bench does not block a door, window, panel, or vehicle opening. Add the open depth of drawers, cabinet doors, and the vise handle. A 24-inch bench can require much more room during use.
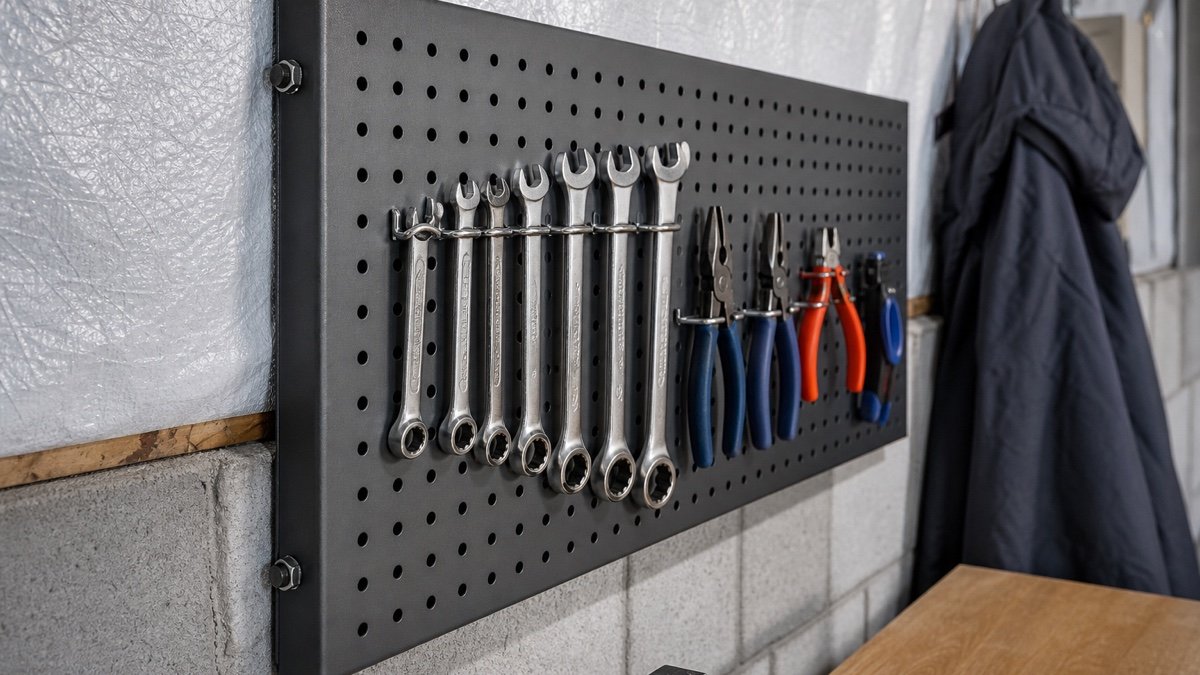
Keep frequently used tools within one step, but leave the bench surface mostly free. Shallow wall storage works better here than deep shelves over the user’s head. Put heavy cases low. Place chargers where their ventilation and instructions are respected, away from sawdust accumulation and liquids.
The small garage workbench guide compares fixed, folding, and mobile formats. A fixed bench earns its permanence when it is used often and the room does not need that wall for parking clearance. If the car door collides with the bench or a folding top, the vehicle boundary wins.
Keep dirty work close to capture and away from clean goods
Group sanding, sawing, and other dust-producing work near the correct extraction equipment and cleanup route. The goal is not to make a sealed industrial room. It is to avoid starting a dust plume beside open sports bags, paper supplies, or the car’s cabin air intake. Closed cabinets on the far wall are easier to wipe than open wire shelves beside a sander.
OSHA’s wood-dust guidance identifies local exhaust at or near the source as the primary control in woodworking workplaces. A home garage should likewise put the collector close enough that the hose stays short and does not cross the aisle. Use the tool and collector manuals, and do not remove guards to improve a connection.
Separate finishes, solvents, fuels, and ignition sources according to their labels and applicable local requirements. OSHA’s woodworking fire guidance warns about fine dust accumulation and recommends separating combustible lumber from flammable chemicals. The garage is easier to manage when the dirty zone does not double as chemical storage.
Give clean storage doors, not wishful distance
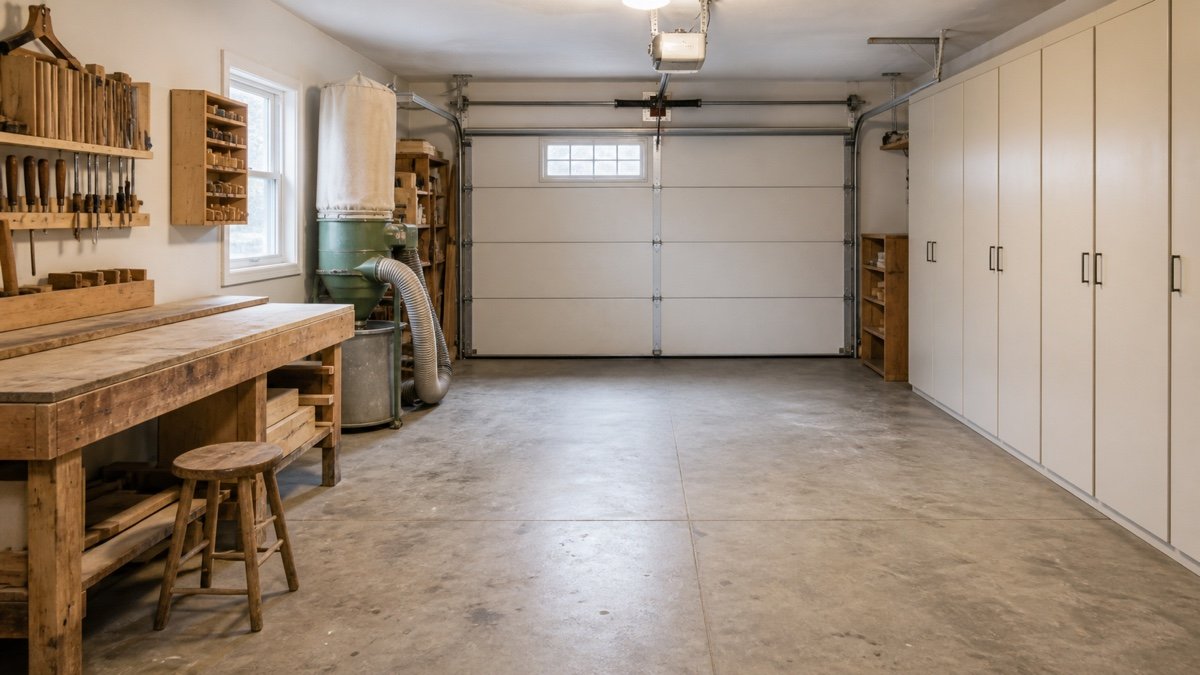
Distance helps, but enclosure does more. Put household supplies, camping textiles, spare paper goods, pet items, and seasonal decorations in closed cabinets or lidded bins. Choose a wall outside the direct line of sanding and cutting. Label bins clearly in the real room, even though decorative labels are unnecessary on every shelf.
Reserve low shelves for dense items and high shelves for light seasonal goods. Keep chemicals only in storage suited to the product and separate incompatible materials. Do not put a cardboard archive below a plumbing connection or directly on a damp slab.
Use the comparison in wall-mounted versus freestanding garage cabinets to choose the format. Wall-mounted cabinets reveal the floor for cleaning and may protect against minor water, but they need suitable structure and reduce flexible wall use. Freestanding cabinets are easier to move and can be leveled, though their feet and backs collect dust. The clean zone should be easy to close and easy to wipe.
Make the mobile zone genuinely mobile
A machine on casters is not mobile if its cord, dust hose, outfeed support, and stored materials take fifteen minutes to disconnect. Design the entire move. Give each cart a handle, locking casters, a safe push direction, and a parked footprint that does not block a fixed zone.
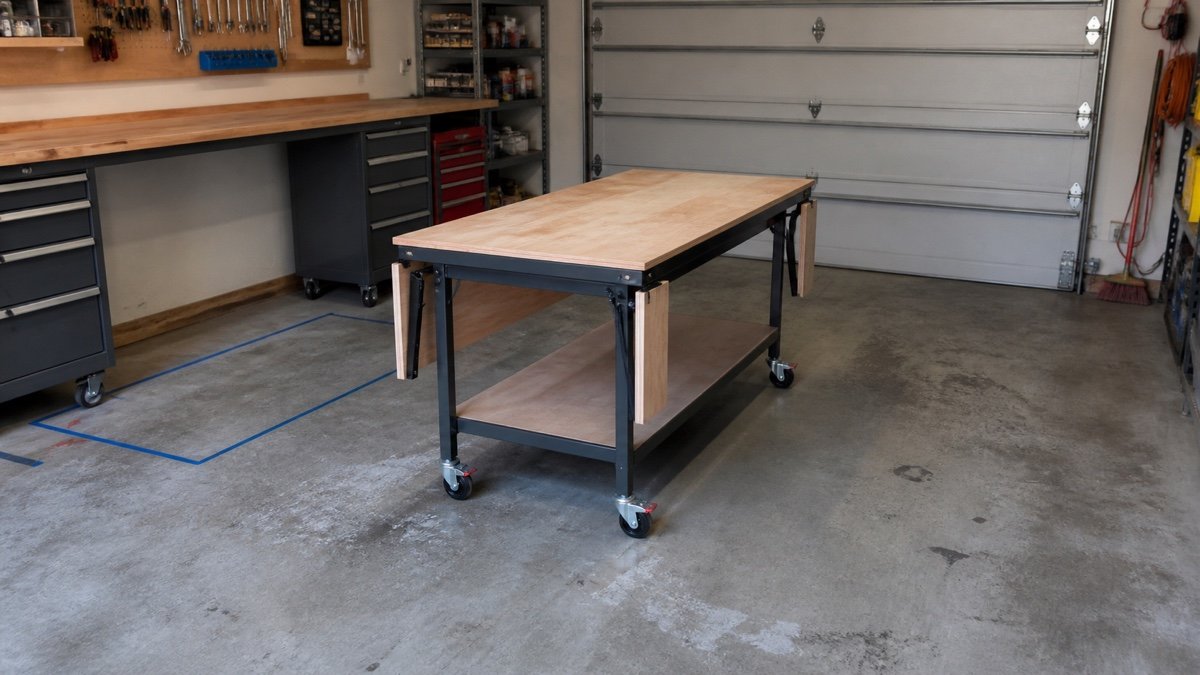
Mark operating and parking positions with painter’s tape. Roll the cart between them while every other normal object remains in the room. Cross slab joints and test the turning radius. Open the garage door and nearby cabinets. If the cart has folding wings, include both states on the plan.
Our workbench caster guide explains why load capacity, wheel material, mounting plate, floor condition, and brake access all matter. Choose casters from the complete loaded weight and use the manufacturer’s instructions. A cart that drifts under hand pressure is not ready for precise work.
Protect one continuous movement path
Draw the route used to enter from the driveway, reach the house door, carry groceries, move a bicycle, and bring long stock to a tool. Pick the most important path and keep it continuous through every zone. Avoid floor storage along its edges because a narrow path tends to get narrower.
OSHA’s walking-surface rule applies to workplaces, not as a garage design code, yet its expectation of clean, orderly, dry passageways is a useful standard to borrow. Hoses, cords, scrap, and wet mats should not turn ordinary movement into an obstacle course.
Test the route with objects, not an empty-handed walk. Carry a sheet-sized cardboard panel, push the widest cart, and open the service door while someone stands at the bench. The garage workshop aisle guide helps map these open and moving states. A zone boundary works when it remains obvious during the job and after cleanup.
Define parking mode and workshop mode
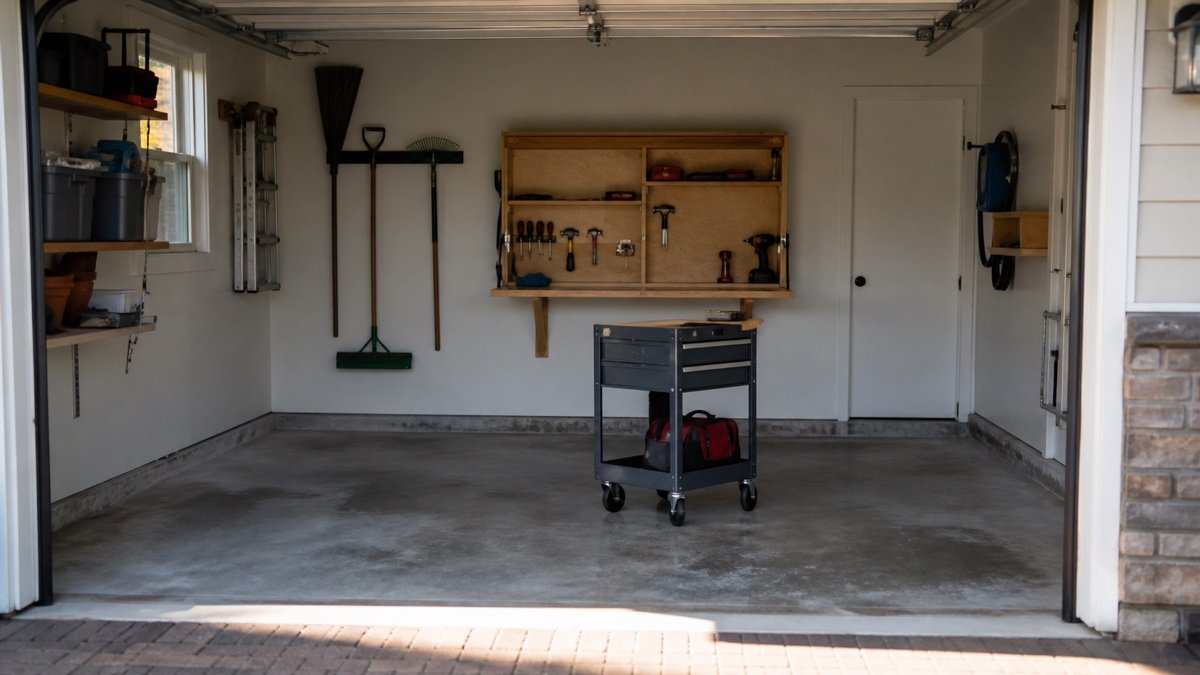
A shared garage needs a changeover script. Workshop mode begins after the vehicle leaves and the door is in a safe position. The folding bench opens, the mobile cart rolls to its tape mark, dust collection connects, and task lights come on. Parking mode reverses those steps: tools stop, dust settles and is captured, stock returns, cords and hoses leave the floor, the bench closes, and the vehicle envelope is checked.
Keep the script short enough to follow. Five minutes is realistic; half an hour invites shortcuts. Store each movable item close to its parked position. Use wall hooks for hoses and cords, one bin for the current project, and a dedicated landing spot for the mobile bench.
The measured plans in our two-car parking and workshop layout show how a work bay and vehicle bay can cooperate. A one-car room may need a stronger rule: no machine operation with the car inside. Choose based on the actual tool, dust, sparks, finishes, and vehicle exposure.
Treat utilities as protected zones
Electrical panels, water heaters, shutoffs, HVAC equipment, doors, windows, and garage-door hardware need service access. Do not count their working space as temporary cart storage. Keep shelves, lumber, and hanging tools outside the access defined by the equipment instructions and local requirements.
OSHA’s electrical rules for workplaces require sufficient working space around electrical equipment and keep dedicated space clear of foreign systems. Your residential requirements come from the adopted electrical code and local authority, not from this article. The planning habit is still useful: mark the panel area on the floor and wall before storage claims it.
Keep heat-producing equipment and ignition sources away from dust, fuel, finishes, and stored tires. Maintain ventilation openings. Never box a compressor, charger, collector motor, or appliance into a cabinet unless the manufacturer expressly supports that installation. A neat utility corner that overheats or cannot be serviced is not organized.
Assign storage by frequency and consequence
Daily hand tools belong at the fixed bench. Weekly machines can live on accessible lower shelves or mobile bases. Seasonal goods can go higher, provided the lift is reasonable and the storage clears door hardware. Hazardous items need their own compliant location even if they are used rarely. Frequency matters, but consequence outranks convenience.
Use a simple rule for every shelf: who uses it, how often, how heavy, and what must move to reach it? If the answer involves a ladder behind the parked car or removing three bins, the item belongs elsewhere. The broader garage storage planning guide helps assign walls after the vehicle and movement layers are fixed.
Leave spare capacity. One empty cabinet shelf and one open cart bay absorb the active project. Without that buffer, workpieces migrate to the car hood, floor, and service path. Empty space is part of the zone plan, not evidence that the storage purchase was too large.
Run a weekly ten-minute reset
Return mobile items to their marks, clear the movement path, empty scrap, vacuum settled dust with suitable equipment, coil hoses, inspect cords, and close clean storage. Put the current project’s parts in one labeled container. If an item has no home, decide whether to assign one or remove the item before it becomes permanent floor storage.
Once a month, check rack fasteners, caster brakes, cabinet stability, leaks, water entry, filter condition, utility access, and the vehicle envelope. Re-tape a boundary if the car or workbench changes. A layout should respond to real use rather than preserving a pretty drawing.
The sign of good zoning is not a spotless room. It is a room that recovers quickly. You can start a small job without relocating the household, and you can park without carrying tools into the house. Fixed boundaries stay respected, mobile zones move on purpose, and the aisle remains boring. That is exactly what you want from a shared garage.
Useful products to compare
These links open current Amazon search results. Check the dimensions, manual, mounting hardware, warranty, and current availability for the exact model before you order.
Before you buy or install
Read the current manual for the exact product you are considering. Confirm its assembled dimensions, rated capacity, mounting requirements, included hardware, working clearances, warranty, and any limits that apply to your wall, floor, electrical circuit, or garage layout.
Frequently asked questions
What are the basic zones in a garage workshop?
A useful starting set is fixed work, dirty work, clean storage, mobile work, material movement, and vehicle transition. Utilities and door travel remain protected boundaries rather than storage zones.
Can workshop zones overlap?
Yes, when they overlap at different times. A parked-car bay can become assembly space after the car leaves. Fixed utility access, door travel, and the main exit path should not depend on movable overlap.
Should a workbench go beside the car?
Only if the measured vehicle envelope, open door, bench depth, drawers, vise, and walking space all fit together. Tape both operating states on the floor and test them before installing a fixed bench.
How do I keep zones from turning into clutter?
Give every mobile item a marked parking spot, limit active-project storage to one container or cart bay, preserve an empty buffer shelf, and run a short weekly reset. Items without a home need a deliberate storage decision or removal.