Affiliate disclosure: As an Amazon Associate I earn from qualifying purchases. This article may contain affiliate links, and Bay & Bench may earn a commission at no extra cost to you. Read our full Affiliate Disclosure.
A garage bike storage guide has to account for more than the number of bicycles. A light road bike, a long trail bike, a child’s bike, and a 65-pound electric bike ask different things of the rack and the rider. Tires, fenders, frame shape, handlebar width, brake cables, and lifting ability all affect fit. Start by measuring each bike and watching how it enters the garage. Then choose floor, vertical, pivoting, horizontal, or ceiling storage for that exact routine.
Quick answer
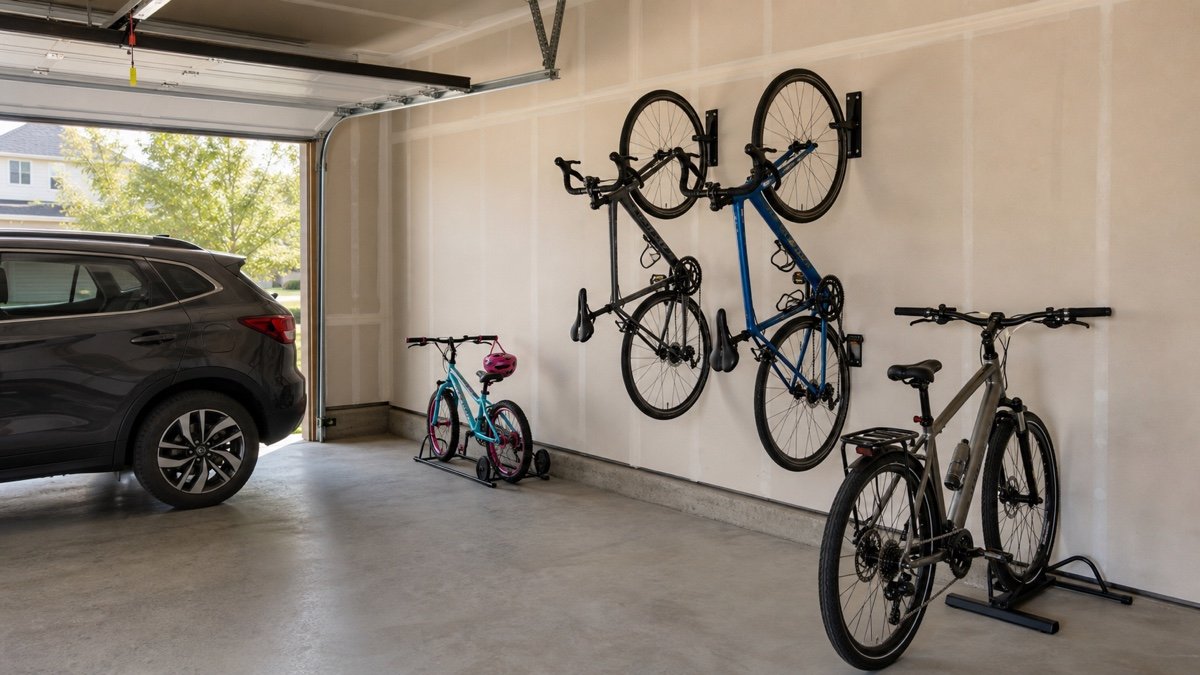
Use floor stands for heavy bikes, children’s bikes, and anything ridden daily by someone who cannot lift it comfortably. Vertical wheel racks save wall width and work well for several bikes when heights are staggered. Pivoting vertical racks reduce aisle projection after loading. Horizontal frame cradles suit one or two display-worthy bikes and avoid wheel hooks, but they consume a long wall. Verify bike weight, tire width, wheel diameter, fenders, frame contact, mounting structure, and the clear loading lane before buying.
Garage bike storage guide by rack style
Every style trades floor area, wall width, lifting, and access differently. Use the table as a first filter, not a substitute for the product fit chart.
| Storage style | Best use | Space tradeoff | Fit check |
|---|---|---|---|
| Floor stand | Heavy, daily, children’s, or rental bikes | Uses floor depth, little lifting | Tire width, rotor and derailleur clearance |
| Fixed vertical hook | Several light to medium bikes | Saves wall width, projects bike length | Wheel and tire fit, lift height, solid mounting |
| Pivoting vertical rack | Dense row with side pivot | Can fold bikes toward wall | Handlebar overlap, pivot sweep, weight |
| Horizontal frame cradle | One or two bikes at reachable height | Consumes roughly a bike-length wall | Frame shape, bar width, cradle contact |
| Ceiling system | Rarely used light bikes | Clears floor, hardest access | Rated structure, door envelope, safe operation |
Map the bike zone inside the garage storage plan so the rack does not inherit a wall needed by tools or parking.
Measure every bicycle in its normal setup
Record overall length, handlebar width, total weight, wheel diameter, inflated tire width, and the highest point. Note fenders, front baskets, child seats, mirrors, kickstands, and cables. A printed tire size is a starting point; measure the real inflated width when the rack manufacturer tells you to.
Photograph the frame from the side. Horizontal cradles may struggle with low step-through tubes, compact full-suspension shapes, or cables routed where the cradle touches. Wheel racks need clearance around rims, tires, fenders, and the frame near the front wheel. Do not remove a safety accessory merely to force a bike into an unsuitable rack.
Give each rider a rack they can use
A storage system fails when one person cannot load it. Ask each rider to lift the bike into the proposed orientation. Use a wall mark or an empty hook mockup rather than holding a bicycle overhead near a car. If the motion is awkward when rested and the bike is clean, it will be worse after a wet ride.
Children’s bikes usually belong low or on the floor. A heavy electric bike may fit a wall rack’s published capacity yet remain a poor daily choice because lifting it risks the rider, wall, or bike. Put the most frequently used bikes closest to the exit and leave enough room to roll them out without moving two others.
Use vertical racks when wall width is scarce
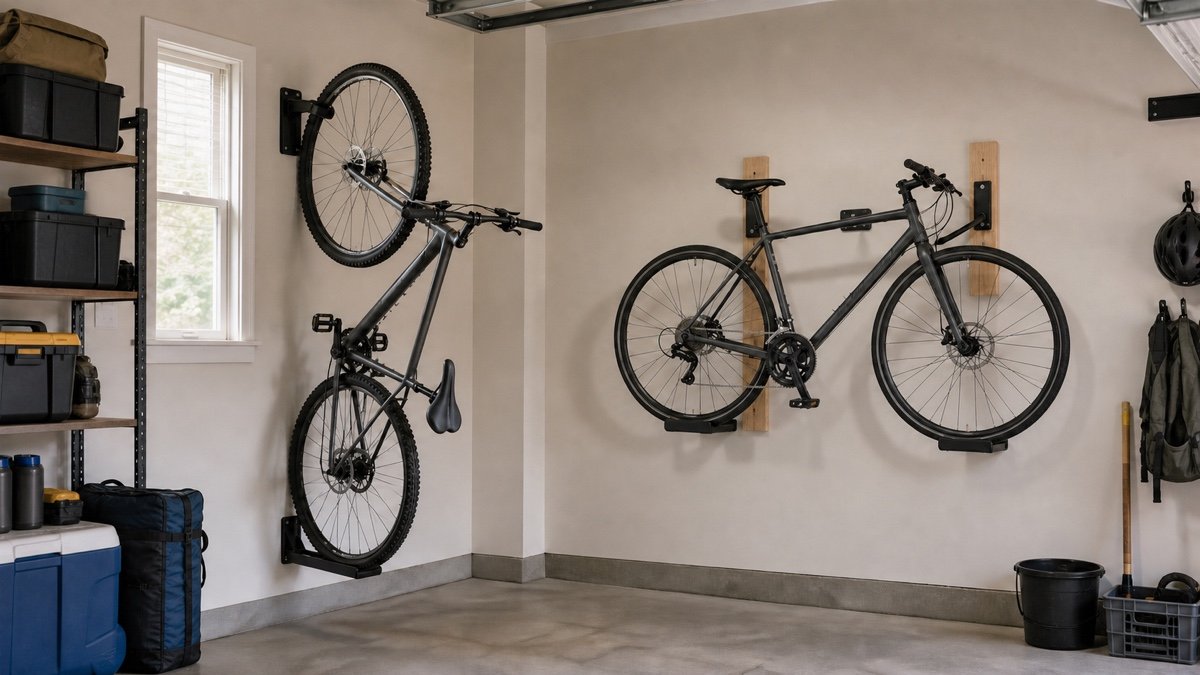
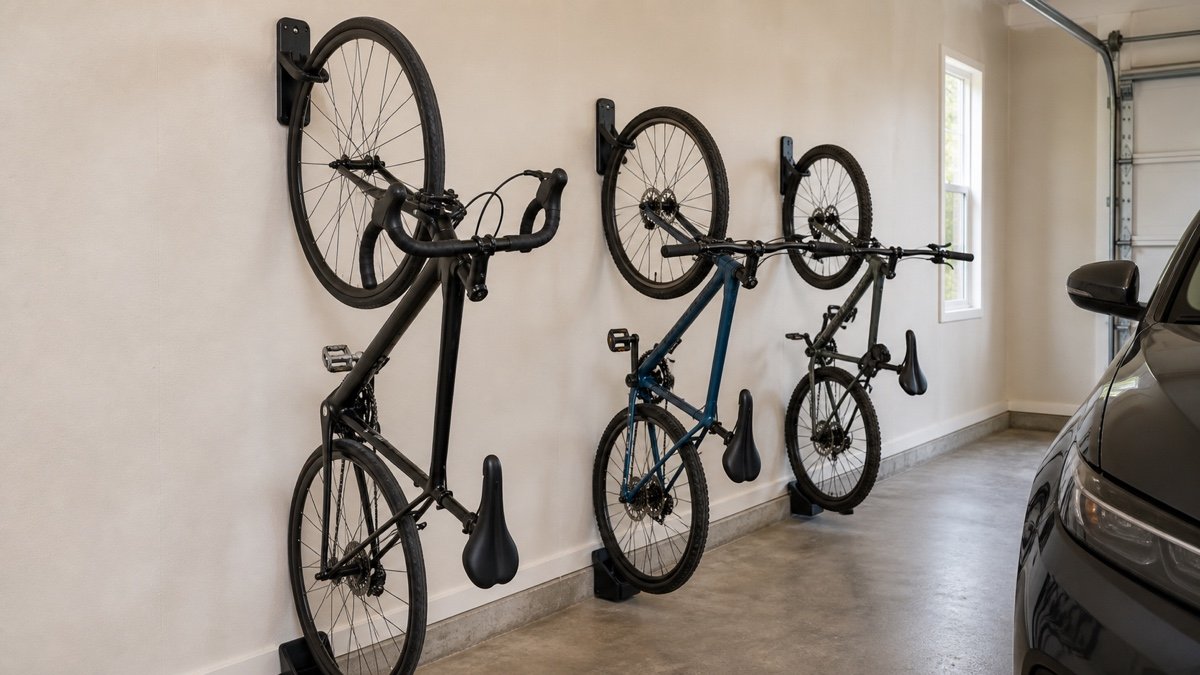
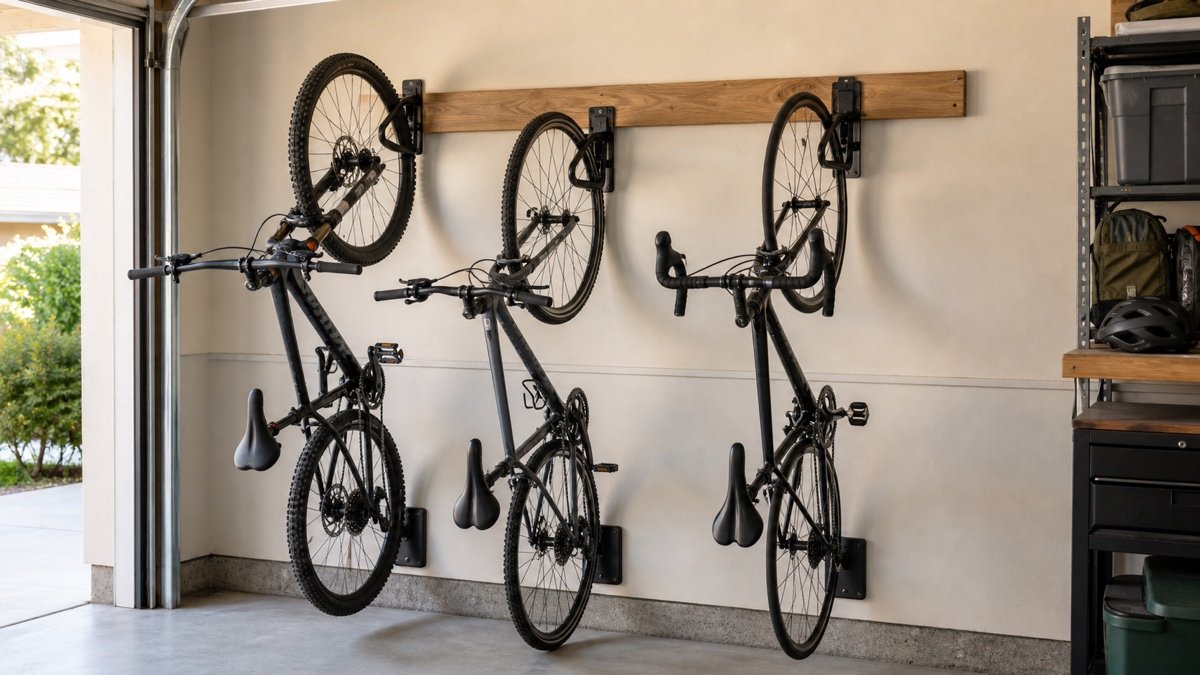
Vertical storage turns a bike’s length into wall projection. Several bikes can occupy a shorter wall if the handlebars overlap. Feedback Sports recommends roughly 16 to 24 inches between Velo Hinge hooks depending on stud spacing and staggered heights. Its current Velo Hinge 2.0 FAQ explains a practical mockup: lay bikes near each other to see how handlebars nest, then transfer the height difference to the wall.
That spacing is product guidance, not a universal rule. Wide mountain-bike bars, baskets, and brake levers demand more. Mark the full wheel and handlebar envelope, then protect the adjacent car door and the person loading the bike.
Pivoting racks can recover the aisle after loading
A pivoting rack holds the bike vertically, then swings it toward the wall. This can reduce how far the row occupies the aisle when stored. Feedback Sports lists the Velo Hinge 2.0 for up to 50 pounds when properly mounted to a wall stud, with a 4-inch hook opening and published compatibility from 700C by 23 mm through 29 by 3.0 inch combinations. See the manufacturer page for the exact fit diagram and instructions.
Include the pivot sweep in the layout. Pedals and handlebars move sideways as the bike folds. A neighboring cabinet, car mirror, or second bike can stop the hinge before it reaches the useful angle.
Horizontal cradles favor easy access and a long wall
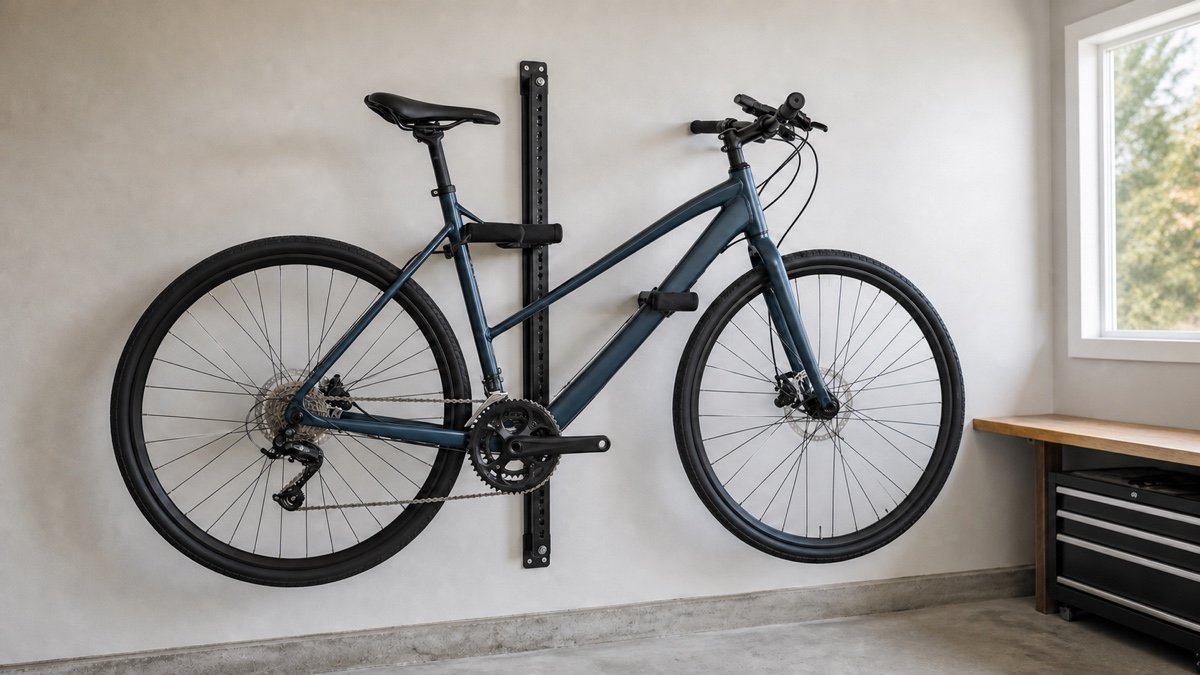
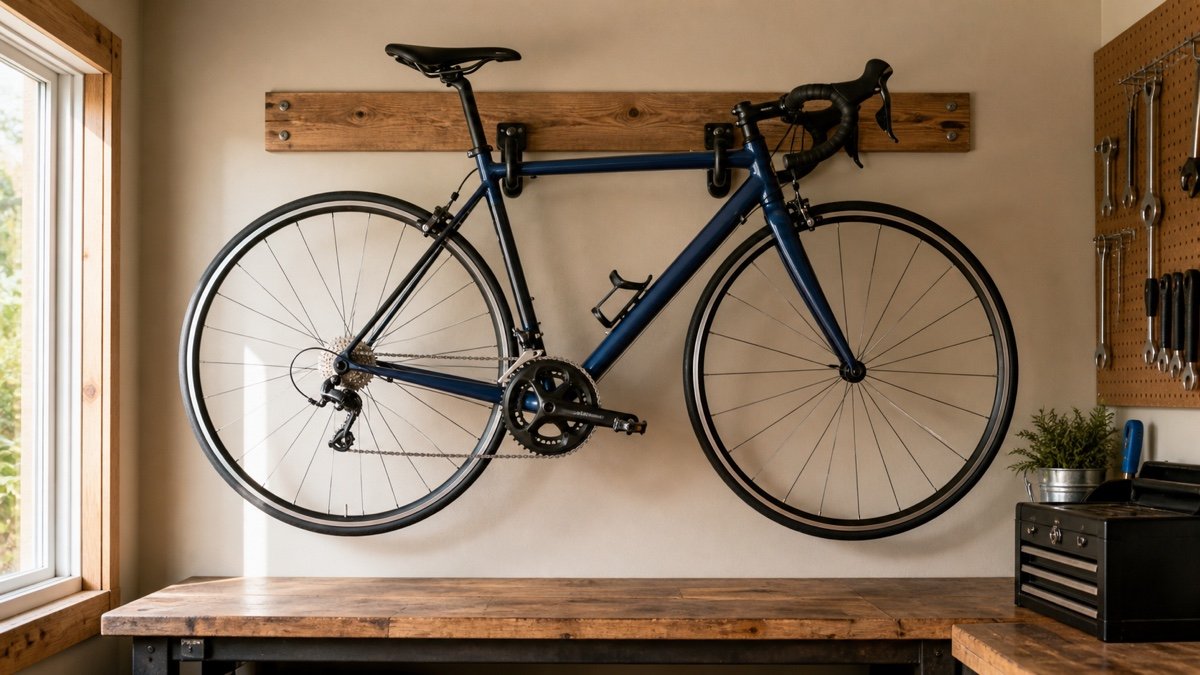
Horizontal racks support the frame on padded arms. The bike stays closer to normal carrying height and becomes easy to inspect before a ride. This format works nicely above a low cabinet or along a wall with no door, although the full wheelbase and handlebars occupy considerable width.
Feedback Sports lists its Velo Wall Rack 2D at a 50-pound maximum, with cradle projection adjustable from 8 to 12 inches and vertical arm adjustment. The official product page warns that very wide handlebars, long wheelbases, and fat bikes may not suit it. Frame contact matters. Confirm that both cradles support strong tube locations without pressing cables or delicate finishes.
Simple hooks still require a structural decision
A vinyl-coated hook can be a sensible low-cost answer for a standard bike. Park Tool lists its 451 wood-thread hook at a 115-pound hook limit when securely screwed into solid material, while making the user responsible for the mounting material. Read the manufacturer page closely. The large hook rating does not turn thin drywall into structure.
Confirm tire and rim fit, thread engagement, and the direction of loading. Use the fastener and substrate called for by the manufacturer. If you do not know what is inside the wall, find out before drilling or choose a supported floor rack.
Keep bicycles outside the parking and door envelopes
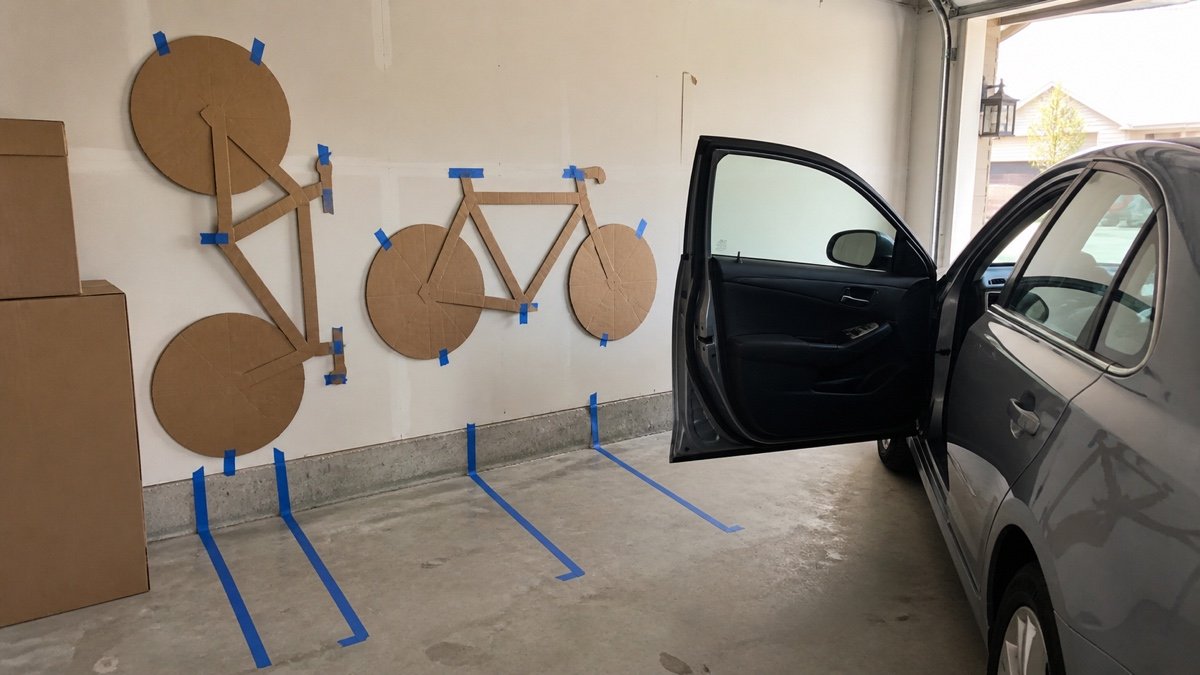
A vertically stored bike projects about its length from the wall until it pivots. A horizontal bike projects by its handlebar and pedal width while stretching along the wall. Tape both shapes on the floor and wall. Open the vehicle doors, house door, garage door, cabinets, and freezer. Then walk the normal path with grocery bags or a trash bin.
Compare the remaining route with the garage workshop aisle clearance guide. A handlebar end at face height deserves extra space. Place a rear-wheel bumper or wall protector where the system expects one, and keep oily chains away from clothing paths and painted car panels.
Store electric bikes for weight, heat, and cables
The motor does not harm a rack, but the added weight changes lifting and mounting. Use the complete bike weight with battery and accessories when comparing rack capacity. Follow the bicycle and battery manufacturers’ storage and charging instructions. Do not assume removing the battery is optional or required; platform guidance varies.
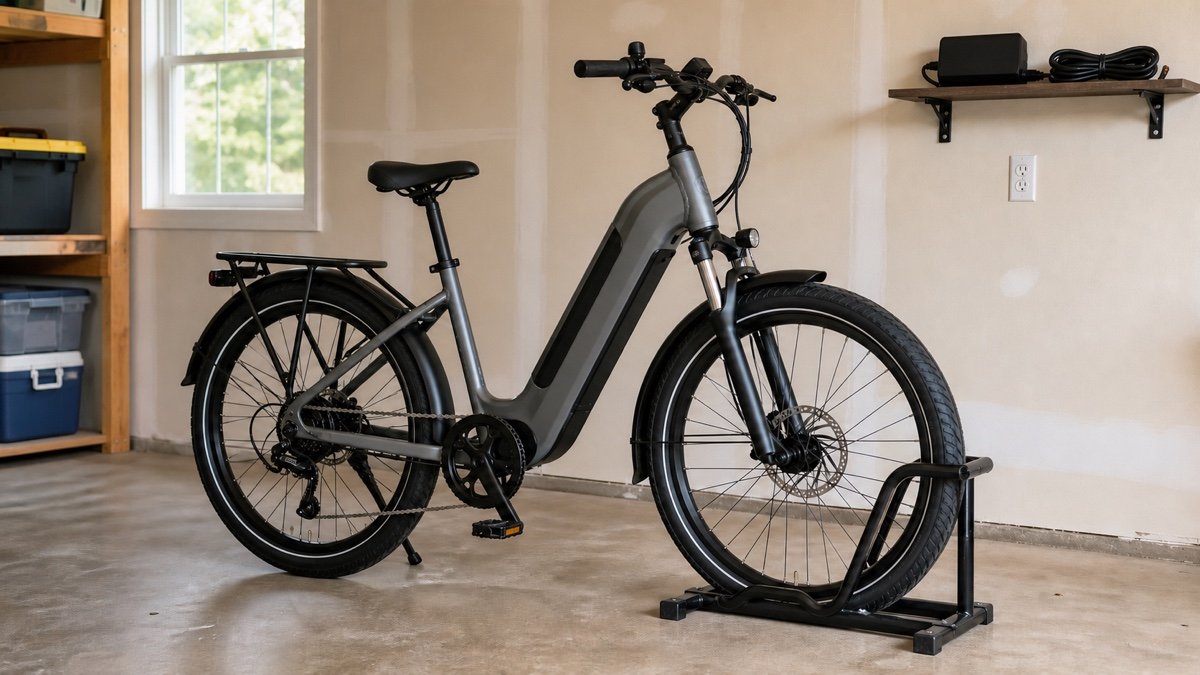
A floor rack is often the honest solution. It lets a rider roll the bike into place and keeps a heavy frame low. Give the kickstand, pedals, and handlebars room, and keep charging cords out of tire and walking paths. Check whether a front-wheel stand clears the brake rotor and fender, and whether the tire stays stable at normal pressure. A plain arrangement that works after a tiring ride will beat an overhead system that everyone avoids.
Be cautious with ceiling storage
Ceiling hoists and overhead cradles free wall and floor space, but they add lifting, rope management, and a falling-object concern. They also compete with the open garage door, tracks, opener, lights, and overhead racks. Use them only for bicycles light enough to handle safely and ridden rarely enough that the access penalty is acceptable.
Verify the structure, fasteners, hardware capacity, locking method, and clear operating route from the exact manual. Never hang a bicycle where a partial release could reach a person or vehicle. If the ceiling location requires standing on another ladder while controlling the bike, choose a different storage method.
Mock up the row before drilling
Cut cardboard rectangles for the rack bodies and tape outlines for wheels, bars, and pedals. Mark stud locations. Bring every bicycle into position one at a time and rehearse the loading motion. Stagger heights only as much as each rider can manage.
Leave the mockup for several days. If it blocks the route or requires moving another bike, revise it. Check the garage wall storage options for renters when permanent anchors are not permitted. A freestanding rack may consume more floor area, but it avoids unsafe guesses about an unfamiliar wall. If bikes must share the same surface with tools, compare the hardware and working heights in the garage wall storage systems guide before committing the studs.
Write each rider’s name on the temporary position and try a normal weekday reset. Helmets, locks, pumps, and child seats need homes too. Watch which bike gets left in the aisle when someone returns tired or in a hurry. That abandoned bike usually exposes a hook set too high, a blocked loading lane, or an accessory that catches the neighboring handlebars. Fix the awkward step before drilling.
Useful products to compare
These links open current Amazon search results. Check the dimensions, manual, mounting hardware, warranty, and current availability for the exact model before you order.
Before you buy or install
Read the current manual for the exact product you are considering. Confirm its assembled dimensions, rated capacity, mounting requirements, included hardware, working clearances, warranty, and any limits that apply to your wall, floor, electrical circuit, or garage layout.
Frequently asked questions
Is it safe to hang a bike by one wheel?
Use a rack designed for wheel storage and confirm the wheel, tire, bike weight, mounting surface, and hardware meet the manufacturer’s requirements. Do not force a fat tire, deep rim, fender, or incompatible wheel into a basic hook. Inspect the rack and contact point regularly.
How far apart should vertical bike racks be?
Spacing depends on handlebar width, bike size, stud locations, and whether heights are staggered. Feedback Sports suggests roughly 16 to 24 inches for its Velo Hinge setup as a starting point. Mock up the actual bikes and follow the exact rack instructions.
What is the easiest storage for a heavy electric bike?
A compatible floor stand is usually easiest because the bike can roll into place. A wall rack may carry the published weight but still require an uncomfortable lift. Consider the shortest and least strong regular rider, battery guidance, tire fit, and charging-cord route.
Can a bike rack mount only to drywall?
Use only the substrate and fasteners specified by the rack manufacturer. Many wall racks require a wood stud, masonry, or another solid support. Drywall by itself is not a safe default. If the wall structure is uncertain, choose a freestanding system or get qualified installation help.