Affiliate disclosure: As an Amazon Associate I earn from qualifying purchases. This article may contain affiliate links, and Bay & Bench may earn a commission at no extra cost to you. Read our full Affiliate Disclosure.
A one car garage workshop layout has to solve a slightly rude geometry problem: benches need depth, cars need room around them, and tools need space beyond their footprints. A measured layout tied to your room, vehicle, and equipment solves it. The examples that follow use 10 x 20 foot and 12 x 20 foot interiors for planning, not as standard garage sizes. One favors shop work, one keeps overnight parking, and one shares the room. Borrow the logic, then replace every sample number with your own.
Quick answer
Start with the parking decision. If a car rarely enters, put a fixed bench on the rear wall, shallow storage on one side, and mobile tools in the center. If parking comes first, use a folding bench and work only with the car outside. For shared use, a measured 12 x 20 example can fit a 20 inch side bench beside a 72 inch vehicle envelope, but only after door swing, walking room, and the opposite wall are included in the arithmetic.
A one car garage workshop layout begins with hard boundaries
Measure finished wall to finished wall at the floor, bench height, and shoulder height. Garages are not always square, and a curb or foundation ledge can steal useful depth. Then record the door opening, tracks, opener, steps, service doors, windows, outlets, panels, pipes, and anything that must remain reachable.
Next, make a vehicle envelope from the actual car. Include mirrors, charging cable or fuel door access, the hatch at full height, and the door opening you use. A 72 inch wide car does not consume only 72 inches when someone has to get out. Our guide to measuring a garage for storage gives you a room sheet for those obstructions.
Finally, measure equipment twice: once stored and once operating. A table saw may have a compact cabinet yet need several feet in front and behind for stock. A miter saw needs side support. Mark both envelopes, because the operating one decides whether the shop works.
Three measured starting plans at a glance
These dimensions are deliberate examples, not recommended minimums. The 10 x 20 and 12 x 20 rooms are measured interior rectangles after wall finishes. Real doors, columns, steps, and utilities reduce them. The vehicle in the parking examples uses a measured 72 x 180 inch envelope that includes its mirrors, but not its open doors.
| Starting plan | Measured room example | Fixed work and storage | Movable element | Space rule in this example |
|---|---|---|---|---|
| Workshop first | 10 x 20 feet | 24 x 96 inch rear bench and 18 x 144 inch side shelving | 30 x 60 inch center cart | The cart has two 36 inch side passages where it overlaps the shelving |
| Parking first | 10 x 20 feet | 7 inch deep folded bench that opens to 24 x 72 inches | 72 x 180 inch vehicle envelope | The car leaves before the bench opens or tools enter the floor area |
| Shared use | 12 x 20 feet | 20 x 72 inch side bench with 12 inch deep upper storage | 24 x 48 inch cart stored under the bench | 20 inch bench + 36 inch gap + 72 inch car + 16 inch gap = 144 inches |
Run your substituted numbers through the garage storage fit calculator. A plan stops being plausible as soon as one required door, drawer, or path cannot open.
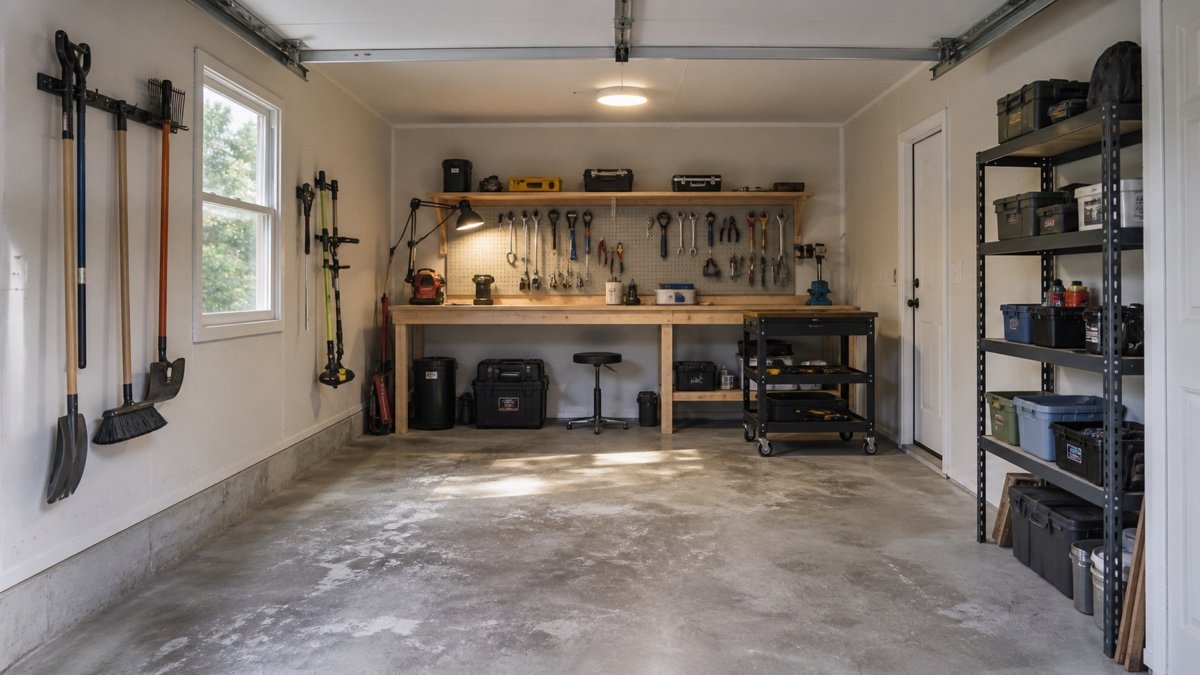
Plan 1: a workshop first 10 x 20 example
This plan assumes the garage does not hold a car on a normal night. Put the 24 x 96 inch bench across the rear wall, leaving the ends free where a side door, corner pipe, or long board needs passage. An 18 inch deep, 12 foot shelf run occupies one long wall. On the open floor, a 30 x 60 inch cart provides assembly space and rolls aside for sheet goods or a wheeled machine.
The width calculation is simple. The 120 inch room loses 18 inches to shelving. Centering a 30 inch cart in the remaining 102 inches leaves 36 inches on either side. That figure applies only along the overlapping section and does not certify a safe aisle. Handles, vises, bowed bins, and a person at the bench can narrow it.
Choose the rear bench depth after checking the jobs and clamps you own. The garage workbench buying guide covers depth, base style, mobility, and load wording before you commit floor space.
Plan 2: a parking first 10 x 20 example
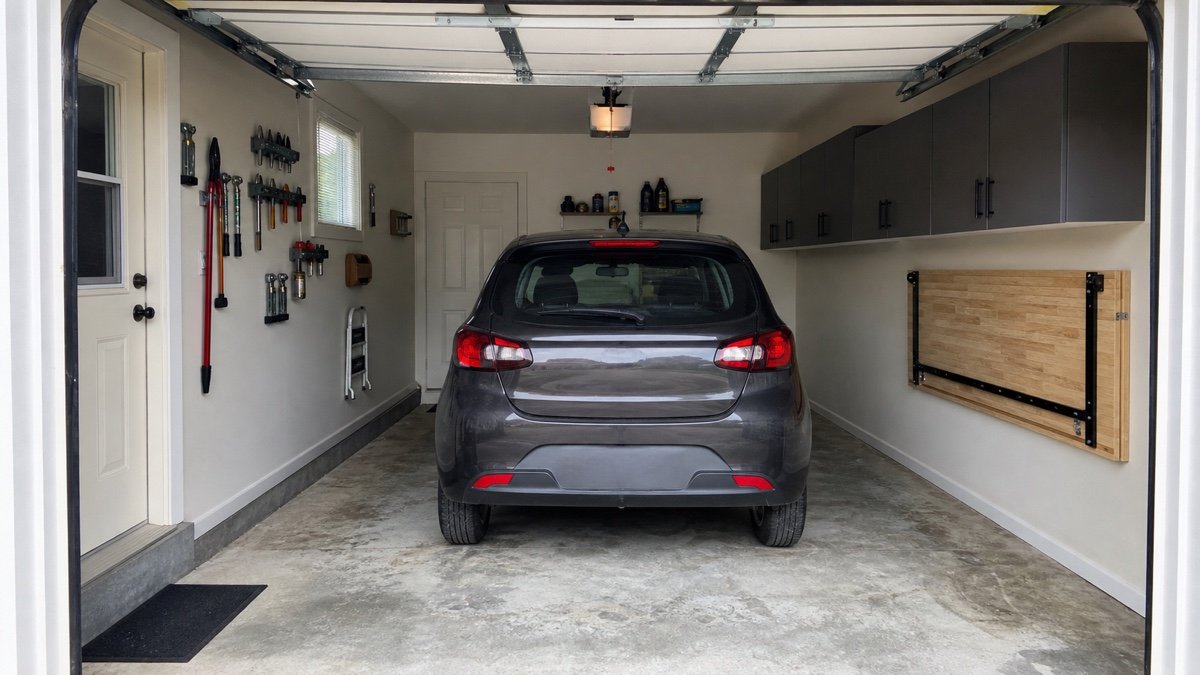
Here, parking is nonnegotiable and workshop mode begins when the car moves to the driveway. A wall bench folds to 7 inches deep and opens to a 24 x 72 inch top. That folded dimension must include brackets, handles, and anything left on the wall behind it. A tool rail on the side wall stays shallow enough to clear the measured mirror and walking path.
The sample 72 x 180 inch vehicle leaves 60 inches of total room length inside a 20 foot interior before any bench, bumper gap, or door threshold is counted. Divide that remainder according to the actual garage door, nose clearance, and rear access. Do not center the car by habit. Offset it only after the driver’s door, passenger access, and wall equipment have been tried with tape.
This is a tidy arrangement, but it has a firm rule: the bench never opens over the vehicle. Casters stay locked when mobile storage is parked, and loose tools return to closed cabinets before the car comes in.
Plan 3: a shared use 12 x 20 example
The extra 24 inches of width changes the arithmetic, though it does not create a full machine shop beside a parked car. In this example, a 20 inch deep bench runs 72 inches along the driver’s side wall. The measured car envelope is offset toward the opposite wall. From left to right, the cross section is 20 inches of bench, a 36 inch gap, 72 inches of vehicle, and a 16 inch wall gap. Together they use the full 144 inches.
The 36 inch strip is a working gap in this particular sketch, not a universal aisle standard. Test whether the driver’s door can open far enough and whether a person can pass without touching a vise or sharp tool. Place the bench away from the widest part of the door swing if the room allows.
A 24 x 48 inch cart nests below the bench. With the car parked, the room supports quiet hand work at the bench. The car leaves before the cart rolls out, long stock appears, or a tool throws dust and chips into the vehicle.
Treat every moving object as a larger envelope
Footprints are the easy part. Open states cause most collisions. Draw the garage door and tracks in their lowest position. Lift the vehicle hatch and measure its highest point. Swing service doors through their full arc. Pull every planned drawer out, open cabinet doors, and add the space your hands need at a vise.
Do the same for tools. Add infeed and outfeed length to a saw, the operator’s standing area at a grinder, and the hose bend behind a dust collector. Two operating envelopes may overlap if those tools are never used together and one can be moved safely. A fixed bench cannot make that promise.
Ceiling storage deserves its own section drawing. The overhead garage storage clearance guide helps map door travel, opener hardware, lighting, hatch height, and reach. Measure at several door positions rather than trusting a single ceiling height.
Keep storage out of the work stroke
A narrow shop gets worse when every wall becomes deep storage. Put frequently used hand tools within one step of the bench, but keep the surface above a saw’s stock path clear. Long handled garden tools belong where they cannot fall into the vehicle lane. Heavy cases sit low, preferably close to the point of use, so they do not have to cross the room.
Shallow rails, pegboard, or slatwall can turn an awkward wall into useful tool storage. Their hooks and loaded tools project farther than the panel, so measure the finished depth with the bulkiest item attached. Compare attachment options in the garage wall storage systems guide.
Reserve some empty capacity. A shelf packed on day one pushes the next tool onto the bench or floor. One open bay under the bench and one unassigned wall section give the layout somewhere to absorb change.
Plan power, light, dust, and hot work as separate layers
Mark outlets before placing the bench. A cord across the car path or service door is a layout failure, even when the tool fits. Permanent wiring, added circuits, and outlets in a garage may need an electrician and must follow local requirements. Extension cords should follow their product instructions and should not become hidden permanent wiring.
Task light belongs in front of the worker so the body does not shadow the cut line. Check whether open cabinet doors block it. Dust collection needs room for the hose, drum removal, and filter service, not just the machine body. Route hoses where a vehicle tire cannot crush them.
Grinding, welding, finishes, fuel, and battery charging need their own precautions. Read the product instructions, separate incompatible activities, and keep ignition sources away from flammable vapors. A shared garage often works best when dusty or hot jobs happen only with the car outside and the nearby storage cleared.
Mock up the room before buying the heavy pieces
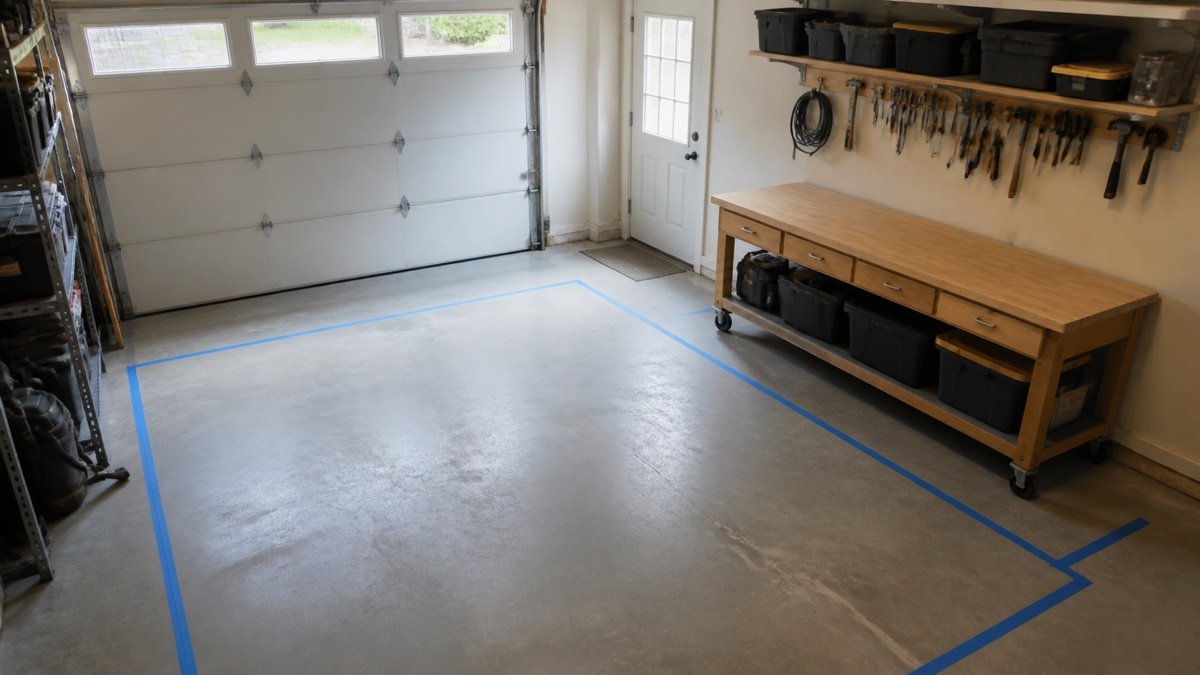
Use painter’s tape for the car, bench, shelves, and stored machines. Add a second tape line for each open door or operating tool. Cardboard boxes make convincing cabinets because you can feel how a 12 or 18 inch projection changes the room. Leave the mockup in place for several normal days.
Park using the usual approach, carry groceries through the service door, take out the mower, and reach the electrical panel. Then simulate a project with empty boxes standing in for workpieces. Awkward turns show up quickly. So do wall sections that looked free on paper but sit behind an open car door.
Photograph the tape and write the measurements on the image. That record is useful when comparing products, since a listed overall dimension may include feet, handles, hinges, or a top that overhangs the frame.
Let the parking routine choose the plan
Pick workshop first when the center floor supports projects more often than parking. Pick parking first when the car must come inside every night and you can accept a setup ritual. Choose shared use when light bench work needs to remain available with the car present, and when your measured width supports that arrangement.
None of the three plans is permanent. Start with the fixed boundaries, buy the least movable item last, and keep rolling pieces genuinely easy to relocate. If tools, sports gear, and household supplies also compete for the room, use the broader process in how to plan garage storage before assigning the last open wall.
Useful products to compare
These links open current Amazon search results so you can compare dimensions, manuals, ratings, and availability for the exact models on your shortlist.
Before you buy or install
Check the current manual for the exact product you are considering. Confirm the assembled dimensions, load rules, mounting requirements, included hardware, clearances, warranty, and any limits that apply to your wall, floor, or garage layout.
Frequently asked questions
Can a one car garage hold both a workshop and a parked car?
Sometimes. Measure the finished room, the vehicle with mirrors, door and hatch movement, and the open depth of the bench. A folding bench supports parking first use. A wider room may allow light bench work beside the car, while machines and long stock still require the car to move outside.
Is 10 x 20 feet a standard one car garage size?
No. It is only a planning example in this article. Actual garages vary, and nominal building dimensions may not match the finished interior. Measure at several heights and account for curbs, steps, framing, utilities, and the garage door system.
How deep should a workbench be in a narrow garage?
Use the shallowest depth that supports your regular workpieces, clamps, and tools. The examples use 20 and 24 inch tops, but those are not universal targets. Tape the proposed depth on the floor, open the car door, and test your reach before choosing.
Should the workbench go on the side wall or rear wall?
A rear bench suits a workshop first room because it leaves both long walls available for shallow storage. A side bench can suit shared use if the measured car envelope and door swing leave a workable gap. Garage doors, service doors, windows, and utilities may settle the choice.