Tag: garage cabinets

  • Best Garage Cabinets for Small Garages: A Fit-First Shortlist

    Best Garage Cabinets for Small Garages: A Fit-First Shortlist

    Affiliate disclosure: As an Amazon Associate I earn from qualifying purchases. This article may contain affiliate links, and Bay & Bench may earn a commission at no extra cost to you. Read our full Affiliate Disclosure.

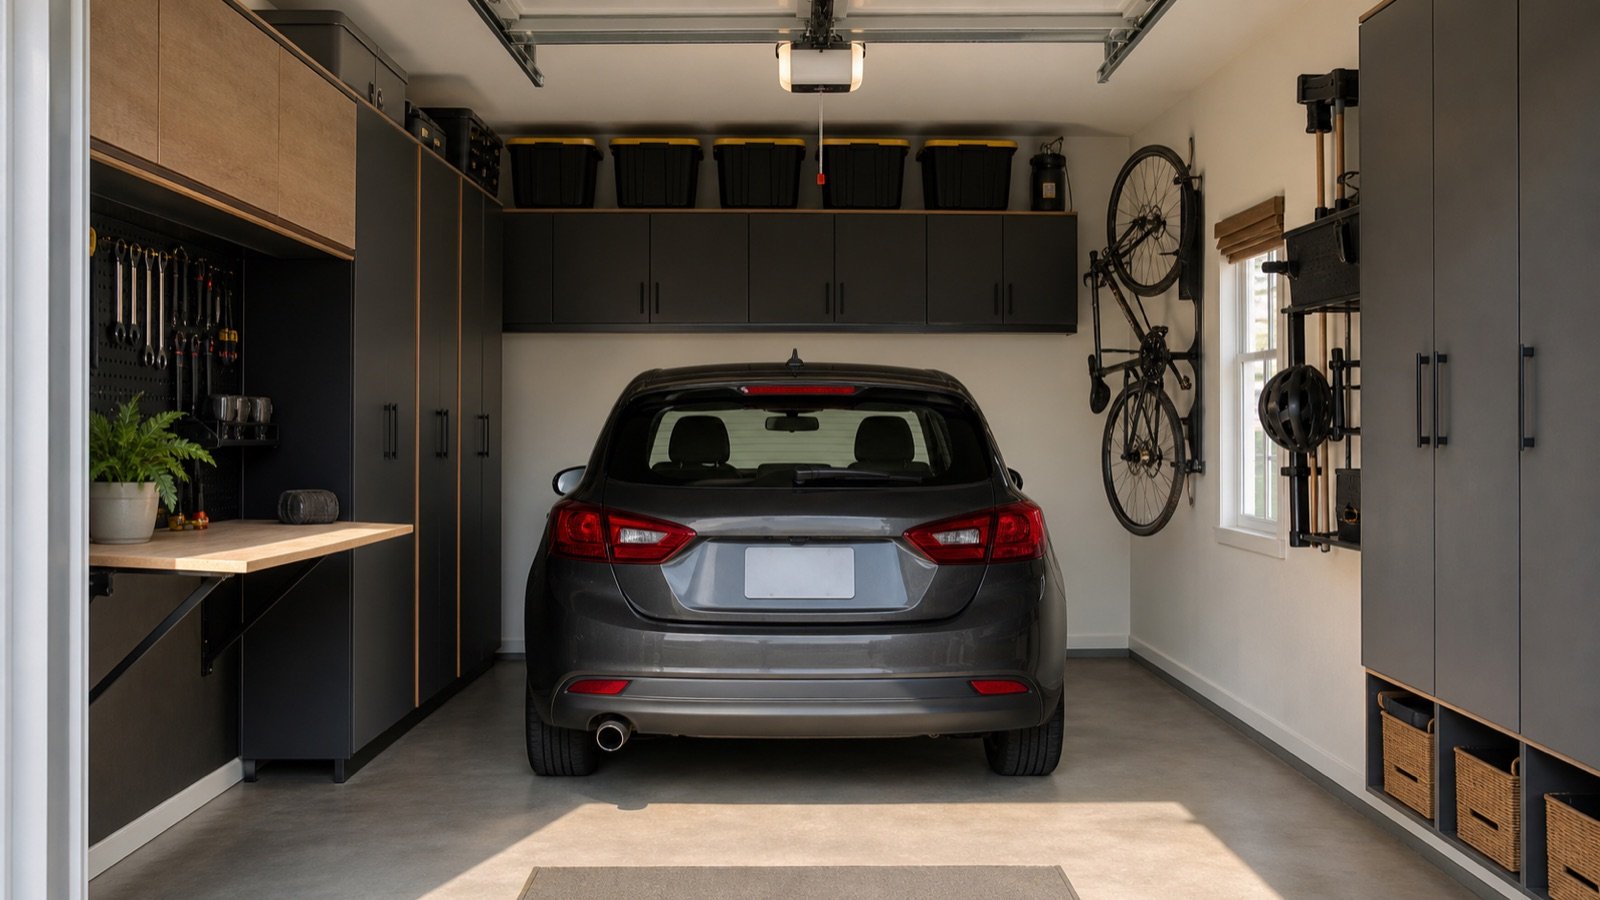
    For a small garage, the best cabinet is usually shallow, tall, and specific to one storage zone. A matched full-wall set can look efficient but may consume the aisle and remove the flexibility a narrow room needs.

    Quick answer

    Prioritize 12-inch wall cabinets, roughly 16–18-inch-deep lockers or bases, narrow tall units, and mobile storage that can leave the parking zone. Select exact products only after tape-testing car doors and walking paths.

    Useful products to compare

    These searches are a practical starting point for comparing current sizes, materials, load ratings, and availability.

    Our fit-first shortlist

    Cabinet formatBest small-garage useMain check
    Shallow wall cabinetChargers and light supplies over a benchReach and wall structure
    Narrow tall lockerMaximum volume on little wall widthTip restraint and door swing
    18-inch-deep lockerBins and tools beside parkingInternal tote fit
    Rolling drawer baseTools that move out for projectsCaster and drawer ratings
    Compact base cabinetFold-down or short work zoneFinished depth and aisle

    Why shallow often beats wide

    When the vehicle already consumes most floor area, cabinet depth affects every trip through the room. NewAge’s current Bold family illustrates shallow choices with up-to-18-inch lockers, 16-inch base cabinets and 12-inch wall cabinets. Those are useful reference points, but verify the exact model and internal dimensions.

    Use height without making storage unsafe

    A narrow tall locker can store far more than a low cabinet on the same wall width. Keep heavy items low, frequent items at comfortable reach, and light seasonal goods high. Do not stack loose objects on top where vibration or door movement can dislodge them.

    Doors and drawers are hidden space consumers

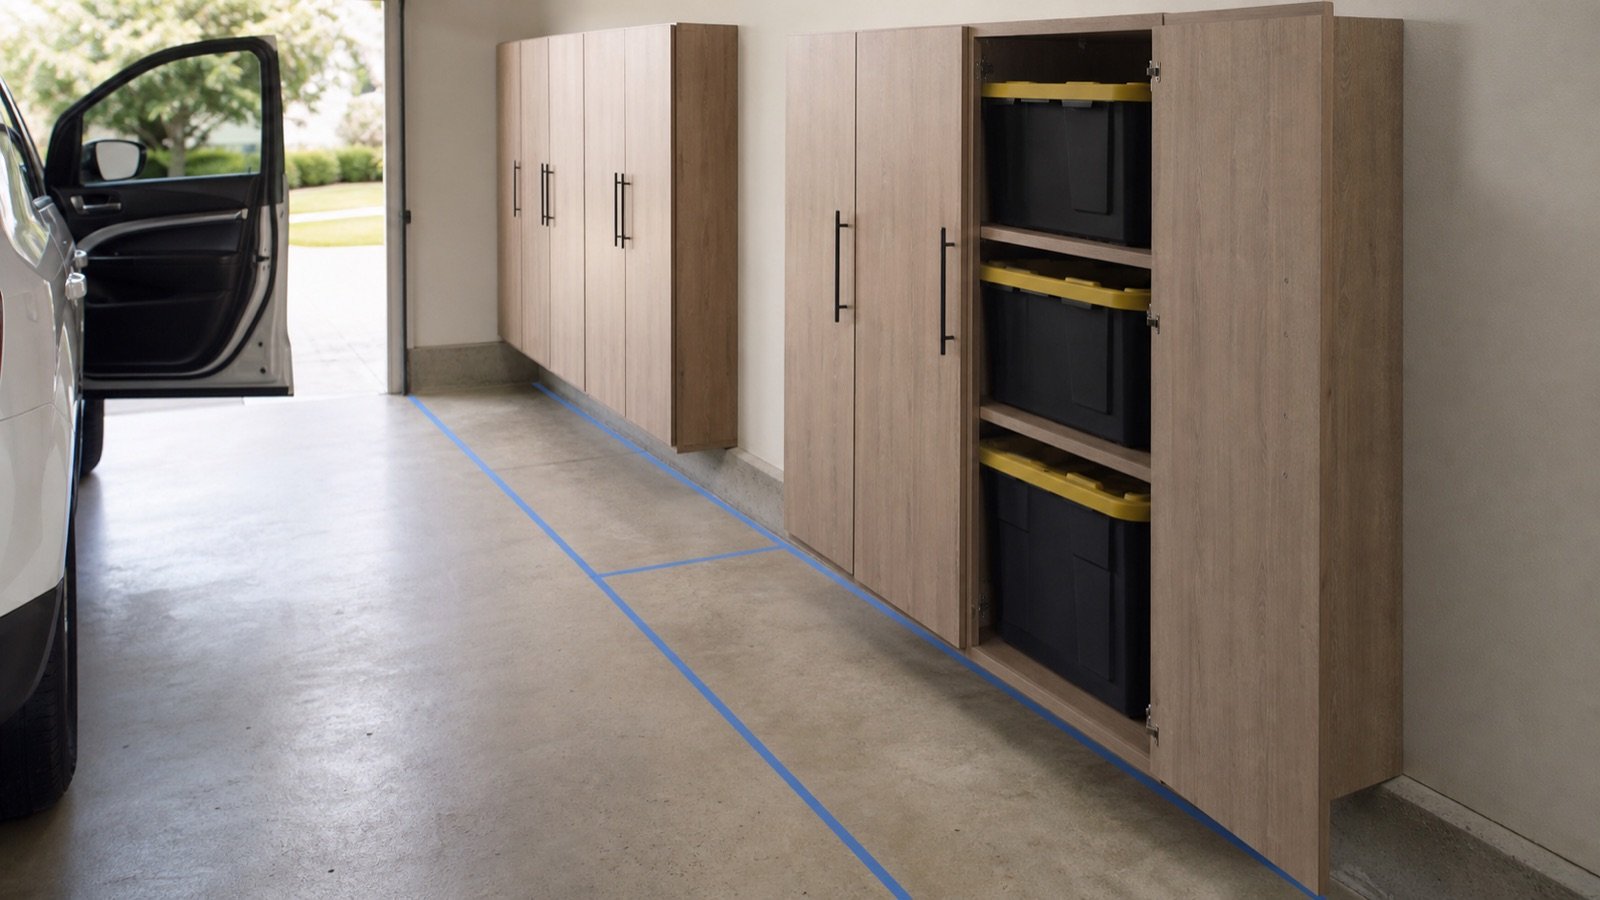
    A cabinet that fits when closed may block the car when open. In a narrow garage, compare double doors, single doors, sliding features where available, and drawer extension. Tape the complete operating envelope and test it with the actual car parked.

    Do not buy a complete set by default

    A full system may force you to accept the wrong mix. One tall cabinet, one wall cabinet and a mobile tool unit can outperform a long symmetrical run. Buy the zone that solves the greatest friction, then observe what remains on the floor.

    Candidate evaluation

    Shortlist products that publish assembled and internal dimensions, shelf ratings, installation instructions, package weight and warranty. Seville Classics currently offers multiple 18-inch-deep UltraHD formats; Suncast publishes reinforced resin options; NewAge publishes modular dimensions and ratings. Availability and exact specifications can change, so treat this as a specification framework rather than a permanent ranking.

    Start with the planning guide, confirm cabinet depth, and use the broader buying guide for final comparison.

    Before you order: the verification pass

    Put the exact model number—not merely the product-family name—at the top of your worksheet. Copy the assembled exterior dimensions, usable interior dimensions, individual shelf or drawer ratings, total cabinet weight, packaged dimensions, adjustable-foot range, and required clearances from the current manufacturer page and manual. Note which accessories are included and which appear only in styled photographs.

    Then return to the garage with painter’s tape. Mark the cabinet case, handles, open doors or extended drawers, and the path needed to load the largest object. Park the vehicle in its normal position and test every door, hatch, step, switch and service panel. Photograph the mock-up from the driver’s seat, house entry and driveway. If a critical measurement is unpublished, ask the manufacturer before placing the order.

    Finally, calculate total delivered cost: cabinet, worktop, shelves, drawer liners, casters or feet, mounting rails, appropriate fasteners, delivery surcharge, assembly help and sales tax. A lower sticker price can become the more expensive installation when essential components are optional.

    Installation-day checklist

    • Inspect packages for damage before assembly and keep model labels and receipts.
    • Read the complete manual before lifting or fastening anything.
    • Confirm the floor is stable and the planned attachment locations are suitable.
    • Use a second capable person whenever the manual or cabinet size calls for one.
    • Level and square the case before aligning doors and loading shelves.
    • Install wall mounting or tip restraints exactly as instructed.
    • Load heavy objects low and distribute weight within every shelf and drawer rating.
    • Recheck fasteners, leveling and door alignment after the cabinet has been loaded.

    Do not improvise around electrical, gas, plumbing, fire-safety or structural conditions. When the required attachment or clearance is uncertain, pause and consult a qualified professional.

    Common mistakes to avoid

    Most disappointing installations trace back to one of five mistakes: measuring only the empty wall; treating total capacity as a per-shelf rating; forgetting doors, drawers and vehicle movement; selecting depth from a catalog image; or filling every wall without reserving adaptable space. A slower specification check is cheaper than returning a pallet-sized cabinet.

    Frequently asked questions

    What cabinet depth is best for a one-car garage?

    Often 18 inches or less, but the correct answer comes from the vehicle-door and aisle mock-up plus the objects you need to store.

    Are wall cabinets enough for a small garage?

    They are excellent for light supplies, but bulky or heavy objects usually need a stable floor-level solution.

    Should I put cabinets on both side walls?

    Only if the measured vehicle and walking envelope remains comfortable. Many narrow garages work better with one primary storage wall.

    Last reviewed: July 2026. Product specifications can change; check the manufacturer’s current documentation before purchase.
  • Modular vs Preassembled Garage Cabinets

    Modular vs Preassembled Garage Cabinets

    Affiliate disclosure: As an Amazon Associate I earn from qualifying purchases. This article may contain affiliate links, and Bay & Bench may earn a commission at no extra cost to you. Read our full Affiliate Disclosure.

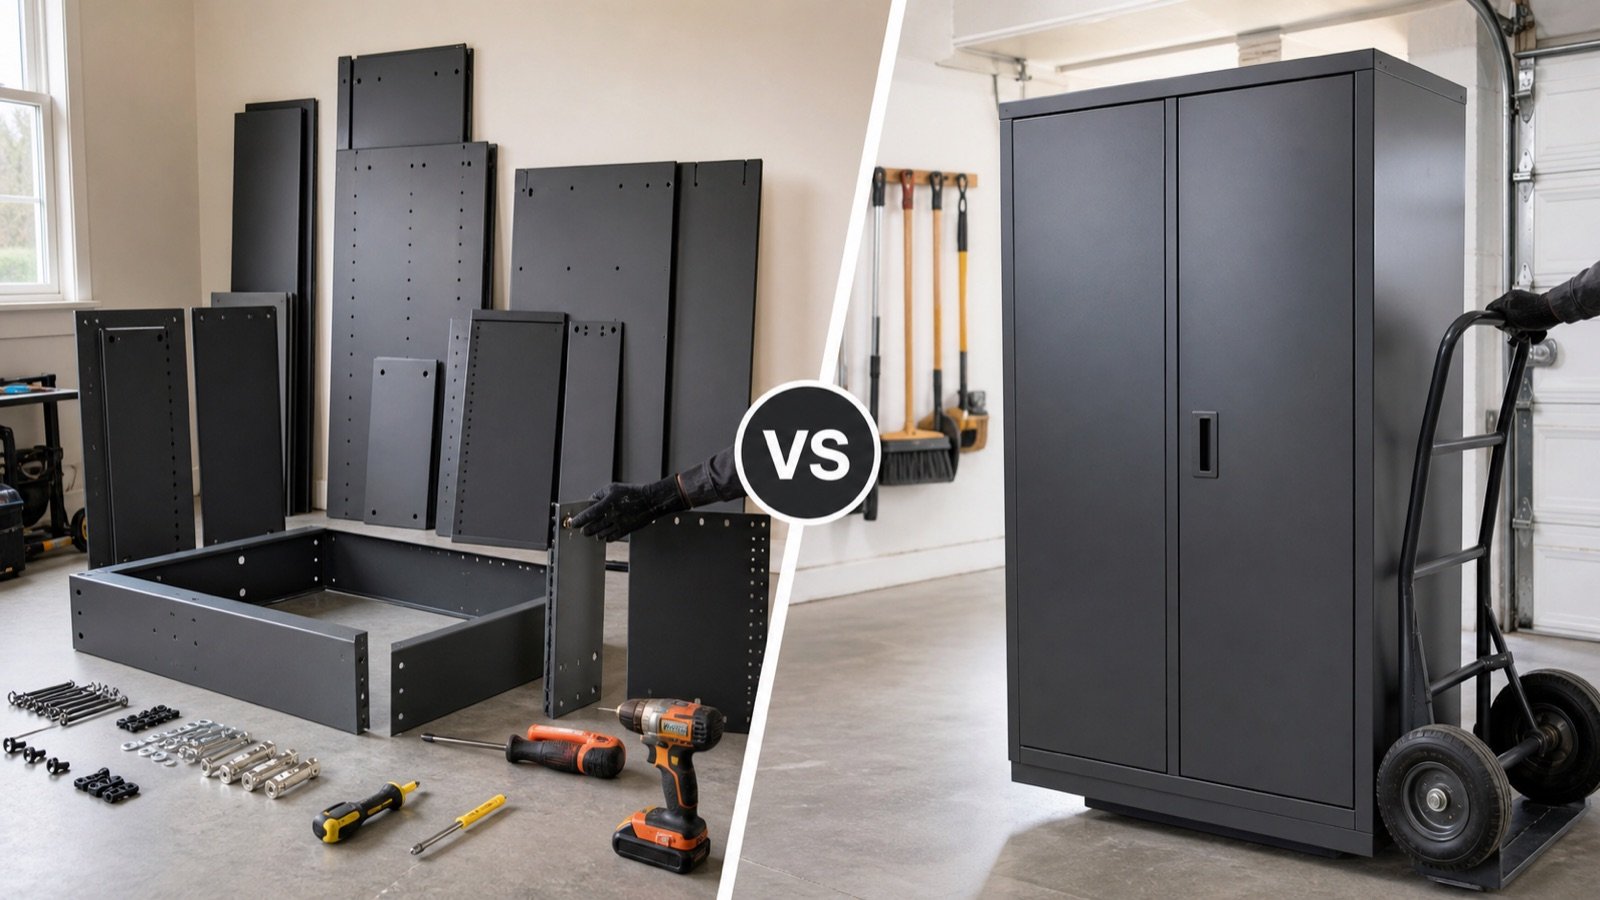
    Ready-to-assemble modular cabinets are easier to deliver through tight routes and often easier to expand. Fully welded or preassembled cabinets reduce setup and can provide a rigid square case, but are heavier and harder to move.

    Quick answer

    Choose modular when access, budget, reconfiguration and phased expansion matter. Choose preassembled when you value reduced assembly and can safely receive, move and place the heavier cabinet. Compare exact construction and ratings—not labels alone.

    Useful products to compare

    These searches are a practical starting point for comparing current sizes, materials, load ratings, and availability.

    What the terms really mean

    “Modular” describes a system of compatible components; it does not necessarily mean flat-packed. “Ready to assemble” describes delivery format. “Preassembled” can range from a completed case that needs feet and shelves to a fully welded unit. Read the assembly manual before purchase.

    Delivery and access

    Flat packages can pass through narrow doors and be carried in pieces. A welded locker may arrive on a pallet and require a truck-accessible delivery point, two capable people, and a hand truck. Compare packaged dimensions and weight with every turn between curb and garage.

    Assembly time and accuracy

    RTA cabinets require sorting hardware, protecting panels, following sequence, squaring the case and aligning doors. A rushed assembly can cause poor operation. Preassembled cases save these steps but still require leveling, shelf installation and restraint.

    Strength and repair

    Welded construction can reduce joints, but sheet design and shelf ratings remain decisive. Bolted modular cases can also be strong when engineered and assembled correctly. Modular panels may be easier to replace; welded damage may be harder to correct. Compare published ratings and parts support.

    Expansion and moving

    A broad modular family lets you add matching wall cabinets, lockers, worktops and accessories. Confirm individual pieces are sold separately. If you expect to move homes, RTA does not automatically mean the cabinet is designed for repeated disassembly; check the manual.

    Choose with a logistics scorecard

    • Package dimensions and weight
    • Delivery method and threshold service
    • People and equipment needed
    • Estimated assembly steps
    • Leveling and anchoring hardware
    • Replacement parts and future modules

    Measure the route with the garage measurement checklist before ordering.

    Before you order: the verification pass

    Put the exact model number—not merely the product-family name—at the top of your worksheet. Copy the assembled exterior dimensions, usable interior dimensions, individual shelf or drawer ratings, total cabinet weight, packaged dimensions, adjustable-foot range, and required clearances from the current manufacturer page and manual. Note which accessories are included and which appear only in styled photographs.

    Then return to the garage with painter’s tape. Mark the cabinet case, handles, open doors or extended drawers, and the path needed to load the largest object. Park the vehicle in its normal position and test every door, hatch, step, switch and service panel. Photograph the mock-up from the driver’s seat, house entry and driveway. If a critical measurement is unpublished, ask the manufacturer before placing the order.

    Finally, calculate total delivered cost: cabinet, worktop, shelves, drawer liners, casters or feet, mounting rails, appropriate fasteners, delivery surcharge, assembly help and sales tax. A lower sticker price can become the more expensive installation when essential components are optional.

    Installation-day checklist

    • Inspect packages for damage before assembly and keep model labels and receipts.
    • Read the complete manual before lifting or fastening anything.
    • Confirm the floor is stable and the planned attachment locations are suitable.
    • Use a second capable person whenever the manual or cabinet size calls for one.
    • Level and square the case before aligning doors and loading shelves.
    • Install wall mounting or tip restraints exactly as instructed.
    • Load heavy objects low and distribute weight within every shelf and drawer rating.
    • Recheck fasteners, leveling and door alignment after the cabinet has been loaded.

    Do not improvise around electrical, gas, plumbing, fire-safety or structural conditions. When the required attachment or clearance is uncertain, pause and consult a qualified professional.

    Common mistakes to avoid

    Most disappointing installations trace back to one of five mistakes: measuring only the empty wall; treating total capacity as a per-shelf rating; forgetting doors, drawers and vehicle movement; selecting depth from a catalog image; or filling every wall without reserving adaptable space. A slower specification check is cheaper than returning a pallet-sized cabinet.

    Frequently asked questions

    Are welded cabinets always stronger?

    No. Welding is one construction feature. Shelf design, steel thickness, frame geometry and published load ratings all matter.

    Do preassembled cabinets arrive ready to use?

    Not always. Shelves, feet, casters, handles or restraints may still need installation. Read the exact delivery and assembly notes.

    Can one person assemble a tall cabinet?

    Follow the manual. Large panels and uprighting steps often require two people even when individual parts are light.

    Last reviewed: July 2026. Product specifications can change; check the manufacturer’s current documentation before purchase.
  • Garage Cabinet Size Guide: Width, Height, and Usable Space

    Garage Cabinet Size Guide: Width, Height, and Usable Space

    Affiliate disclosure: As an Amazon Associate I earn from qualifying purchases. This article may contain affiliate links, and Bay & Bench may earn a commission at no extra cost to you. Read our full Affiliate Disclosure.

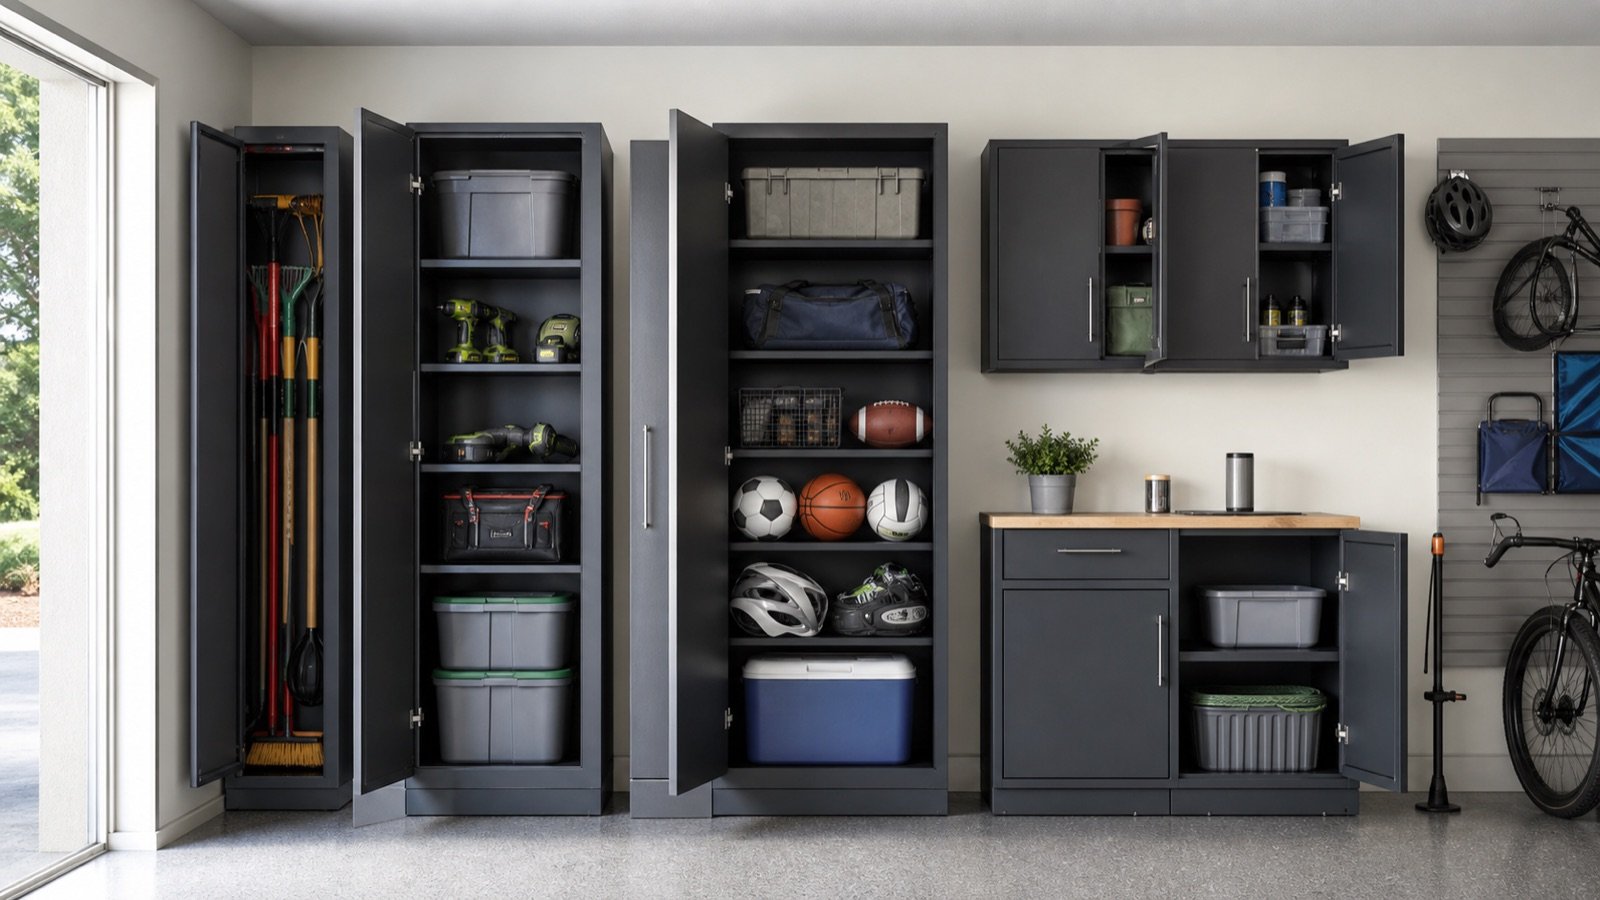
    Garage cabinets do not follow one universal standard. Product families commonly combine tall lockers, base cabinets, wall cabinets, and tool cabinets in multiple widths and depths. Plan with exact model dimensions.

    Quick answer

    Record external size, internal usable size, opening size, adjustable-foot range, handle projection and operating clearance. Select width for the stored object and wall module; select height for safe reach and ceiling conditions; select depth for the aisle.

    Useful products to compare

    These searches are a practical starting point for comparing current sizes, materials, load ratings, and availability.

    Typical cabinet roles

    TypeCommon roleDimension to prioritize
    Tall lockerLong and bulky gearInterior height and depth
    Base cabinetHeavy storage/worktopFinished work height
    Wall cabinetLight accessible storageDepth and mounting height
    Drawer unitTools and partsDrawer interior and extension

    Width: match modules to objects

    Narrow lockers suit long tools and constrained walls. Wider lockers accept totes but need broader door clearance and may have longer shelf spans. Current Bold Series examples include lockers from 30 to 48 inches wide, base cabinets at 24 and 36 inches, and wall cabinets at 24 and 36 inches. Treat these as examples, not standards.

    Height: capacity versus reach

    Tall cabinets use vertical volume efficiently, but the top shelf may require a safe step stool. Include adjustable legs and top cabinets in the total installed height. Check garage-door hardware, ceiling slope and lighting. Keep heavy objects below waist height and daily items in the comfortable reach zone.

    Depth: capacity versus circulation

    Wall cabinets may be around 12 inches deep in some systems; tall and base cabinets frequently run deeper. The choice deserves its own 18 vs 24-inch cabinet guide. A nominal dimension is not the usable interior dimension.

    Worktop and base-cabinet height

    Adjustable feet can change the finished surface height and help level a unit. Add the worktop thickness. Choose the surface height for the actual work—precision assembly, heavy mechanical work and general storage can favor different positions. If several users share the bench, prioritize the main task and consider an adjustable auxiliary surface.

    Build a dimension schedule

    Create a table with model, external W×D×H, internal shelf size, opening, load per shelf, total load, door envelope, weight, package size and foot adjustment. Highlight any measurement not published and ask the manufacturer before buying.

    Use the schedule with the buying guide to compare candidates consistently.

    Before you order: the verification pass

    Put the exact model number—not merely the product-family name—at the top of your worksheet. Copy the assembled exterior dimensions, usable interior dimensions, individual shelf or drawer ratings, total cabinet weight, packaged dimensions, adjustable-foot range, and required clearances from the current manufacturer page and manual. Note which accessories are included and which appear only in styled photographs.

    Then return to the garage with painter’s tape. Mark the cabinet case, handles, open doors or extended drawers, and the path needed to load the largest object. Park the vehicle in its normal position and test every door, hatch, step, switch and service panel. Photograph the mock-up from the driver’s seat, house entry and driveway. If a critical measurement is unpublished, ask the manufacturer before placing the order.

    Finally, calculate total delivered cost: cabinet, worktop, shelves, drawer liners, casters or feet, mounting rails, appropriate fasteners, delivery surcharge, assembly help and sales tax. A lower sticker price can become the more expensive installation when essential components are optional.

    Installation-day checklist

    • Inspect packages for damage before assembly and keep model labels and receipts.
    • Read the complete manual before lifting or fastening anything.
    • Confirm the floor is stable and the planned attachment locations are suitable.
    • Use a second capable person whenever the manual or cabinet size calls for one.
    • Level and square the case before aligning doors and loading shelves.
    • Install wall mounting or tip restraints exactly as instructed.
    • Load heavy objects low and distribute weight within every shelf and drawer rating.
    • Recheck fasteners, leveling and door alignment after the cabinet has been loaded.

    Do not improvise around electrical, gas, plumbing, fire-safety or structural conditions. When the required attachment or clearance is uncertain, pause and consult a qualified professional.

    Common mistakes to avoid

    Most disappointing installations trace back to one of five mistakes: measuring only the empty wall; treating total capacity as a per-shelf rating; forgetting doors, drawers and vehicle movement; selecting depth from a catalog image; or filling every wall without reserving adaptable space. A slower specification check is cheaper than returning a pallet-sized cabinet.

    Frequently asked questions

    What is a standard garage cabinet depth?

    There is no single standard. Wall, base and tall cabinets differ, and even one manufacturer may offer 18- and 24-inch families.

    How tall should a garage cabinet be?

    The best height fits below obstructions, permits installation, and keeps important contents safely reachable. Use the exact product height including feet.

    Should cabinets fill the entire wall?

    Not necessarily. Reserve space for flexible wall storage, future equipment, ventilation and service access.

    Last reviewed: July 2026. Product specifications can change; check the manufacturer’s current documentation before purchase.
  • 18 vs 24-Inch-Deep Garage Cabinets: Choose the Right Depth

    18 vs 24-Inch-Deep Garage Cabinets: Choose the Right Depth

    Affiliate disclosure: As an Amazon Associate I earn from qualifying purchases. This article may contain affiliate links, and Bay & Bench may earn a commission at no extra cost to you. Read our full Affiliate Disclosure.

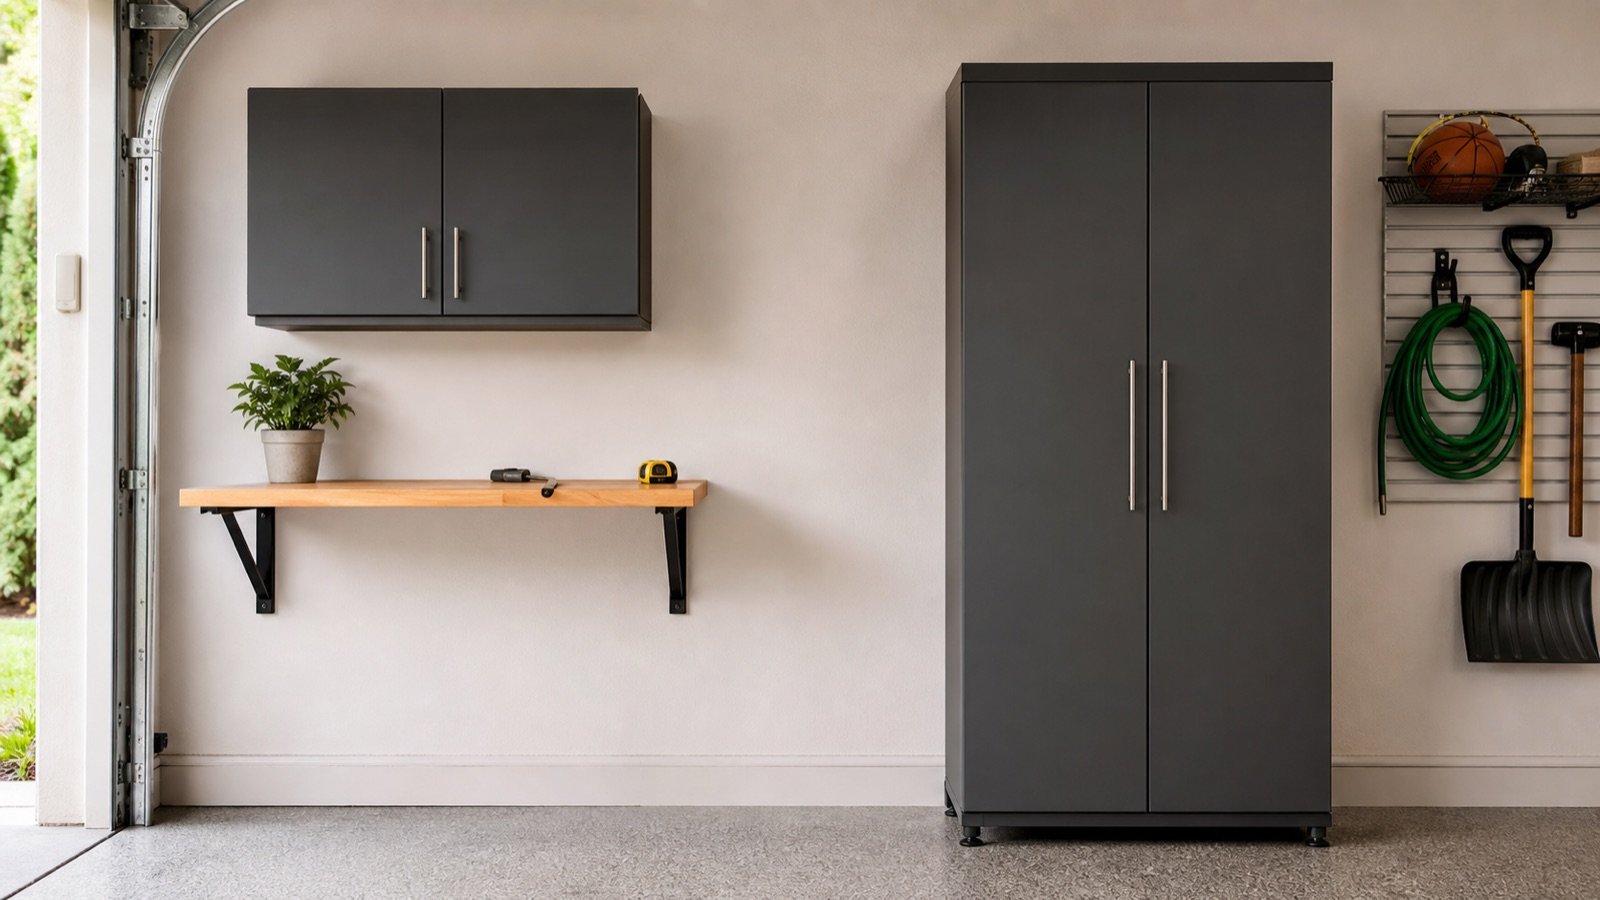
    Eighteen-inch cabinets preserve roughly six more inches of aisle than 24-inch cabinets. Twenty-four-inch cabinets accept bulkier totes and create a deeper work surface. The right choice is determined by the largest stored object and the tightest movement clearance.

    Quick answer

    Choose 18 inches for narrow parking aisles, visible shelf contents, and compact tools. Choose 24 inches for large bins, deep equipment, or a substantial worktop—only after testing the full cabinet and door envelope beside the vehicle.

    Useful products to compare

    These searches are a practical starting point for comparing current sizes, materials, load ratings, and availability.

    The six-inch difference changes the room

    Six inches along a long cabinet run can determine whether a car door opens comfortably or a person can carry a tote past the vehicle. Mark both depths with tape. Include handles and worktop overhang rather than using the nominal case depth alone.

    What fits at 18 inches

    Shallow cabinets work well for hand tools, chargers, paint supplies, compact power tools and many medium bins. Contents are easier to see because fewer items sit behind one another. Current product families illustrate the format: NewAge’s Bold lockers reach up to 18 inches deep, while its wall cabinets are shallower.

    What fits at 24 inches

    Deeper cabinets can accept large totes, bulky automotive equipment and wide shop accessories. They also pair naturally with a deep worktop. Seville Classics offers current UltraHD cabinets in both 18- and 24-inch depths, showing that depth is a capacity choice within a product family, not a universal quality tier.

    Measure the object, opening, and interior

    A 24-inch exterior does not guarantee 24 inches of usable shelf. Door frames, backs and hinges reduce internal space. Measure the object at its widest point and compare with the manufacturer’s internal dimensions and door opening. Leave retrieval clearance for hands.

    Avoid the deep-cabinet trap

    Deep shelves can become dark storage caves for small items. Use pull-out trays, drawers or bins that bring the full depth forward. Do not stack heavy objects where the rear item requires unloading the entire shelf.

    Decision rule

    1. Use the shallowest cabinet that fits the object and required work surface.
    2. Test car doors and the walking path with tape.
    3. Check internal—not only external—depth.
    4. Use mixed depths if a full run does not need to be uniform.

    For width and height, continue to the garage cabinet size guide.

    Before you order: the verification pass

    Put the exact model number—not merely the product-family name—at the top of your worksheet. Copy the assembled exterior dimensions, usable interior dimensions, individual shelf or drawer ratings, total cabinet weight, packaged dimensions, adjustable-foot range, and required clearances from the current manufacturer page and manual. Note which accessories are included and which appear only in styled photographs.

    Then return to the garage with painter’s tape. Mark the cabinet case, handles, open doors or extended drawers, and the path needed to load the largest object. Park the vehicle in its normal position and test every door, hatch, step, switch and service panel. Photograph the mock-up from the driver’s seat, house entry and driveway. If a critical measurement is unpublished, ask the manufacturer before placing the order.

    Finally, calculate total delivered cost: cabinet, worktop, shelves, drawer liners, casters or feet, mounting rails, appropriate fasteners, delivery surcharge, assembly help and sales tax. A lower sticker price can become the more expensive installation when essential components are optional.

    Installation-day checklist

    • Inspect packages for damage before assembly and keep model labels and receipts.
    • Read the complete manual before lifting or fastening anything.
    • Confirm the floor is stable and the planned attachment locations are suitable.
    • Use a second capable person whenever the manual or cabinet size calls for one.
    • Level and square the case before aligning doors and loading shelves.
    • Install wall mounting or tip restraints exactly as instructed.
    • Load heavy objects low and distribute weight within every shelf and drawer rating.
    • Recheck fasteners, leveling and door alignment after the cabinet has been loaded.

    Do not improvise around electrical, gas, plumbing, fire-safety or structural conditions. When the required attachment or clearance is uncertain, pause and consult a qualified professional.

    Common mistakes to avoid

    Most disappointing installations trace back to one of five mistakes: measuring only the empty wall; treating total capacity as a per-shelf rating; forgetting doors, drawers and vehicle movement; selecting depth from a catalog image; or filling every wall without reserving adaptable space. A slower specification check is cheaper than returning a pallet-sized cabinet.

    Frequently asked questions

    Are 18-inch cabinets deep enough for storage totes?

    Some are, many are not. Measure your exact tote including lid and handles, then compare with usable internal cabinet depth.

    Is a 24-inch cabinet better under a workbench?

    It often provides a more useful worktop, but standing comfort, tool access and aisle clearance still need testing.

    Can I mix cabinet depths?

    Yes, if transitions do not create collision points and the layout remains coherent. A deep work zone plus shallow parking-side storage is often sensible.

    Last reviewed: July 2026. Product specifications can change; check the manufacturer’s current documentation before purchase.
  • Wall-Mounted vs Freestanding Garage Cabinets

    Wall-Mounted vs Freestanding Garage Cabinets

    Affiliate disclosure: As an Amazon Associate I earn from qualifying purchases. This article may contain affiliate links, and Bay & Bench may earn a commission at no extra cost to you. Read our full Affiliate Disclosure.

    Wall-mounted cabinets preserve floor space and keep frequent supplies above a bench. Freestanding cabinets usually provide more capacity, tolerate heavier contents, and are easier to place—but consume valuable floor depth.

    Quick answer

    Use wall cabinets for light-to-moderate items at a safe reach height and freestanding cabinets for bulky or heavy storage. Many effective garages combine both, with the mounting and tip-restraint requirements treated as part of the purchase.

    Useful products to compare

    These searches are a practical starting point for comparing current sizes, materials, load ratings, and availability.

    Where wall cabinets win

    They free the floor for cleaning, parking and rolling tools. Mounted above a base cabinet or bench, they turn unused wall volume into accessible storage. They also avoid conflicts with foundation curbs and minor floor slopes.

    The tradeoff is limited depth and capacity. NewAge, for example, lists 12-inch-deep wall cabinets in its Bold range versus deeper lockers and base cabinets. Model ratings and installation instructions govern the actual load.

    Where freestanding cabinets win

    Tall lockers accept long tools, large totes and high total volume. Base cabinets can support a worktop. Units with adjustable feet can be leveled on some uneven floors. They are easier to reposition before anchoring and do not require lifting a cabinet into place.

    However, tall furniture can tip. Use the provided restraint method and do not let an open drawer or door become a climbing aid.

    Installation is the decisive difference

    A wall cabinet’s rated capacity assumes correct attachment to suitable structure. Identify the wall construction, locate structural attachment points, use the specified rail or hardware, and respect clearances. If the wall condition is uncertain, use a qualified installer.

    A freestanding cabinet still needs a stable, level footprint and often wall restraint. “Freestanding” does not mean “safe without anchoring.”

    Reach and door movement

    Mount frequently used items where all intended users can retrieve them without unsafe stretching. Check the cabinet door path against garage-door tracks, lights, adjacent doors and the headroom above the bench. For floor cabinets, mark the complete door and drawer envelope next to the vehicle.

    A practical hybrid layout

    Place one tall cabinet at the end of the run for bulky gear, base cabinets beneath the principal work surface, and wall cabinets over the bench for lighter tools. Leave a section of slatwall or pegboard for daily-use objects. This mix protects capacity without turning every inch into enclosed storage.

    How to choose

    Use wall units when the floor is the scarce resource; use floor units when volume and load are scarce. Measure first with our garage measurement guide, then compare depths in 18 vs 24-inch cabinets.

    Before you order: the verification pass

    Put the exact model number—not merely the product-family name—at the top of your worksheet. Copy the assembled exterior dimensions, usable interior dimensions, individual shelf or drawer ratings, total cabinet weight, packaged dimensions, adjustable-foot range, and required clearances from the current manufacturer page and manual. Note which accessories are included and which appear only in styled photographs.

    Then return to the garage with painter’s tape. Mark the cabinet case, handles, open doors or extended drawers, and the path needed to load the largest object. Park the vehicle in its normal position and test every door, hatch, step, switch and service panel. Photograph the mock-up from the driver’s seat, house entry and driveway. If a critical measurement is unpublished, ask the manufacturer before placing the order.

    Finally, calculate total delivered cost: cabinet, worktop, shelves, drawer liners, casters or feet, mounting rails, appropriate fasteners, delivery surcharge, assembly help and sales tax. A lower sticker price can become the more expensive installation when essential components are optional.

    Installation-day checklist

    • Inspect packages for damage before assembly and keep model labels and receipts.
    • Read the complete manual before lifting or fastening anything.
    • Confirm the floor is stable and the planned attachment locations are suitable.
    • Use a second capable person whenever the manual or cabinet size calls for one.
    • Level and square the case before aligning doors and loading shelves.
    • Install wall mounting or tip restraints exactly as instructed.
    • Load heavy objects low and distribute weight within every shelf and drawer rating.
    • Recheck fasteners, leveling and door alignment after the cabinet has been loaded.

    Do not improvise around electrical, gas, plumbing, fire-safety or structural conditions. When the required attachment or clearance is uncertain, pause and consult a qualified professional.

    Common mistakes to avoid

    Most disappointing installations trace back to one of five mistakes: measuring only the empty wall; treating total capacity as a per-shelf rating; forgetting doors, drawers and vehicle movement; selecting depth from a catalog image; or filling every wall without reserving adaptable space. A slower specification check is cheaper than returning a pallet-sized cabinet.

    Frequently asked questions

    Can wall cabinets hold power tools?

    Only within the exact cabinet, mounting system and wall-attachment ratings. Keep the heaviest items low whenever practical.

    Can a freestanding cabinet sit on a sloped garage floor?

    Adjustable feet may compensate within their stated range. The unit must end level and stable, following the manufacturer’s instructions.

    Which type makes a small garage feel larger?

    Shallow wall cabinets can preserve visible floor area, but a narrow tall cabinet may provide more capacity per foot of wall. Model both footprints.

    Last reviewed: July 2026. Product specifications can change; check the manufacturer’s current documentation before purchase.
  • Metal vs Plastic Garage Cabinets: Which Material Fits Your Garage?

    Metal vs Plastic Garage Cabinets: Which Material Fits Your Garage?

    Affiliate disclosure: As an Amazon Associate I earn from qualifying purchases. This article may contain affiliate links, and Bay & Bench may earn a commission at no extra cost to you. Read our full Affiliate Disclosure.

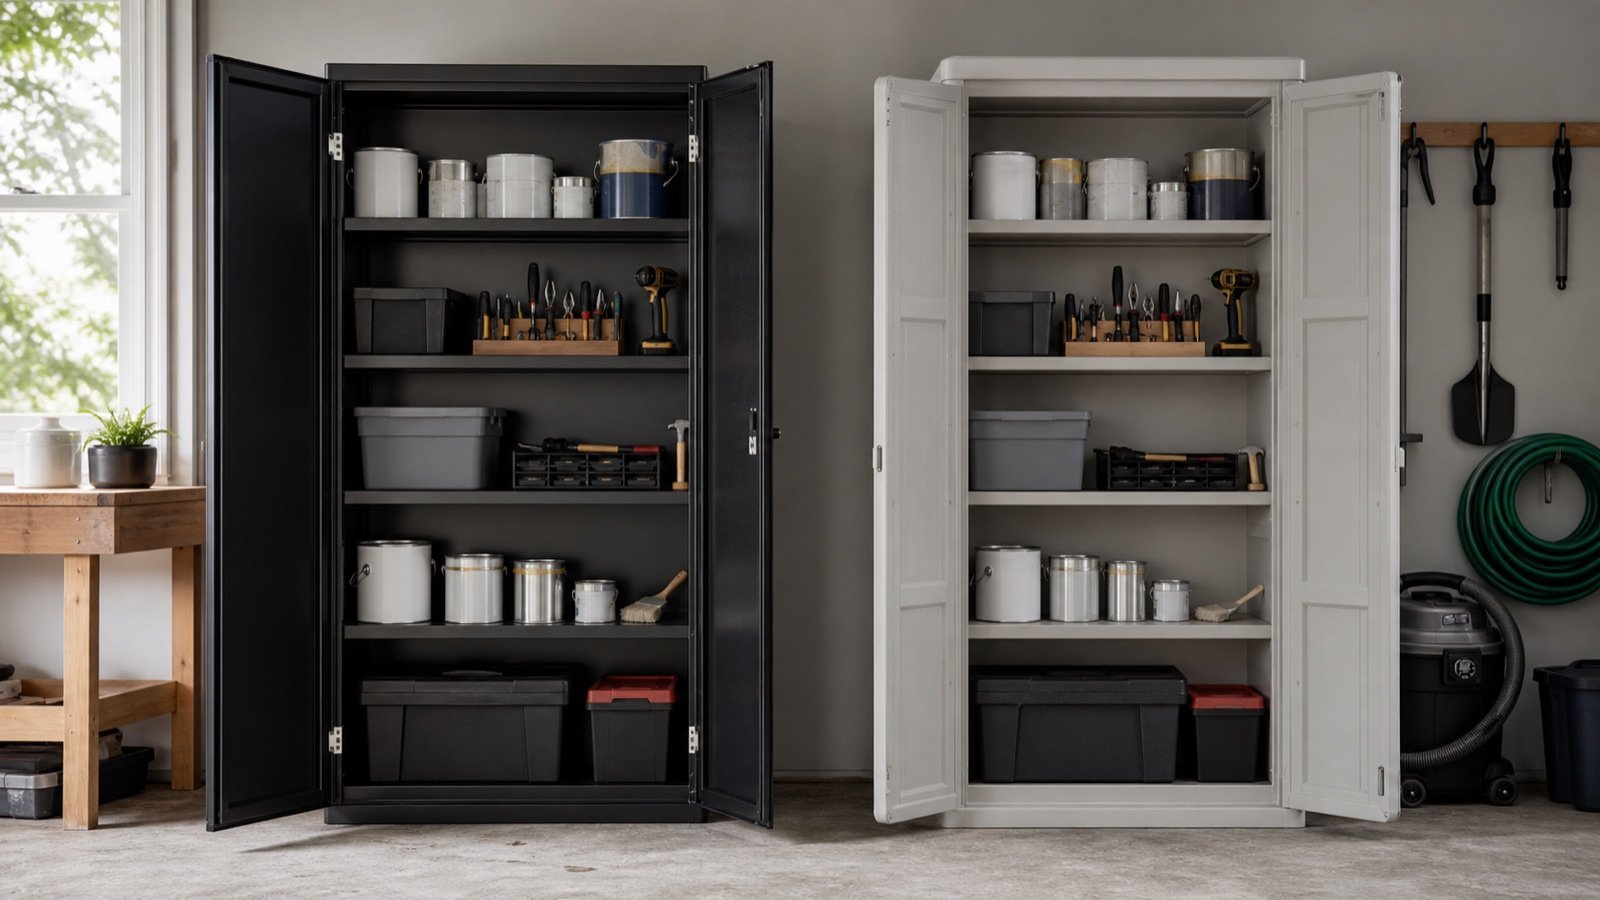
    Metal cabinets are usually the stronger choice for dense tools and modular workshop systems; molded resin cabinets are compelling where rust resistance, easy cleaning, and light assembly matter. Neither material wins without model-specific specifications.

    Quick answer

    Choose steel for heavy, concentrated workshop storage when the shelf and drawer ratings support it. Choose resin for moderate household loads, damp environments, and low-maintenance storage—while respecting shelf spans and temperature guidance.

    Useful products to compare

    These searches are a practical starting point for comparing current sizes, materials, load ratings, and availability.

    Strength is a system, not a material label

    Steel performance depends on gauge, bends, welds or fasteners, shelf reinforcement and frame design. Resin performance depends on wall construction, reinforcement and shelf span. Compare the published per-shelf capacity and test conditions of exact models.

    For example, a current Seville Classics UltraHD model lists a 600-pound total capacity and 150 pounds per shelf, while a Suncast reinforced resin base cabinet lists 75 pounds per shelf. Those figures describe particular models, not every cabinet made from those materials.

    Rust, moisture, and chemicals

    Resin does not rust and is simple to wash. Steel relies on its coating and intact surfaces; chips and exposed edges deserve attention. Neither cabinet should be assumed compatible with every chemical. Follow chemical labels and cabinet instructions, keep containers closed, and manage garage humidity and leaks.

    Dents, scratches, and appearance

    Thin metal can dent; resin can scuff, flex or fade depending on formulation and exposure. Powder-coated steel often creates a cohesive workshop appearance and may offer magnetic surfaces. Resin tends to hide small impacts and avoids paint chips. Inspect door alignment, hinge design and replacement-part availability.

    Assembly and movement

    Resin panels are often lighter and may snap or fasten together with basic tools. Steel ready-to-assemble units can contain many fasteners and need careful squaring. Welded steel arrives largely assembled but may require two people and a clear delivery route.

    Our assembly-format guide covers this decision in depth.

    Temperature and fire considerations

    A garage can experience heat, cold and direct sun. Use only within the manufacturer’s stated environment. Plastic is combustible and can deform under heat; steel conducts heat and is not, by itself, a fire-rated storage solution. Flammables and hazardous materials need storage practices appropriate to their labels and local rules.

    Decision checklist

    • List the heaviest shelf load and largest object.
    • Verify internal dimensions and per-shelf rating.
    • Assess moisture, salt, impact and temperature exposure.
    • Check anchoring and assembly requirements.
    • Compare warranty, spare shelves and replacement hardware.

    Return to the full garage cabinets buying guide before choosing a model.

    Before you order: the verification pass

    Put the exact model number—not merely the product-family name—at the top of your worksheet. Copy the assembled exterior dimensions, usable interior dimensions, individual shelf or drawer ratings, total cabinet weight, packaged dimensions, adjustable-foot range, and required clearances from the current manufacturer page and manual. Note which accessories are included and which appear only in styled photographs.

    Then return to the garage with painter’s tape. Mark the cabinet case, handles, open doors or extended drawers, and the path needed to load the largest object. Park the vehicle in its normal position and test every door, hatch, step, switch and service panel. Photograph the mock-up from the driver’s seat, house entry and driveway. If a critical measurement is unpublished, ask the manufacturer before placing the order.

    Finally, calculate total delivered cost: cabinet, worktop, shelves, drawer liners, casters or feet, mounting rails, appropriate fasteners, delivery surcharge, assembly help and sales tax. A lower sticker price can become the more expensive installation when essential components are optional.

    Installation-day checklist

    • Inspect packages for damage before assembly and keep model labels and receipts.
    • Read the complete manual before lifting or fastening anything.
    • Confirm the floor is stable and the planned attachment locations are suitable.
    • Use a second capable person whenever the manual or cabinet size calls for one.
    • Level and square the case before aligning doors and loading shelves.
    • Install wall mounting or tip restraints exactly as instructed.
    • Load heavy objects low and distribute weight within every shelf and drawer rating.
    • Recheck fasteners, leveling and door alignment after the cabinet has been loaded.

    Do not improvise around electrical, gas, plumbing, fire-safety or structural conditions. When the required attachment or clearance is uncertain, pause and consult a qualified professional.

    Common mistakes to avoid

    Most disappointing installations trace back to one of five mistakes: measuring only the empty wall; treating total capacity as a per-shelf rating; forgetting doors, drawers and vehicle movement; selecting depth from a catalog image; or filling every wall without reserving adaptable space. A slower specification check is cheaper than returning a pallet-sized cabinet.

    Frequently asked questions

    Are plastic garage cabinets waterproof?

    Do not assume so. Resin itself resists water, but doors, seams and vents may not prevent water or humidity from reaching contents.

    Do metal cabinets rust?

    Coated steel is designed to resist corrosion, but damaged coating, salt and persistent moisture can create risk. Follow care instructions.

    Which is better for heavy power tools?

    A steel model often offers higher ratings, but choose by the exact shelf or drawer rating and distribute loads as instructed.

    Last reviewed: July 2026. Product specifications can change; check the manufacturer’s current documentation before purchase.
  • Garage Cabinets Buying Guide: Choose by Space, Load, and Use

    Garage Cabinets Buying Guide: Choose by Space, Load, and Use

    Affiliate disclosure: As an Amazon Associate I earn from qualifying purchases. This article may contain affiliate links, and Bay & Bench may earn a commission at no extra cost to you. Read our full Affiliate Disclosure.

    The best garage cabinet is not automatically the heaviest or deepest. It is the cabinet whose usable interior, shelf ratings, door movement, installation method, and expansion options match a measured garage.

    Quick answer

    Shortlist by format and dimensions first. Then compare per-shelf capacity, construction, hardware, anchoring, warranty, replacement parts, delivery format, and total installed cost.

    Useful products to compare

    These searches are a practical starting point for comparing current sizes, materials, load ratings, and availability.

    Pick the cabinet format

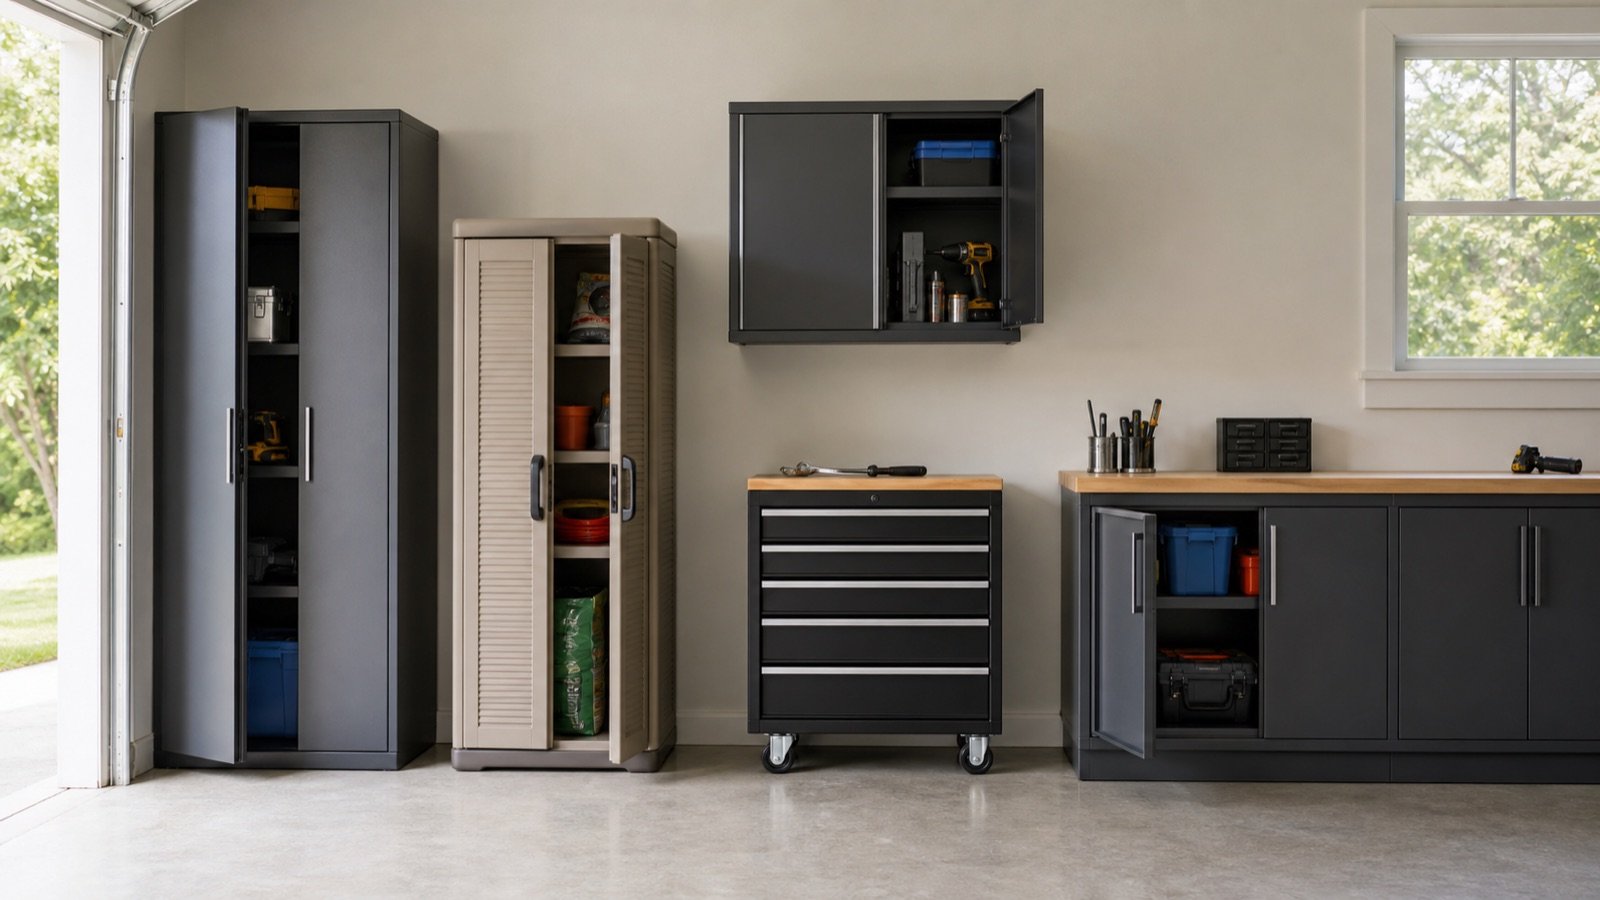
    FormatBest useWatch for
    Tall lockerBulky and long objectsTip restraint, ceiling height
    Base cabinetWorkbench support and heavy toolsToe space, worktop height
    Wall cabinetFloor-free storageStructure and reach height
    Drawer cabinetSmall tools and hardwareDrawer rating and extension
    Mobile cabinetWork that changes locationCaster rating and brakes

    Compare material honestly

    Powder-coated steel offers high structural potential and a workshop look, but gauge, folds, welds and shelf design matter more than the word “steel.” Resin resists rust and dents and is easy to clean, but shelf span and temperature conditions matter. Wood-based cabinetry can provide a refined work area but needs appropriate protection from moisture and impact.

    Our detailed metal versus plastic cabinet comparison explains the tradeoffs.

    Read load ratings correctly

    Separate total cabinet capacity from individual shelf and drawer capacity. Confirm whether figures assume evenly distributed loads, leveling, wall attachment, or a fixed installation. A high total number does not permit one shelf to carry that number.

    For perspective, current official examples vary widely: NewAge lists different capacities for lockers, base cabinets and wall cabinets; Seville Classics publishes model-specific shelf and total ratings; Suncast publishes ratings for its reinforced resin shelves. Compare like with like.

    Dimensions that matter

    Use external assembled dimensions for room fit and internal dimensions for object fit. Include handles, hinges, feet and worktop overhang. Cabinet depth is a major choice: see the 18-inch versus 24-inch guide. The cabinet size guide covers width and height.

    Assembly, installation, and expansion

    Ready-to-assemble units can enter tight spaces and may cost less to ship, but require time and careful squaring. Preassembled or welded cases reduce assembly but can be heavy. Check whether shelves, casters, worktops, locks and wall hardware are included or optional.

    A coherent product family can simplify future expansion, but only if accessories and individual cabinets remain available.

    Make a final scorecard

    Score each candidate from 1 to 5 for fit, usable capacity, shelf/drawer ratings, installation, hardware, expandability, warranty/support and total delivered cost. Weight “fit” twice. Eliminate any option that fails a safety, clearance or object-size requirement regardless of its average score.

    Before you order: the verification pass

    Put the exact model number—not merely the product-family name—at the top of your worksheet. Copy the assembled exterior dimensions, usable interior dimensions, individual shelf or drawer ratings, total cabinet weight, packaged dimensions, adjustable-foot range, and required clearances from the current manufacturer page and manual. Note which accessories are included and which appear only in styled photographs.

    Then return to the garage with painter’s tape. Mark the cabinet case, handles, open doors or extended drawers, and the path needed to load the largest object. Park the vehicle in its normal position and test every door, hatch, step, switch and service panel. Photograph the mock-up from the driver’s seat, house entry and driveway. If a critical measurement is unpublished, ask the manufacturer before placing the order.

    Finally, calculate total delivered cost: cabinet, worktop, shelves, drawer liners, casters or feet, mounting rails, appropriate fasteners, delivery surcharge, assembly help and sales tax. A lower sticker price can become the more expensive installation when essential components are optional.

    Installation-day checklist

    • Inspect packages for damage before assembly and keep model labels and receipts.
    • Read the complete manual before lifting or fastening anything.
    • Confirm the floor is stable and the planned attachment locations are suitable.
    • Use a second capable person whenever the manual or cabinet size calls for one.
    • Level and square the case before aligning doors and loading shelves.
    • Install wall mounting or tip restraints exactly as instructed.
    • Load heavy objects low and distribute weight within every shelf and drawer rating.
    • Recheck fasteners, leveling and door alignment after the cabinet has been loaded.

    Do not improvise around electrical, gas, plumbing, fire-safety or structural conditions. When the required attachment or clearance is uncertain, pause and consult a qualified professional.

    Common mistakes to avoid

    Most disappointing installations trace back to one of five mistakes: measuring only the empty wall; treating total capacity as a per-shelf rating; forgetting doors, drawers and vehicle movement; selecting depth from a catalog image; or filling every wall without reserving adaptable space. A slower specification check is cheaper than returning a pallet-sized cabinet.

    Frequently asked questions

    How much should garage cabinets cost?

    Prices change constantly and full systems include different components. Compare the delivered and installed cost per usable zone, not only the advertised cabinet price.

    Are deeper cabinets always better?

    No. Extra depth helps bulky totes but can reduce aisles and hide small items. Choose depth from stored-object dimensions and vehicle clearance.

    Do garage cabinets need to be anchored?

    Follow the exact manufacturer instructions. Tall cabinets commonly require tip restraint, and wall units require attachment to suitable structure.

    Last reviewed: July 2026. Product specifications can change; check the manufacturer’s current documentation before purchase.

  • Garage Storage Systems: How to Build One That Actually Works

    Garage Storage Systems: How to Build One That Actually Works

    Affiliate disclosure: As an Amazon Associate I earn from qualifying purchases. This article may contain affiliate links, and Bay & Bench may earn a commission at no extra cost to you. Read our full Affiliate Disclosure.

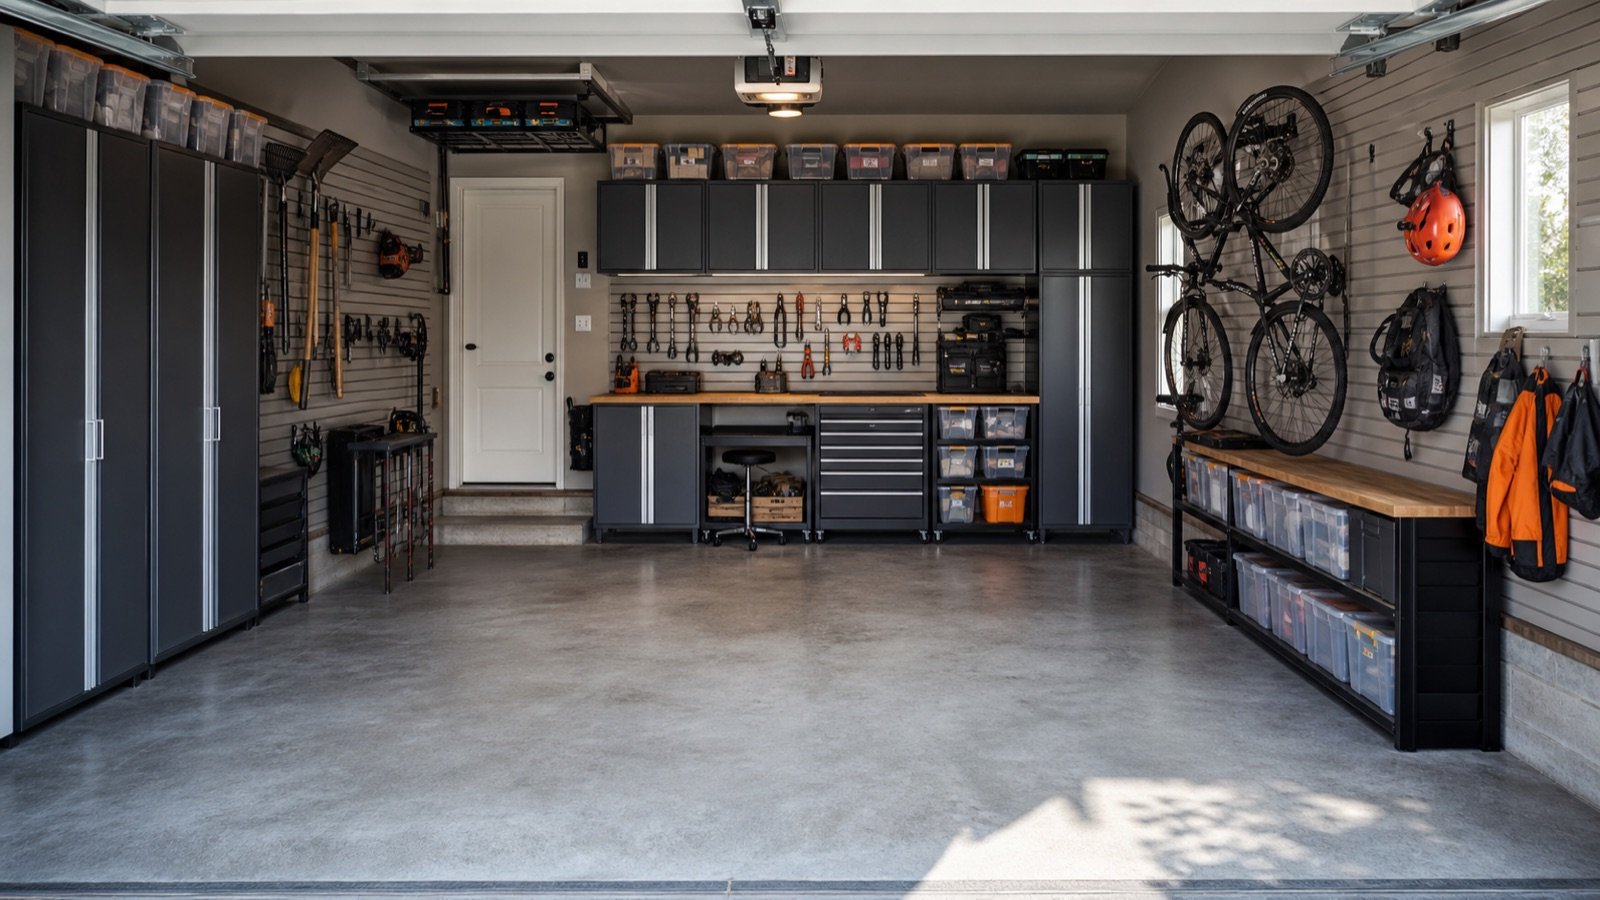
    A useful garage storage system is not the one with the most cabinets. It is the one that keeps the floor clear, puts frequently used gear within reach, protects hazardous items, and still lets every door, drawer, vehicle, and person move safely.

    Quick answer

    Start with zones and clearances, then choose storage hardware. Use closed cabinets for dust control and hazardous supplies, open wall storage for frequently used tools, overhead storage for light seasonal items, and mobile units where the work changes location.

    Useful products to compare

    These searches are a practical starting point for comparing current sizes, materials, load ratings, and availability.

    The five layers of a complete garage storage system

    Think of the room as five connected layers rather than one wall to fill.

    1. Floor and traffic layer: parking footprints, walking routes, door swings, steps and appliance access.
    2. Daily-use layer: items reached weekly—hand tools, chargers, sports gear and cleaning supplies.
    3. Closed-storage layer: dusty, sharp, valuable or visually messy items.
    4. High-storage layer: light seasonal gear that can be retrieved safely.
    5. Work layer: a bench, tool cart, charging point and task lighting.

    When those layers overlap carelessly, a garage feels cramped even when it contains plenty of nominal storage capacity.

    Choose storage by object, not by appearance

    Make an inventory before shopping. Record the largest dimensions and approximate weight of bulky objects, then sort everything by frequency of use. Long-handled garden tools need height; totes need shelf depth; small fasteners need drawers; chemicals need secure storage compatible with their labels; bicycles need a retrieval path, not merely a hook.

    A cabinet advertised with a large total capacity can still be a poor fit if shelf spacing, door opening, or internal depth does not match what you own.

    Cabinets, wall panels, shelves, and overhead racks

    Storage typeBest forMain constraint
    Closed cabinetsTools, supplies, dust controlDepth and door clearance
    Slatwall or pegboardFrequently used toolsVerified wall attachment and rated accessories
    Open shelvingBins and bulky itemsVisual clutter and dust
    Overhead racksLight seasonal goodsCeiling structure, door tracks, safe lifting
    Mobile cartsProject toolsParking space and caster quality

    Plan the system in the right order

    Use the sequence in our garage storage planning guide: measure first, mark no-storage zones, reserve the vehicle envelope, assign activity zones, then select products. The companion measurement checklist covers slopes, curbs, outlets, panels, windows and garage-door hardware that simple width-by-depth measurements miss.

    Mock up every cabinet footprint with painter’s tape. Open the car doors, carry a tote through the aisle, lower the garage door, and stand where you will work. A ten-minute mock-up can prevent a costly dimensional mistake.

    Build in phases

    With a limited budget, begin with the highest-friction zone. That may be an entry drop zone, a tool wall, or one bank of cabinets. Standardize bin sizes and label positions before expanding. A modular approach also reveals what capacity you actually use.

    Leave one section adaptable. Families acquire different sports gear; workshops add machines; vehicles change. A wall packed edge to edge on day one has no room to evolve.

    Safety rules that outrank storage capacity

    Never block an electrical panel, water heater service area, ventilation opening, fire equipment, or an exit. Follow local rules and each product’s installation instructions. Tall freestanding cabinets should be restrained against tip-over when the manufacturer calls for it. Wall cabinets and overhead racks must be attached to suitable structure with the specified hardware.

    Store gasoline, propane, pool chemicals, pesticides, oily rags, batteries, and flammables according to their labels and local fire guidance—not according to where they happen to fit.

    Before you order: the verification pass

    Put the exact model number—not merely the product-family name—at the top of your worksheet. Copy the assembled exterior dimensions, usable interior dimensions, individual shelf or drawer ratings, total cabinet weight, packaged dimensions, adjustable-foot range, and required clearances from the current manufacturer page and manual. Note which accessories are included and which appear only in styled photographs.

    Then return to the garage with painter’s tape. Mark the cabinet case, handles, open doors or extended drawers, and the path needed to load the largest object. Park the vehicle in its normal position and test every door, hatch, step, switch and service panel. Photograph the mock-up from the driver’s seat, house entry and driveway. If a critical measurement is unpublished, ask the manufacturer before placing the order.

    Finally, calculate total delivered cost: cabinet, worktop, shelves, drawer liners, casters or feet, mounting rails, appropriate fasteners, delivery surcharge, assembly help and sales tax. A lower sticker price can become the more expensive installation when essential components are optional.

    Installation-day checklist

    • Inspect packages for damage before assembly and keep model labels and receipts.
    • Read the complete manual before lifting or fastening anything.
    • Confirm the floor is stable and the planned attachment locations are suitable.
    • Use a second capable person whenever the manual or cabinet size calls for one.
    • Level and square the case before aligning doors and loading shelves.
    • Install wall mounting or tip restraints exactly as instructed.
    • Load heavy objects low and distribute weight within every shelf and drawer rating.
    • Recheck fasteners, leveling and door alignment after the cabinet has been loaded.

    Do not improvise around electrical, gas, plumbing, fire-safety or structural conditions. When the required attachment or clearance is uncertain, pause and consult a qualified professional.

    Common mistakes to avoid

    Most disappointing installations trace back to one of five mistakes: measuring only the empty wall; treating total capacity as a per-shelf rating; forgetting doors, drawers and vehicle movement; selecting depth from a catalog image; or filling every wall without reserving adaptable space. A slower specification check is cheaper than returning a pallet-sized cabinet.

    Frequently asked questions

    What should I install first?

    Clear the floor, establish zones, and solve the most frequently used area first. Do not buy a full cabinet set until the measured layout has passed a tape mock-up.

    Are garage cabinets better than open shelves?

    Neither is universally better. Cabinets control dust and visibility; shelves make bulky bins easier to see and access. Most garages benefit from both.

    How much aisle space should I leave?

    There is no single number for every household. Test the planned aisle with the actual vehicle, open doors, carried objects and all moving parts before ordering storage.

    Last reviewed: July 2026. Product specifications can change; check the manufacturer’s current documentation before purchase.