Affiliate disclosure: As an Amazon Associate I earn from qualifying purchases. This article may contain affiliate links, and Bay & Bench may earn a commission at no extra cost to you. Read our full Affiliate Disclosure.
Figuring out where to mount an air hose reel starts with the jobs at the far end of the hose, not with an empty patch of wall. A tidy reel can still fail if the hose rubs a vehicle or reaches the driveway only when stretched tight.
A good location covers the workbench and vehicle, stays clear of the garage door, connects to sound structure, and gives you a controlled return path. There is no standard mounting height or universal fastener list that works for every reel and every wall. The exact model manual and the building structure decide those details.
Quick answer
Mount the reel where a length of hose reaches the farthest regular job with slack, while the reel and hose remain clear of the garage door, vehicle, doors, cabinets, and walking routes. A central side wall often works well. Use only a wall, ceiling, post, or backing assembly approved for the exact reel, follow its mounting pattern, and test the pull and controlled return before settling on the location.
Begin at the farthest job, then work backward
List the places that need air during an ordinary month. Common stops include the main workbench, each side of the parked vehicle, the driveway, a mower near the door, and a finishing table. Ignore the one project that might happen someday. A permanent reel should make frequent work easier rather than chase every corner of the property.
Measure the hose path, not a straight line through cabinets and cars. Walk the route that the hose would take around the front of a vehicle, past a bench leg, and through the open garage door. Add a modest amount of slack so the coupler is not carrying a constant side pull. Then compare that result with the usable tool-side hose length stated for the reel. The bumper position and the wraps that must remain on the drum may reduce usable reach. Do not count the supply-side leader hose toward the tool path.
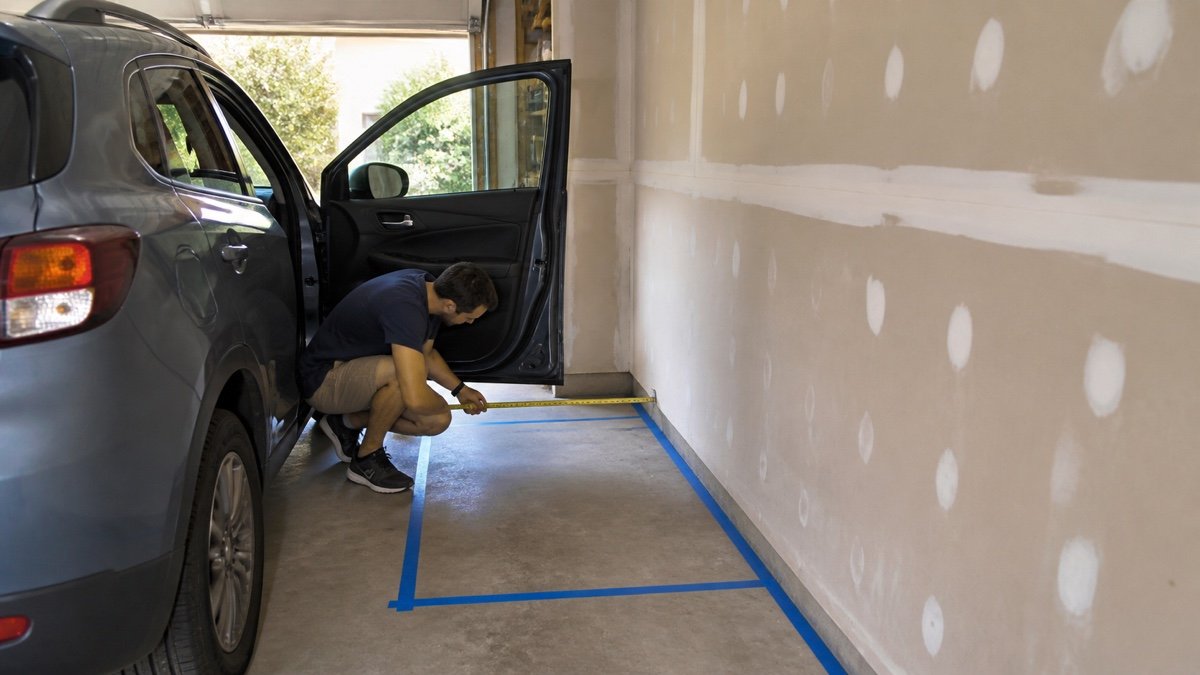
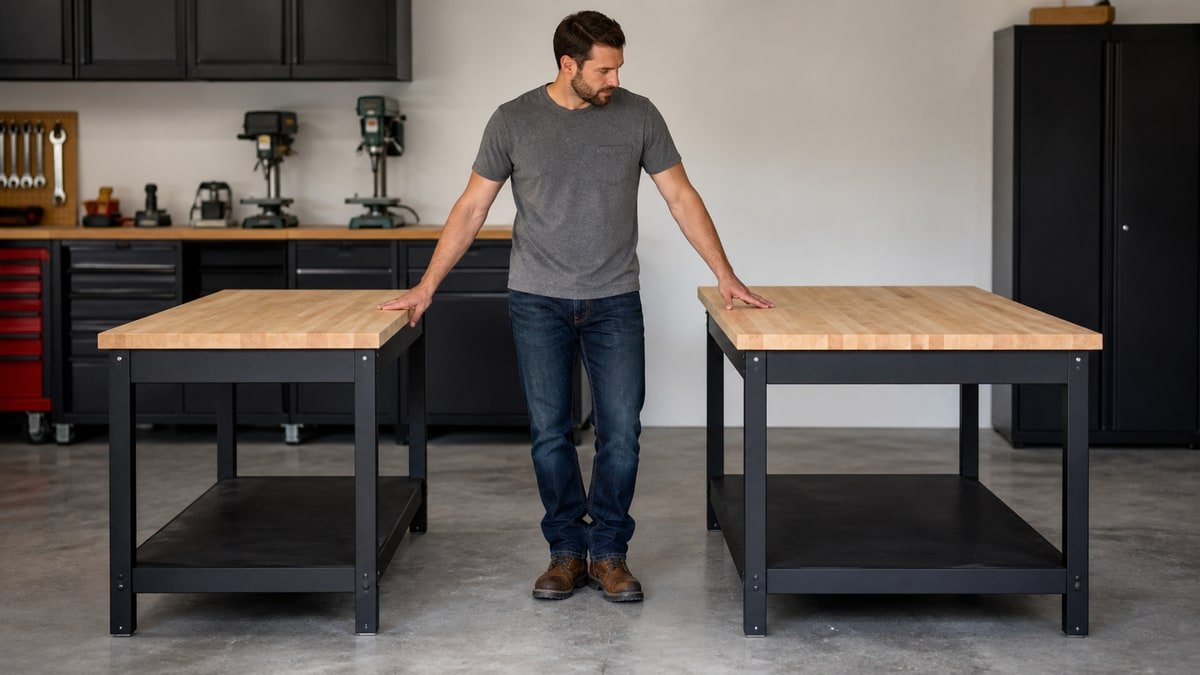
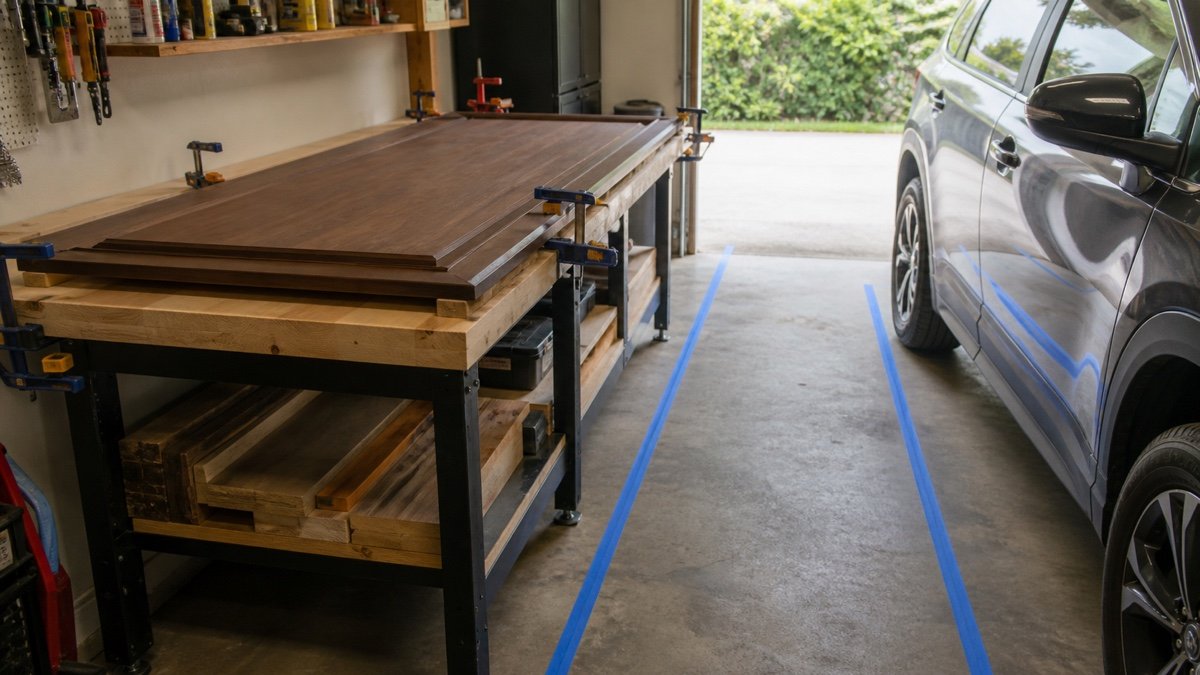
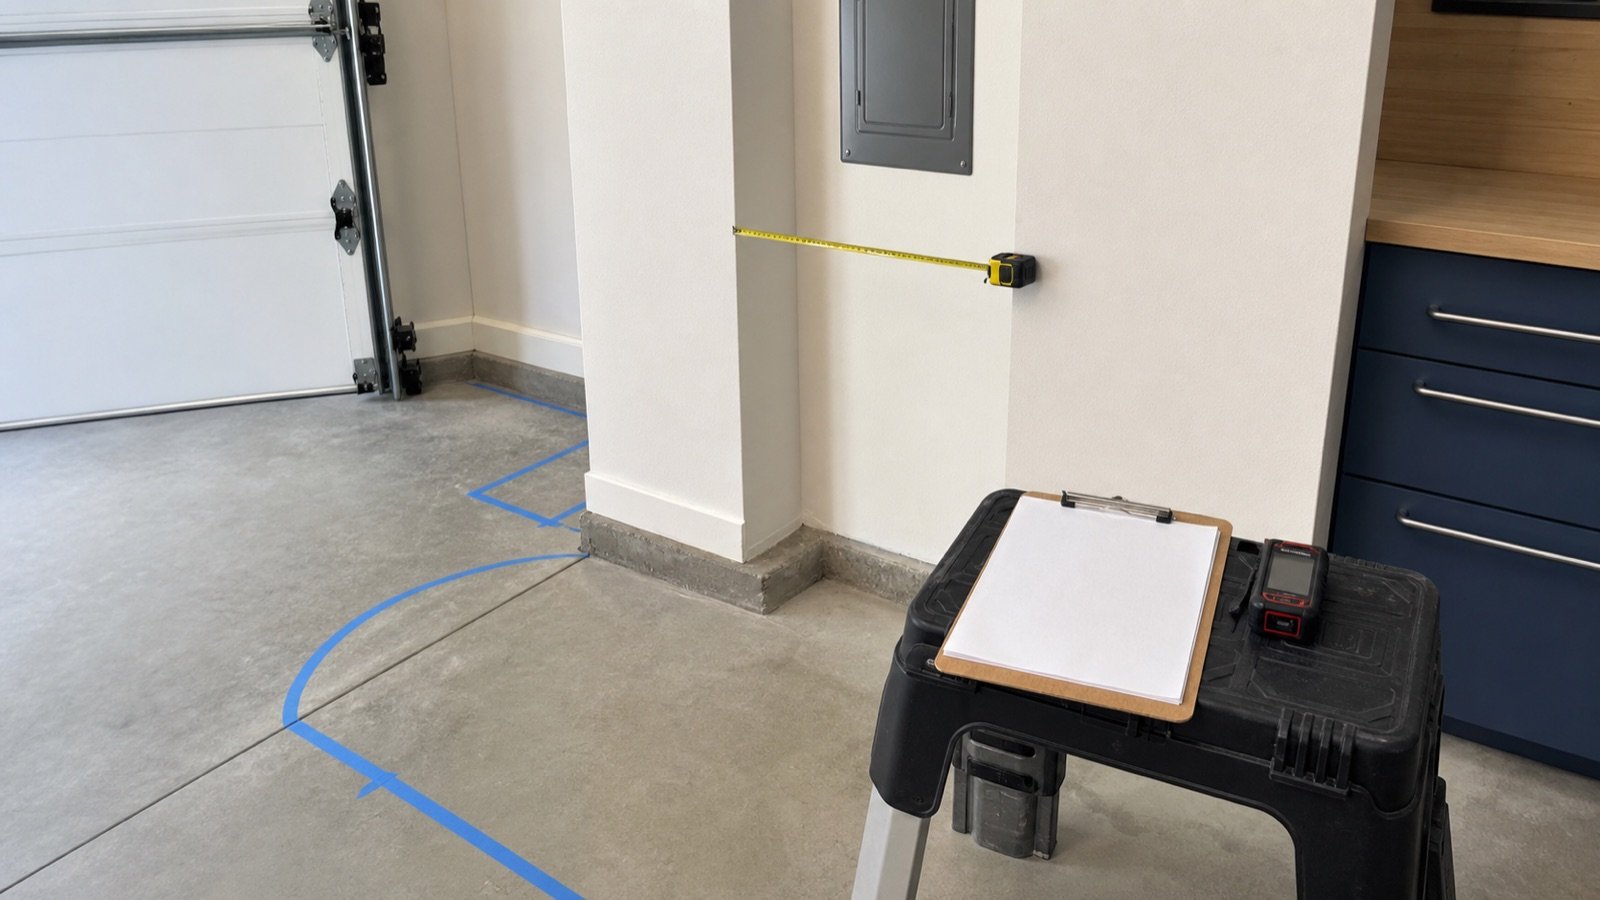
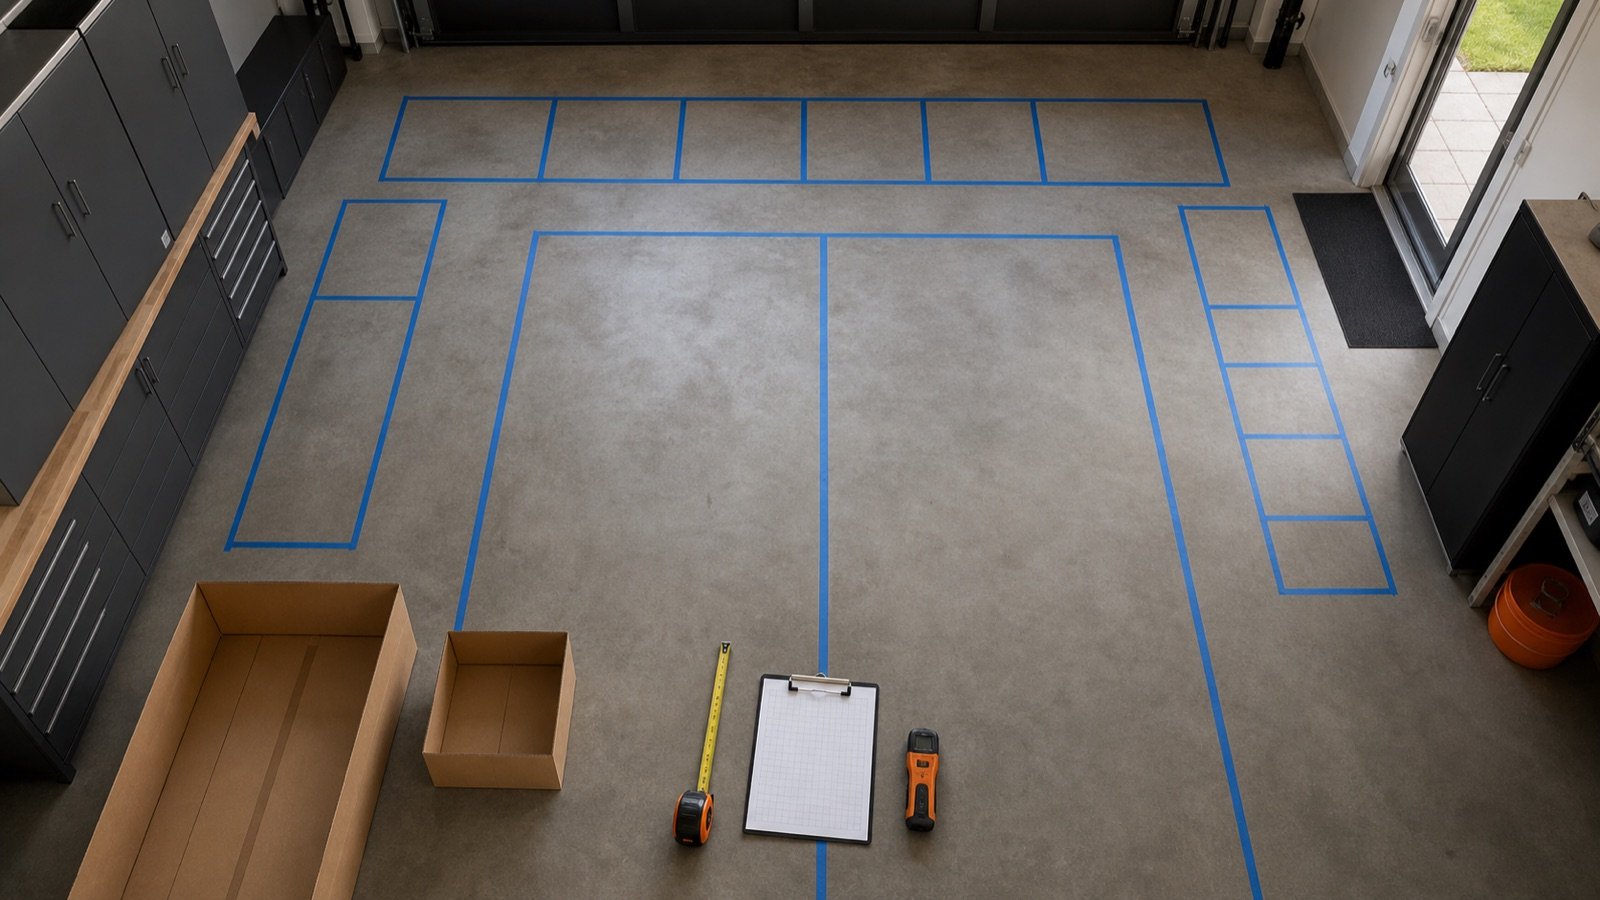
This is easier after the room has working zones. The garage workshop zones guide helps separate parking, storage, and project space before a reel claims part of a wall. Mark the farthest regular task on the floor with tape. If two possible reel locations both reach it, choose between them using the next checks rather than buying a longer hose immediately.

Where to mount an air hose reel in five common garage zones
Most home garages offer five realistic zones. Each can work, but the tradeoffs are quite different once the door and car start moving.
| Possible location | Why it can work | Main check before drilling | Best fit |
|---|---|---|---|
| Central side wall | Balanced reach to bench, car, and driveway | Car door, cabinet, and walking clearance | Mixed garage work |
| Wall beside workbench | Short tool connection and easy inspection | Reach to the far side of the car | Bench focused projects |
| Wall near garage opening | Easy access to driveway work | Door track, weather, and vehicle corner | Tires and outdoor equipment |
| Ceiling or overhead framing | Open wall space and broad pull direction | Approved overhead support and service access | Open center bay |
| Structural post or partition | Good central position in a divided shop | Post construction and swing clearance | Dedicated workshop bay |
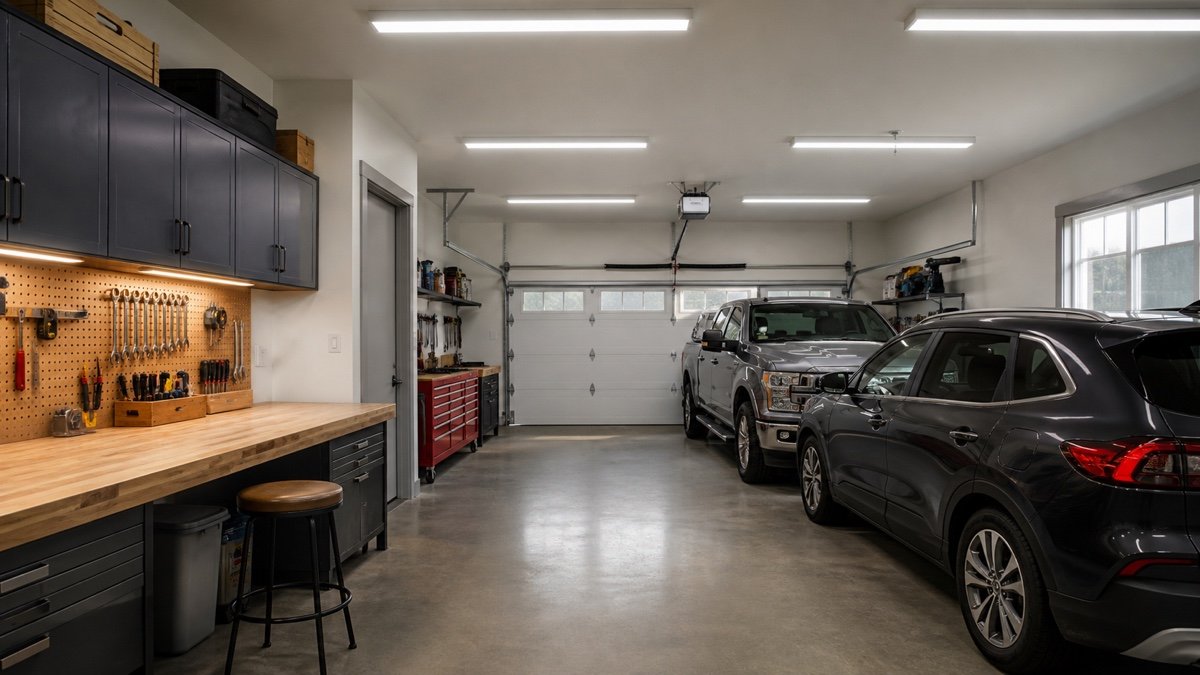
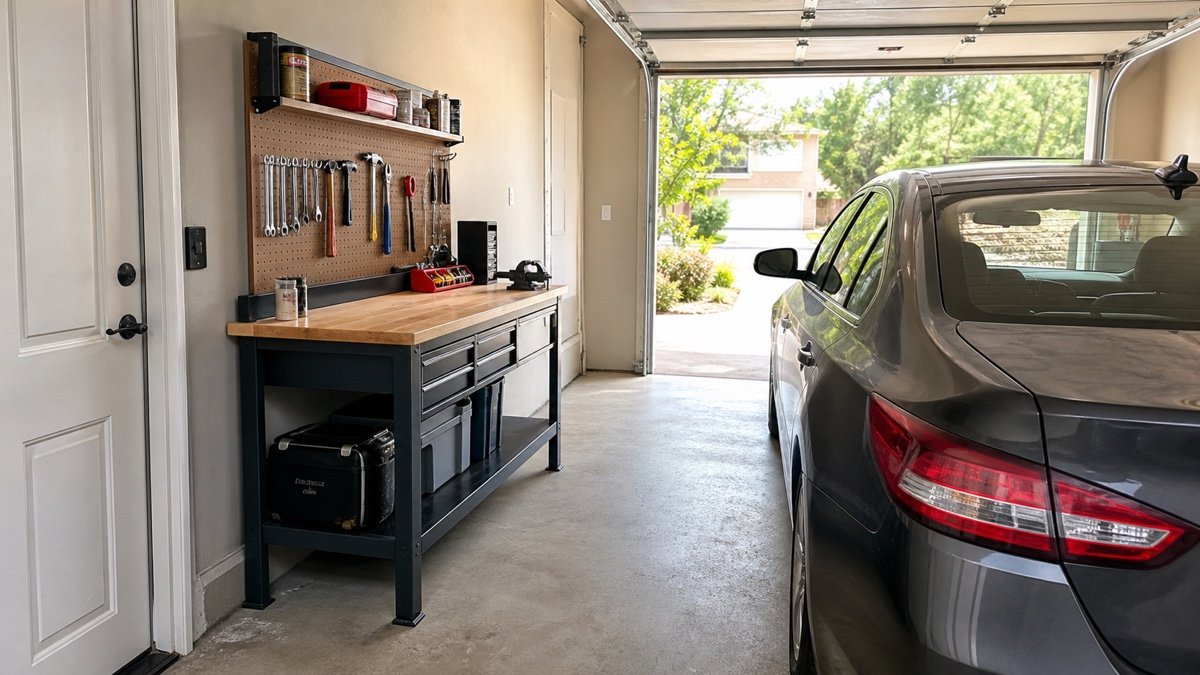
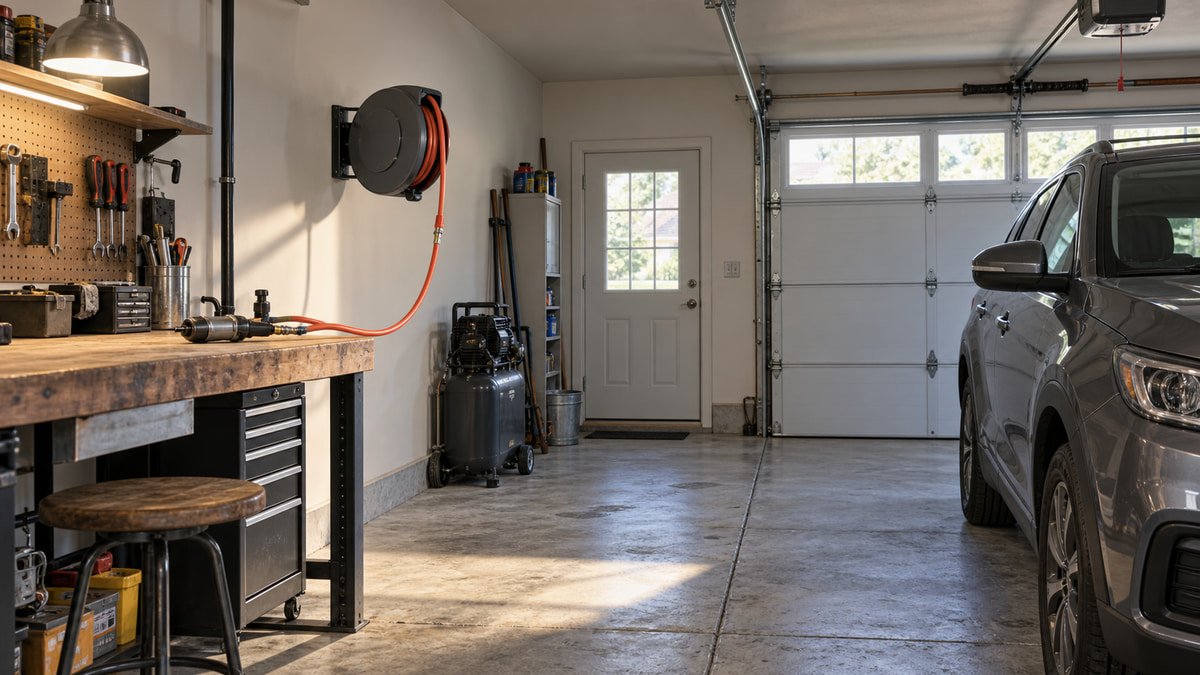
A central side wall is the most forgiving starting point in many two car garages. The hose can fan toward the bench, vehicle, and open door without hanging above the car. Still, it only works if the reel body does not crowd a car door or narrow the route into the house. Use the garage workshop layout guide to test the whole room rather than judging one clear photograph.
Mounting beside the compressor is convenient for the inlet line, but compressor location and reel location solve different problems. The compressor needs ventilation, electrical access, drainage access, and room for service. The reel needs reach and a clean pull. A short leader hose can connect two sensible locations. Do not force them together just to save a few feet of inlet line.
Wall mounting is usually easier to live with
A wall mounted reel stays visible. You can inspect the bracket, swivel, hose, and stop without climbing. The user can also guide the hose back while standing on the floor. Those small conveniences matter because a retractable reel works best when it is treated like equipment, not forgotten decoration.
A fixed wall bracket favors pulls that leave mostly in front of the guide. A swing bracket may cover a wider angle, but it creates a moving envelope of its own. Confirm that the bracket is made for the reel, then swing it through the full arc with nearby drawers, shelves, light switches, and vehicle mirrors in place. The reel should not become a heavy doorstop.
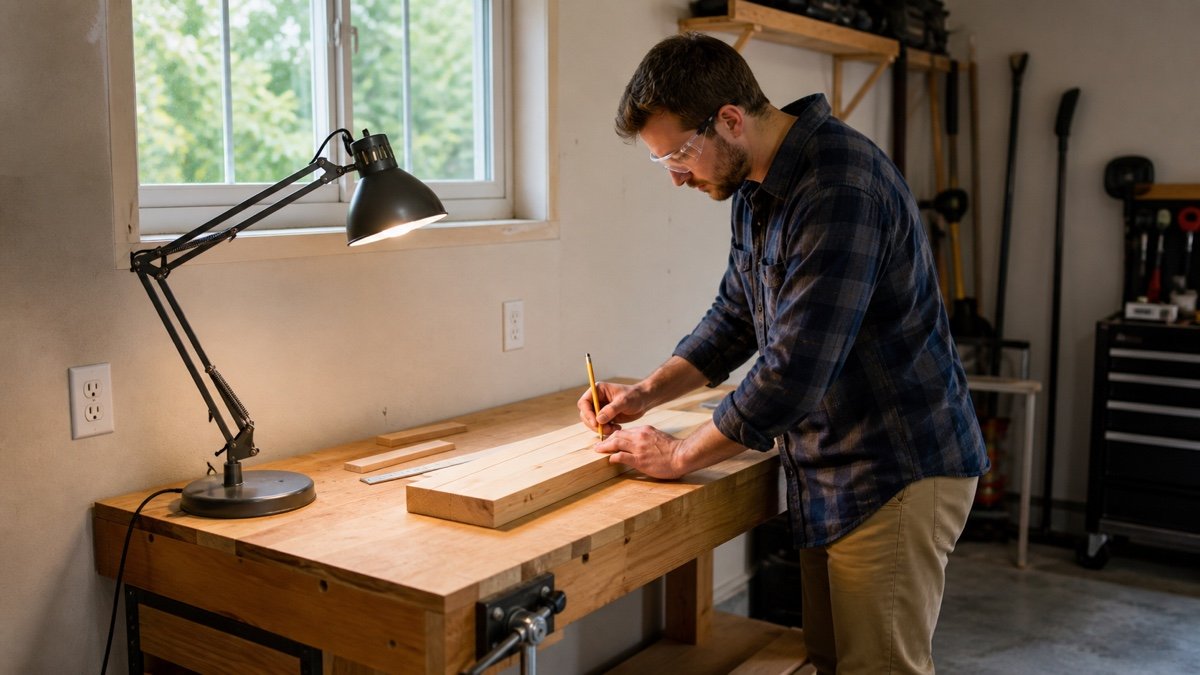
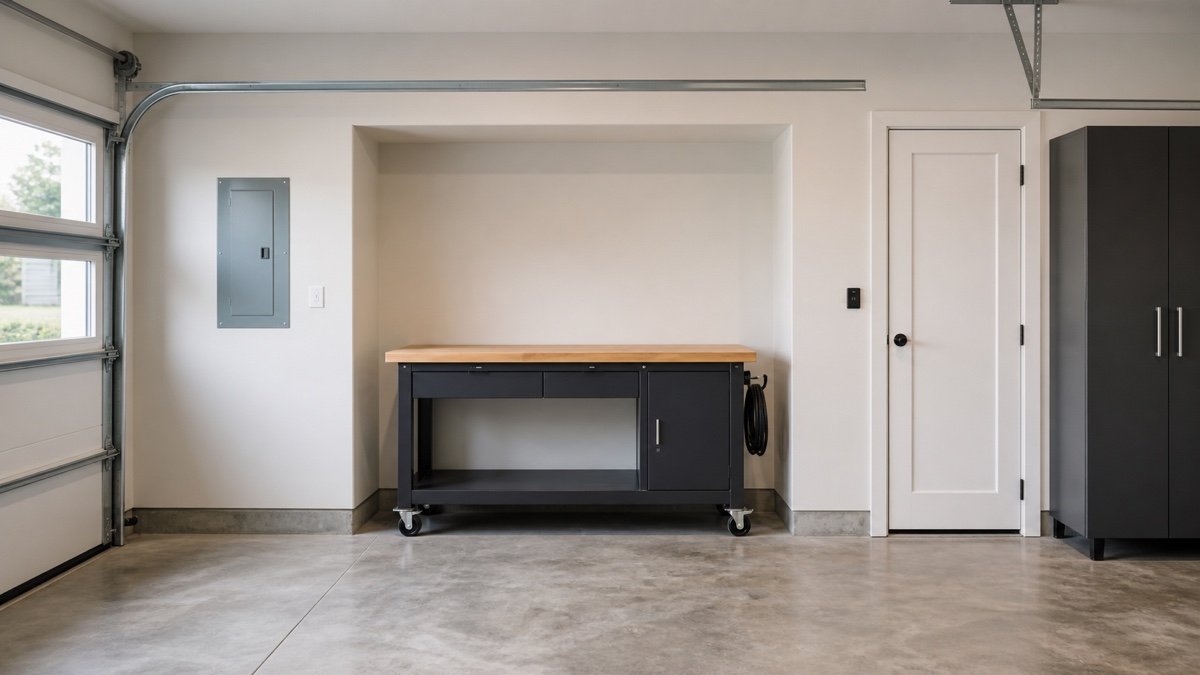
Workbench placement affects the answer. A reel mounted behind a deep bench may be hard to reach for service, and the hose can drag across workpieces. A location just beyond the bench end often gives a cleaner line. Review where to put a workbench in a garage before committing both fixtures to the same busy wall.
Ceiling mounting trades wall space for harder service
A ceiling location can give an even pull across an open bay. It also keeps the reel body away from cabinets. The downside arrives during installation and maintenance. Every mounting point is overhead, the reel is harder to inspect, and the hose end may hang in the same volume used by a raised hatch, roof rack, or garage door.
Do not assume a reel that can sit on a wall can automatically hang overhead. The manual must allow that orientation, show the correct guide position, and describe the mounting arrangement. Coxreels safety guidance says an overhead reel must not be supported solely by bolts in tension and calls for a safety chain or cable. The exact product manual may add stricter instructions, so follow the document for the reel in front of you.
Service access belongs in the plan too. If normal inspection requires placing a ladder between a parked car and a freezer, the location will be neglected. A lower wall position may be less visually neat and much more usable. When overhead mounting is still the better fit, have uncertain framing or connections reviewed by a qualified installer.
Keep the reel outside every garage door path
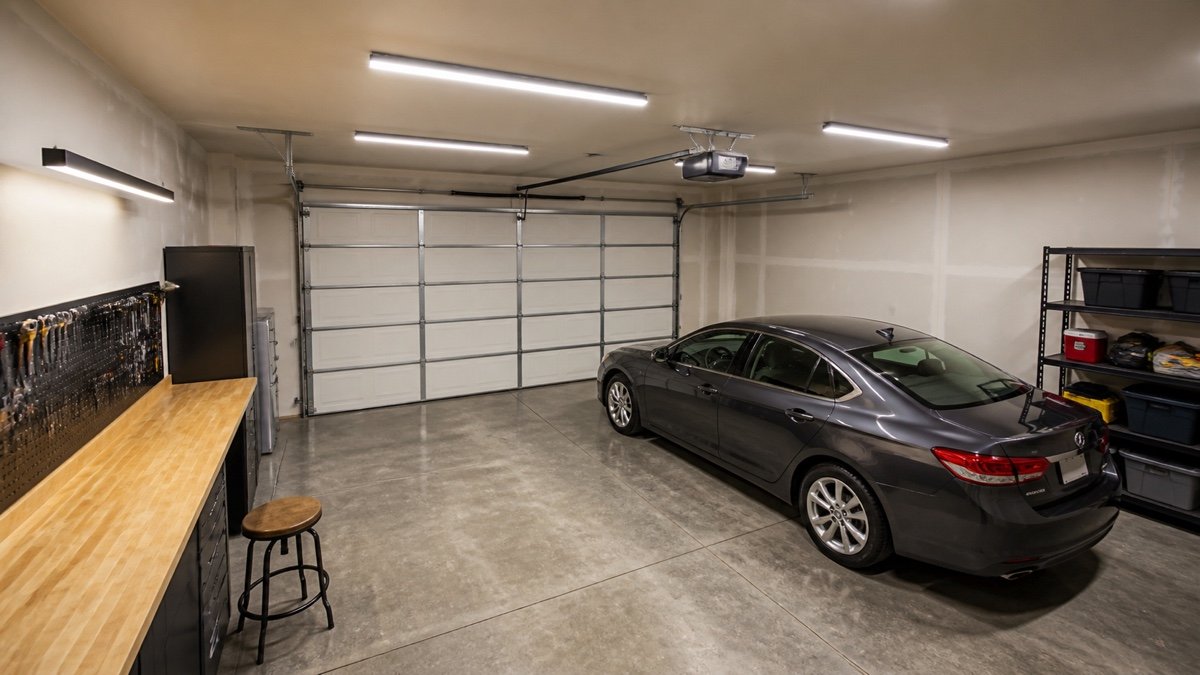
The open door is only one position. Panels travel along curved tracks. Rollers move, hinges fold, the opener trolley runs, and the emergency release hangs down. Torsion springs and lift cables need untouched working space. Keep the reel, bracket, leader hose, and pulled hose away from all of it.
Cycle the door while watching from several angles, following the door maker’s safety directions. Park the tallest expected vehicle and open its hatch. Check roof bars, antennas, mirrors, and the arc of each passenger door. A wall that looks empty with the garage vacant may become the tightest point once the family car comes home.
Do not attach the reel to door tracks, opener supports, or another system just because the metal looks stout. Those parts have their own job and approved loads. A nearby structural wall section is easier to reason about. If the door hardware leaves no dependable gap, move the reel rather than improvising a shared bracket.
Make the structure carry the pulling load
A loaded reel does more than hang. Each pull adds leverage to the bracket, and retraction adds repeated movement. Drywall, thin paneling, and a storage cabinet skin are not a complete load path. The mounting points must transfer the reel forces into structure in the way its maker specifies.
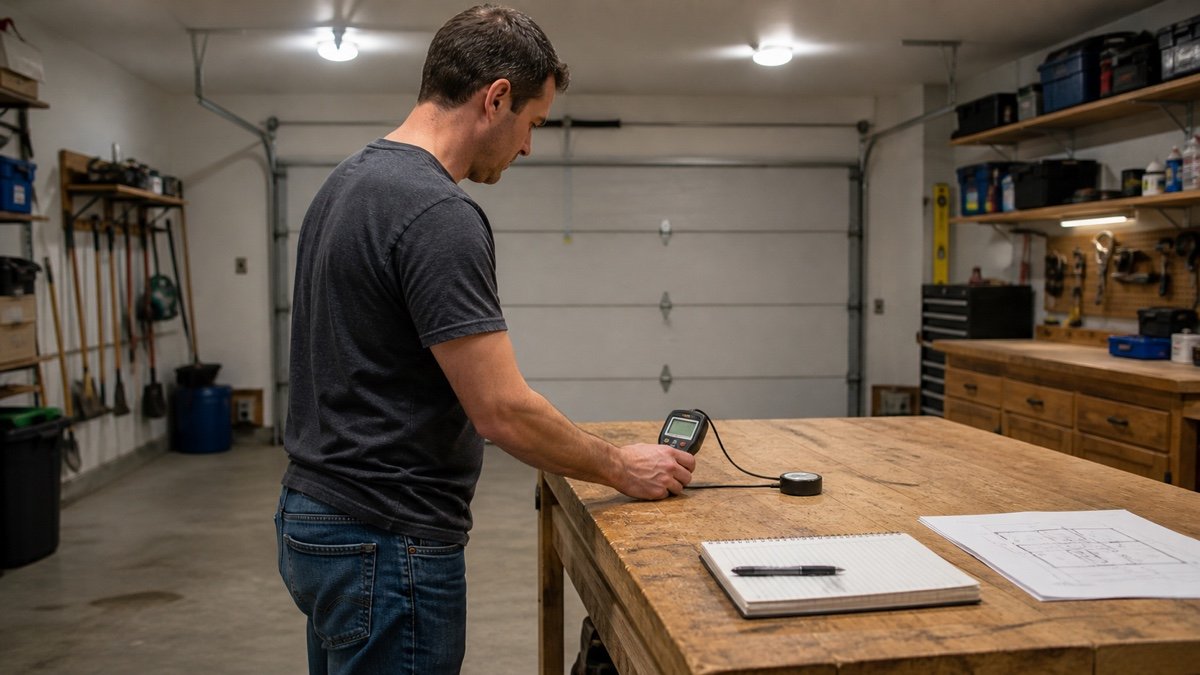
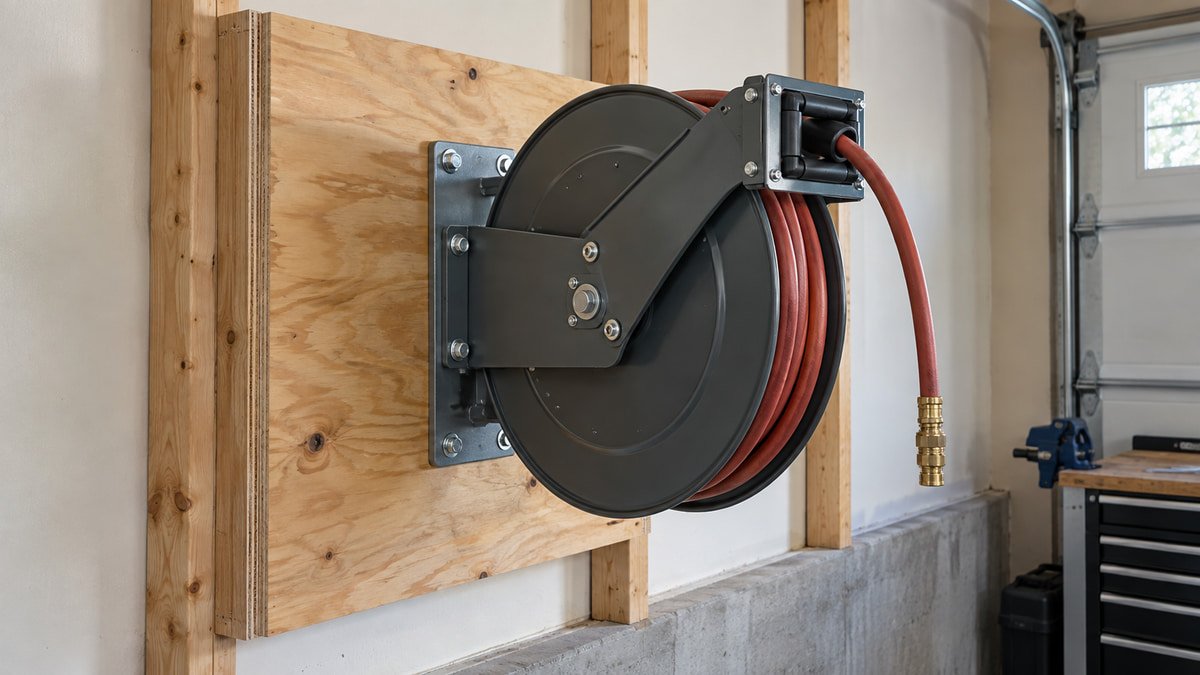
Use the paper template or dimensional drawing for the exact model. Confirm the hole pattern before adding a backer. A wood board spanning framing can be useful when it is designed and attached for the load, but a random piece of plywood is not proof of capacity. Wall framing, masonry condition, fastener type, edge distance, and bracket shape all affect the result. This is the point to ask a carpenter, contractor, or engineer when the wall is unusual or concealed.
Reelcraft’s Series RT operating instructions tell installers to use the supplied mounting template for the specific application and to secure that reel with four mounting bolts. That does not make four bolts a rule for every product. It shows why the current manual and its exact pattern come before a shopping list. The structural image here is illustrative rather than a fastener prescription.
Treat mounting height as a working variable
There is no magic eye level number. The reel needs to clear normal traffic, yet remain reachable for inspection and controlled hose return. The guide angle should suit the direction of pull. The stop ball should finish where the user can take the hose without jumping, stretching, or leaving a long tail at face height.
Test the height with a cardboard outline the size of the reel. Include the bracket and the space needed to swing or remove a cover. Have the shortest regular user reach toward the hose end with both feet on the floor. Then have the tallest person walk underneath. A comfortable compromise is more useful than a tidy line with the top of the cabinets.
Manufacturer limits still control the final choice. Some manuals state a maximum installation height or restrict a mounting orientation. Others call for the guide arm or bumper stop to be repositioned. Read those instructions before treating a mockup position as approved. Never change spring tension or open a spring housing merely to make a poor location feel better.
Plan the inlet connection before the bracket
The supply side is easy to forget because product photos face the hose outlet toward the camera. Behind the reel, the inlet must connect without kinking, rubbing, or forcing the swivel sideways. Leave room for the fittings, the leader hose, and whatever shutoff or filter arrangement the compressor maker calls for.
The Reelcraft Series RT instructions call for a flexible hose at the input rather than rigid plumbing for that model. A flexible connection can prevent alignment stress, but its size, pressure rating, bend radius, and fittings must match the reel and air system. Do not copy a leader hose from a photograph. Check the reel inlet, compressor outlet, working pressure, and local piping requirements.
A compressor that barely supplies the tool will not improve because the reel sits closer. Flow depends on compressor delivery, hose inside diameter, length, couplers, and restrictions. Our garage air compressor size guide covers that side of the system. Choose reel placement for movement and reach, then size the air path as one connected system.
Point the guide along the real pull direction
A hose lasts longer when it leaves the roller or guide without a sharp sideways bend. Stand at each regular task and look back at the proposed reel. If every pull crosses the edge of the guide, the location or guide orientation needs work. A pivoting bracket can help, though it must remain stable and clear throughout its travel.
Some enclosed reels allow the guide opening or enclosure to be repositioned for wall, ceiling, or side mounting. Reelcraft explains that process for specific enclosed models in its guide opening adjustment note. Use the instructions for your series. Do not rotate a cover or guide by analogy when the manufacturer has not approved it.
Test pulls should be slow and unpressurized until the installation is complete and inspected. Extend the hose toward the bench, both sides of the vehicle, and the driveway. Watch the guide, the bracket, and the leader line. If the reel twists, a fitting contacts the wall, or the hose scrapes a corner, stop and correct the setup before connecting the air supply.
Protect the aisle during use and return
A reel removes stored coils from the floor, but the hose still crosses the room while a tool is running. Pick a location that keeps the working route near a wall or along the edge of a bay when possible. Crossing the only path to the house turns a quick tire check into a trip hazard for everyone else.
Think about the return path before the pull. You should be able to walk the hose back without squeezing between a car and shelving. Keep the fitting in hand and allow the reel to retract at a controlled pace. Do not let the end fly toward the guide. That habit protects the coupler, stop, surrounding paint, and anyone who steps into the garage.
The garage workshop aisle clearance guide can help preserve a usable route around a project. Store blow guns and inflators near the reel without letting them dangle from the coupler. The broader garage tool storage guide offers better homes for those attachments.

Use a final location check before installation
A strong candidate passes five tests. It reaches the farthest regular task with slack. It stays outside door and vehicle movement. Its bracket can connect to verified structure exactly as the manual describes. Its inlet has a suitable route. And the user can pull, latch, inspect, and guide the hose home from a steady stance.
Confirm the reel pressure rating, hose size, operating temperature, orientation, mounting pattern, fasteners, guide position, stop location, and service clearance from current documentation. Product families change. Instructions for a similar looking model may not apply. Keep the manual with the compressor records so the next owner knows what was installed.
For many garages, the answer is a central side wall between the workbench and vehicle bay. Sometimes the door, framing, or inlet route makes another position better. Let the mockup and measurements overrule the clean catalog picture. A reel earns its wall space when the hose reaches easily, comes back under control, and disappears from the floor when the job is done.
Useful products to compare
These links open current Amazon search results. Check the dimensions, manual, mounting hardware, warranty, and current availability for the exact model before you order.
Before you buy or install
Read the current manual for the exact product you are considering. Confirm its assembled dimensions, rated capacity, mounting requirements, included hardware, working clearances, warranty, and any limits that apply to your wall, floor, electrical circuit, or garage layout.
Frequently asked questions
Is it better to mount an air hose reel on the wall or ceiling?
A wall usually makes inspection, hose control, and service easier. A ceiling can give broad reach when wall space is scarce, but it needs an approved overhead orientation, verified structure, door and vehicle clearance, and safe service access. Follow the exact reel manual because mounting choices differ by series.
How high should an air hose reel be mounted?
There is no universal height. Place it where the hose end is reachable from the floor, the guide matches the normal pull, the reel clears traffic, and maintenance remains practical. Then check the exact manual for any height or orientation limit. Test a full size cardboard mockup with every regular user.
Can I mount an air hose reel directly to drywall?
Drywall alone is not a suitable structural load path for a hose reel. Use the mounting arrangement required by the manufacturer and suited to verified framing or masonry. A backing board can be part of a sound assembly, but its material, span, attachment, and fasteners need to carry the real pulling loads.
Should the air hose reel be next to the compressor?
Only if that spot also gives good reach and clearance. The compressor location is chosen for ventilation, service, drainage, power, and noise. The reel location is chosen for hose movement. A correctly sized flexible leader can connect separate locations when the reel and compressor manuals allow it.
How do I stop a retractable air hose from whipping back?
Keep control of the hose end and walk it toward the reel while it retracts. Do not release it from across the garage. Stop using a reel that retracts, latches, or guides the hose abnormally. Depressurize the system and follow the manufacturer service instructions rather than opening a spring housing.