Affiliate disclosure: As an Amazon Associate I earn from qualifying purchases. This article may contain affiliate links, and Bay & Bench may earn a commission at no extra cost to you. Read our full Affiliate Disclosure.
Start this garage workshop layout guide with the room. Save the shopping list for later. A workbench can fit against a wall yet block a car door. A compact saw can demand a long feed path. Ceiling storage can collide with the garage door. Map the fixed shell, then divide the room into zones for dirty work, clean assembly, tools, materials, and parking. Add exits, power, light, dust control, and overhead hardware as separate constraints. The result is a measured plan showing what can share space, what must stay apart, and what has to move before work begins.
Quick answer
Measure the finished garage and every fixed obstruction. Draw it to scale, then make cutouts for the stored and operating size of the car, bench, machines, cabinets, and material. Place parking and exits first. Keep cutting, grinding, and sanding away from clean assembly. Give material a direct route to storage, breakdown, and the bench. On separate overlays, map power, task lights, dust hoses, and overhead hardware. Tape the leading plan on the floor and rehearse a project before buying heavy equipment.
Garage workshop layout guide: mark fixed limits first
Measure finished wall to finished wall at floor level, bench height, and shoulder height. Record curbs, ledges, columns, steps, doors, windows, pipes, outlets, panels, and shutoffs. Walls that look parallel may differ, so check both ends instead of trusting a real estate floor plan.
Draw every moving part open. Include service door arcs, garage door tracks, opener arms, cabinet doors, drawers, a raised vehicle hatch, and the space behind a tilting machine. Our guide to measuring a garage for storage provides a room sheet. These measurements are inputs, not suggested clearances. Required access around a panel, appliance, or exit should come from the applicable local authority.
Build a measured paper layout in seven passes
A paper plan is fast enough to encourage bad ideas, which is useful. You can reject a layout before anchoring shelves. The numbers below are one worked example, not a standard garage size or clearance recommendation.
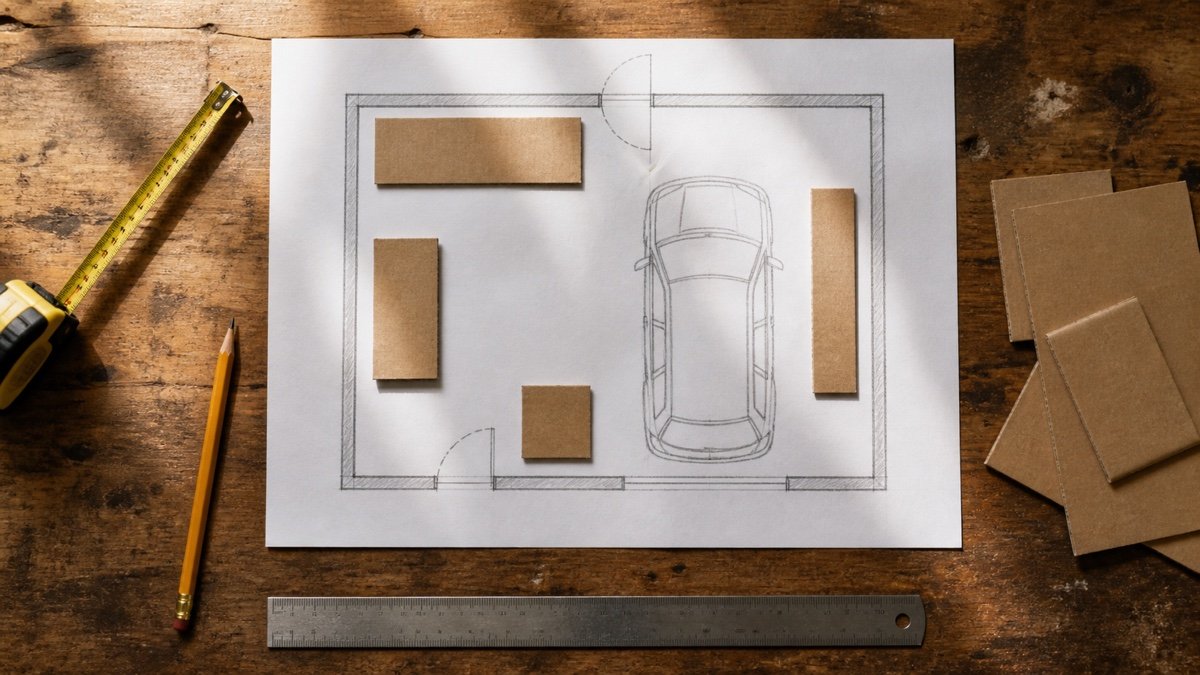
- Choose a scale. At one half inch on paper for one foot in the room, a measured 20 by 22 foot interior becomes a 10 by 11 inch rectangle.
- Draw the shell. Mark exact doors, tracks, steps, windows, utilities, ledges, and fixed cabinets.
- Cut out closed footprints. In this example, a 24 by 72 inch bench becomes a 1 by 3 inch card. An 18 by 72 inch rack becomes a 0.75 by 3 inch card.
- Add a second cutout or dashed operating envelope. Include open drawers, clamps, machine tables, the operator, and actual stock length.
- Place the measured vehicle and required exit paths before workshop pieces.
- Move zone groups, not lone tools. A saw needs its material queue, collection hose, power route, and output destination nearby.
- Copy the best plan onto utility and overhead sheets, then transfer it to the floor with removable tape.
The garage storage fit calculator can check closed and open depths after you replace the examples with your measurements.
Use an adjacency map before choosing a wall
Adjacency records what should sit close together and what should not. It prevents a tidy floor plan from creating extra carrying, dusty parts, or a blocked doorway. This map describes relationships, not universal distances.
| Zone | Keep nearby | Keep separate | Envelope to draw |
|---|---|---|---|
| Dirty cutting and sanding | Material staging, dust pickup, tool storage | Clean assembly, parked vehicle, finish supplies | Machine, operator, stock feed, hose, and chip spread |
| Clean assembly | Hand tools, hardware, task light | Grinding sparks, sanding dust, vehicle traffic | Bench, clamps, open project, and chair or stool |
| Material storage | Entry route and first cutting station | Exit doors, electrical access, damp floor areas | Rack plus loading and removal path for the longest piece |
| Mobile machines | Shared power and dust connection points | Permanent parking position and door arcs | Stored footprint plus every planned working position |
| Vehicle parking | Garage door and any charging point | Hot work, loose stock, dusty processes | Car, mirrors, doors, hatch, cable, and walking route |
| Tool storage | The zone that uses each tool most often | Stock feed lines and exposed sharp work | Cabinet or panel with drawers, doors, hooks, and handles open |
Draw lines between zones with frequent travel. If they repeatedly cross the car or an exit, move the zones before refining tool positions.
Contain dirty work instead of scattering it
Group sawing, routing, sanding, grinding, and other chip or spark producing jobs according to your actual work. One dirty area shortens hose runs and cleanup. It also creates a rule for workshop mode: the nearby car, clean project, flammable product, or household gear leaves before that process starts.
The machine body is only the center. Draw the longest material, operator position, offcut area, hose bend, collection unit, and service space. A mobile machine can borrow open floor, but its operating rectangle must exist on the plan. Mobility does not create room.
Protect a clean assembly zone
Clean assembly needs a stable surface, even light, nearby hand tools, and somewhere to set parts without grit. It may share a bench with repair or layout work, but not the same moment with nearby sanding or grinding. A curtain can catch debris, but it does not replace the controls required by a tool or finish.
Draw the project at its largest stage. Add projecting clamp bars, cabinet doors under the top, a stool, and a hardware cart. If a fixed bench anchors this zone, choose its depth and base with the garage workbench buying guide. A deep top is not automatically more useful.
Make material flow a route through the room
Trace one project from arrival to finished work. A board or sheet enters, waits, moves to breakdown, reaches a machine, lands at assembly, and leaves. Every turn asks for room. Long stock can sweep through a light, car, doorway, or rack before the tool comes close.
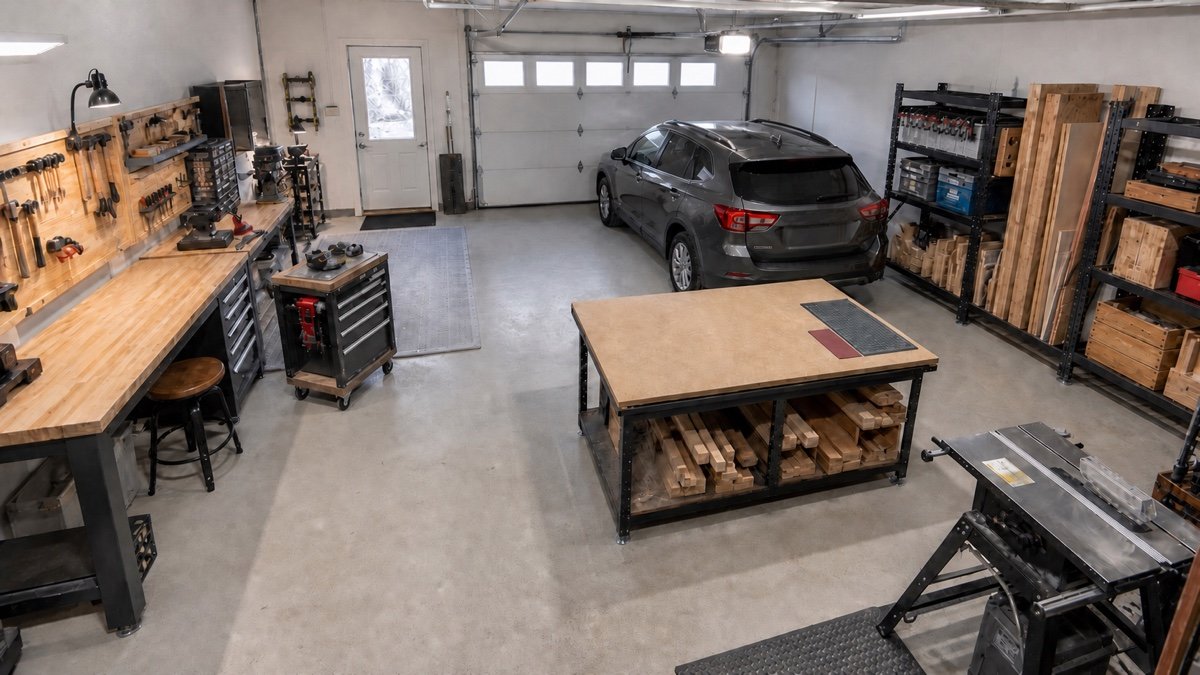
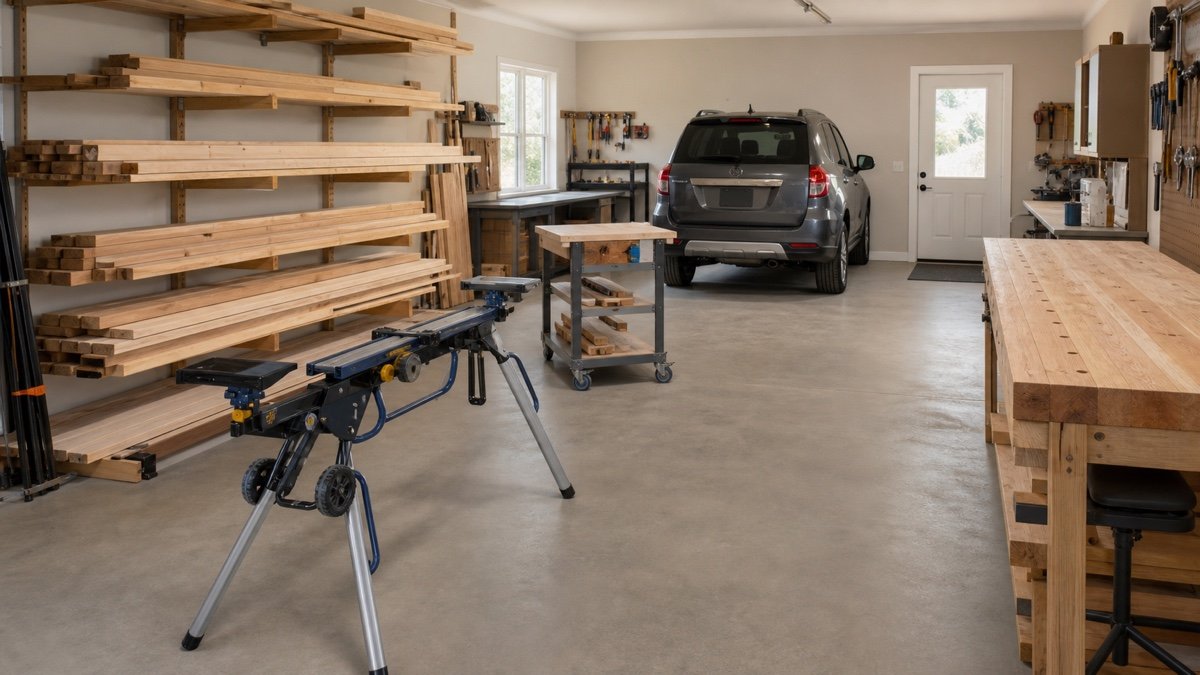
Store material near the door or first cutting step when the room supports it. Keep heavy items low and remove pieces without crossing an exit. Give scrap a destination. In the second workshop image, lumber racks, a portable saw, a rolling cart, and the bench form a readable route while the center stays open. That relationship matters more than the pictured positions.
Overlay power, light, and dust as three systems
For power, mark each existing outlet, the tool that may use it, and the cord in working position. A tool fits poorly if its cord crosses a walking, parking, or material route. Fixed wiring, new receptacles, and circuit capacity must follow local requirements and the equipment instructions. Ask a qualified electrician when the planned loads or alterations call for one.
For light, draw where your head and shoulders will be. General ceiling light can leave the cut line in shadow, while a task light placed in front or to the side of the work often gives a clearer view. Check whether an open cabinet door, raised hood, or overhead rack blocks it.
For dust, map the full hose route, bends, blast gates if used, collection unit, filter access, and the space required to empty the container. Shorter routes are convenient, but the manufacturer’s instructions and the hazards of the material being collected govern the setup. Keep hoses and cords out of tire paths and exits.
Treat parking as an operating envelope
Measure the actual vehicle with mirrors, not a generic car rectangle. Park it as you normally would, then record the nose and tail positions, driver and passenger door arcs, hatch height, charging cable or fuel access, and the route people use to reach the house. Repeat with any second vehicle that regularly uses the bay.
Decide which workshop activities are allowed with the car inside. Quiet hand work may coexist with parking in a measured layout. Long stock, rolling machines, dusty work, or hot work may require the car outside. Write that changeover rule on the plan. Then use the broader process in how to plan garage storage to account for household items that also compete for the parking strip.
Keep exits and service access unowned
An exit path is not spare floor for a shop vacuum, offcuts, or a rolling cabinet. Draw the garage opening and each service door, then shade the routes that must remain usable in both storage and workshop modes. Do the same for electrical panels, shutoffs, appliances, fire equipment, and any other access point governed by local rules or manufacturer instructions.
Do not invent a path width from a photo or another garage. Confirm the requirements that apply to the building and equipment. During the full size mockup, carry a bulky but light empty box through each route, open every door fully, and try the path with the car parked. Anything that depends on remembering to move clutter is not truly clear.
Draw overhead hardware in a side view
A floor plan cannot show the garage door descending through a rack, an opener above a tall project, or a light hidden behind stored lumber. Make at least one wall elevation and one side section. Mark the lowest point of tracks and open door panels, the opener rail and arm, torsion or extension hardware, lights, ducts, pipes, storage racks, vehicle hatch, and the highest position of mobile equipment.
Measure the door at several positions because the moving panels occupy different space during travel. Keep workshop attachments out of the door system and its service area. The overhead garage storage clearance guide explains how to build this vertical map without treating ceiling height as usable storage height.
Attach storage to the zone it supports
Hand tools used at the bench should be reachable there. Abrasives belong near sanding, measuring tools near layout, and machine accessories near their machine. This sounds obvious until a blank wall tempts you to install one large storage system far from the work. Organize by trip frequency first, then by appearance.
Loaded hooks and open bins project farther than the bare panel. Draw that finished depth and keep it outside feed paths, car doors, and face level walking routes. Compare cabinets, shelves, rails, panels, and mobile units in the overview of garage storage systems. For shallow wall options, see the garage wall storage systems guide. Leave one section unassigned so the next tool does not land permanently on the bench.
Mock up the plan and commit in stages
Transfer the paper plan to the slab with removable tape. Use boxes or folding tables for cabinet and bench volume. Mark a second outline for every drawer, machine, workpiece, and vehicle part in motion. Leave the mockup for several ordinary days so parking, deliveries, bins, and trips to the house expose conflicts.
Rehearse one common project with empty boxes as material. Walk from storage to the first tool, on to assembly, and out. Pull the dust container for service. Reach the panel. Open the hatch and every door. If activities compete, write which one moves and where it waits.
Install the least reversible pieces last. Place fixed boundaries and necessary zones first, then use mobile pieces while the workflow settles. A useful layout works in stored and active states. It also preserves empty floor for the next large project.
Useful products to compare
These links open current Amazon search results so you can compare dimensions, manuals, ratings, and availability for the exact models on your shortlist.
Before you buy or install
Check the current manual for the exact product you are considering. Confirm the assembled dimensions, load rules, mounting requirements, included hardware, clearances, warranty, and any limits that apply to your wall, floor, or garage layout.
Frequently asked questions
What is the best layout for a garage workshop?
The best layout matches your measured room and normal work. Put parking and exits on the plan first, group dirty work near its material and dust routes, and protect a separate clean assembly surface. Draw every tool in stored and operating positions. A layout that works for woodworking may be wrong for vehicle repair, metalwork, or light household projects.
How do I plan a garage workshop on paper?
Measure the finished room and draw it to a consistent scale. Add fixed obstacles, doors, the vehicle, and required access. Make movable card shapes for benches, storage, and tools, with separate outlines for open or operating size. Arrange zones, trace material movement, then use separate overlays for power, lighting, dust, and overhead hardware.
Should a workbench face the wall or the center of the garage?
A wall bench keeps the center open and puts tool storage within reach. An island bench allows access around a large assembly but consumes space on every side. Test both with the largest project, clamp overhang, parking position, and exit routes shown. The right orientation comes from the work envelope, not a general rule.
Can workshop zones overlap in a small garage?
Yes, when the activities happen at different times and every movable item has a safe stored position. A central floor might hold a car at night and a mobile saw during workshop mode. Dirty work and clean assembly should not run together in that shared area. Write the changeover sequence and test it at full size.