Affiliate disclosure: As an Amazon Associate I earn from qualifying purchases. This article may contain affiliate links, and Bay & Bench may earn a commission at no extra cost to you. Read our full Affiliate Disclosure.
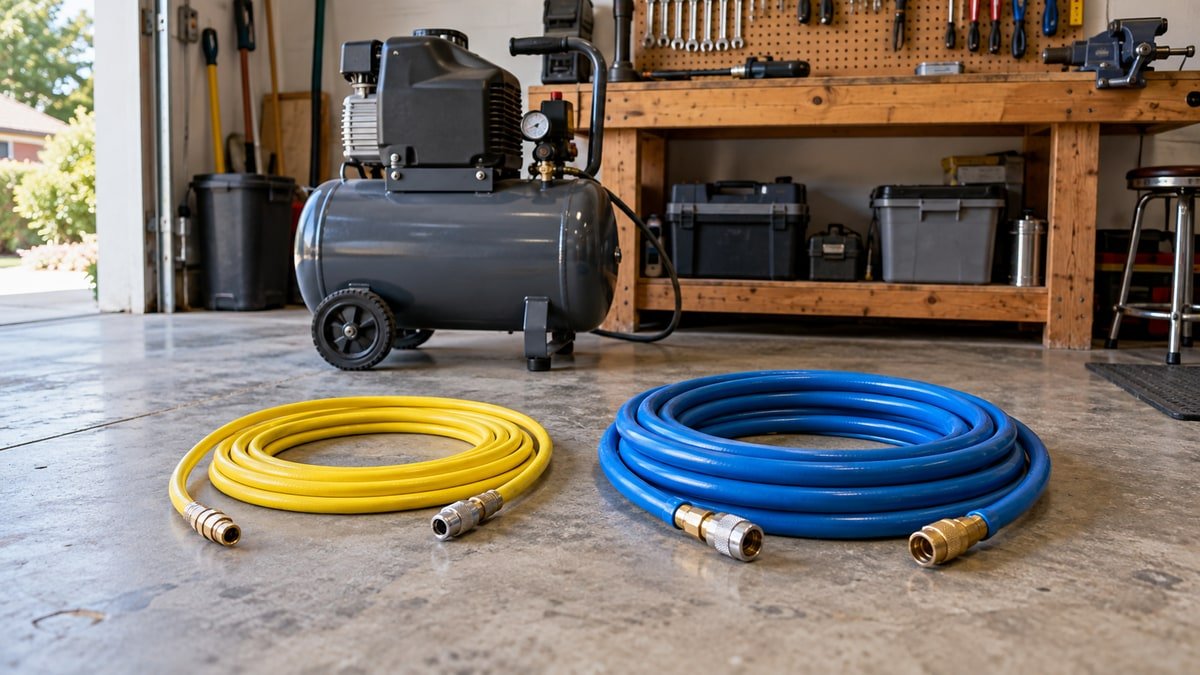
The practical answer to 1/4 vs 3/8 air hose is tied to airflow, length, and the tool at the far end. A 1/4 inch hose is lighter and easier to manage around a workbench. It works well for nailers, inflators, and short intermittent jobs. A 3/8 inch hose creates less restriction, so it is the safer choice for longer runs, impact tools, grinders, and equipment that consumes more air.
Tank size does not settle the question. Pressure on the compressor gauge with the trigger released is also a poor guide because the troublesome drop appears while air is moving. This comparison explains where each diameter works, how fittings can spoil a good hose, and how to test the system instead of blaming the compressor first.
Quick answer
Use a 1/4 inch air hose for short runs and low demand intermittent tools when low weight matters. Use a 3/8 inch hose for longer runs or tools with higher airflow, including many impact wrenches and grinders. Follow the tool maker’s minimum inside diameter, compare required CFM, and measure pressure at the tool while it is running.
How 1/4 vs 3/8 air hose sizes compare
The difference is inside diameter. A 3/8 inch passage has more cross sectional area than a 1/4 inch passage, which reduces flow resistance when length and construction are otherwise similar. The larger hose is also heavier and bulkier.
| Decision point | 1/4 inch hose | 3/8 inch hose |
|---|---|---|
| Best use | Nailers, inflation, short light jobs | Impact tools, grinders, longer runs |
| Handling | Lighter and easier at the tool | Heavier with a wider bend |
| Flow resistance | Higher as demand and length rise | Lower for the same demand and length |
| Common portable length | Short workbench or trim hose | Main garage hose and reels |
| Couplers | Must still pass required flow | Large hose can be limited by small fittings |
These are use patterns, not universal ratings. Read the minimum hose size and air consumption in the tool manual. Start the rest of the system with the garage air compressor size guide, since no hose can supply airflow the pump never produces.
Air hose inside diameter controls restriction
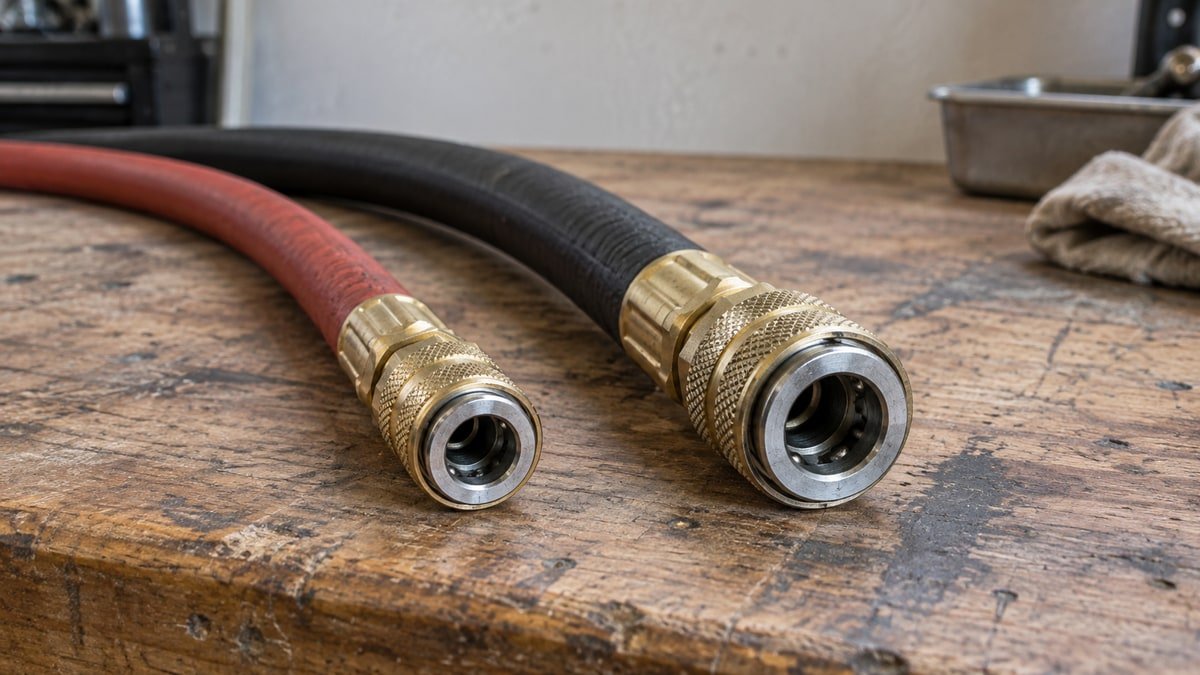
Inside diameter is the open passage through the hose. Outside diameter includes reinforcement and cover material, so it cannot tell you how much room the air has. Two hoses with the same outside diameter may have different bores. Look for ID, inside diameter, or minimum hose size in the specifications.
Restriction turns into pressure loss while the tool draws air. More flow, more length, and a smaller bore increase that loss. PORTER CABLE gives a sharp example in its pressure drop support note. At 15 SCFM through 25 feet, its table estimates a 29 PSI drop in a 1/4 inch hose and only 3 PSI in a 3/8 inch hose.
That is a high demand case, so it should not be applied blindly to a brad nailer. It does show why a small hose can look fine on a static gauge and starve a tool once the trigger stays open.
A 1/4 inch hose feels right with light tools
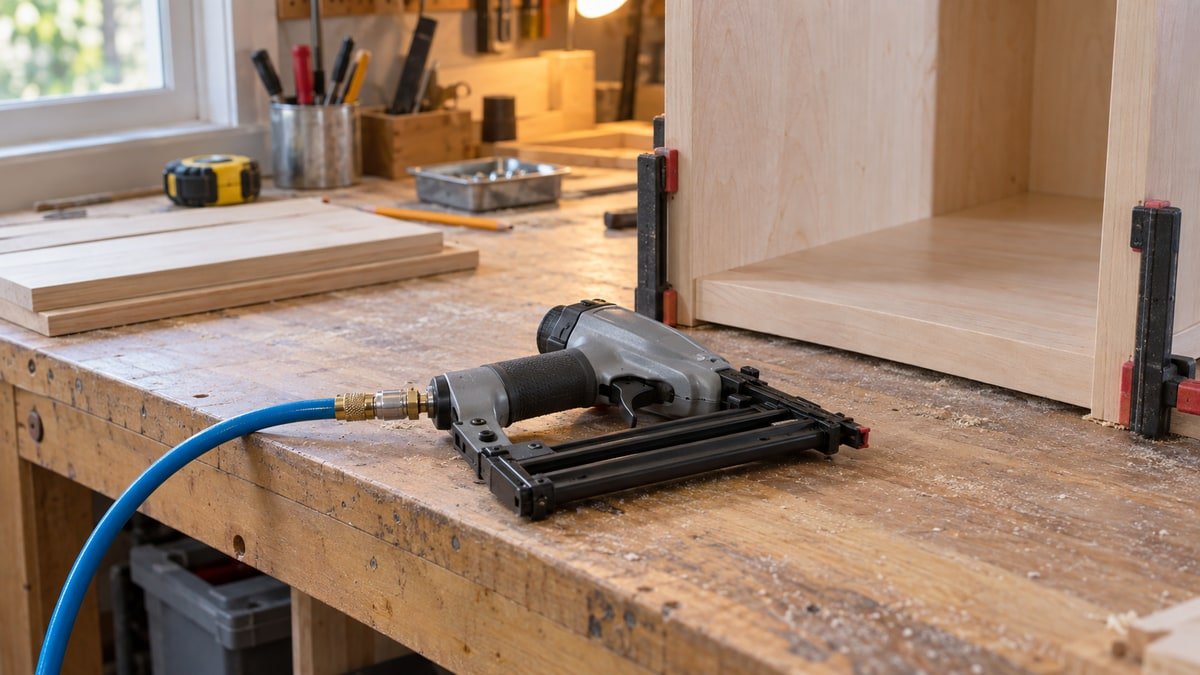
A short 1/4 inch hose is pleasant for finish nailers, pin nailers, staplers, airbrushes, tire chucks, and blow guns used in brief bursts. It bends around table legs with less effort and puts less sideways pull on a small tool. When the compressor moves to the driveway, the lighter coil is easier to carry.
Intermittent use is the reason it works. A nailer takes a small gulp, then waits while the user positions the next fastener. Tire inflation also pauses often. The hose has time to equalize between demands. A continuous grinder or sander does not give it that break.
Keep the run short and use couplers whose flow rating suits the tool. A compact hose can be part of a tidy workbench position because it does not sweep as wide across the front edge. If the tool feels weak, test dynamic pressure before replacing the compressor.
A 3/8 inch hose handles demanding garage work
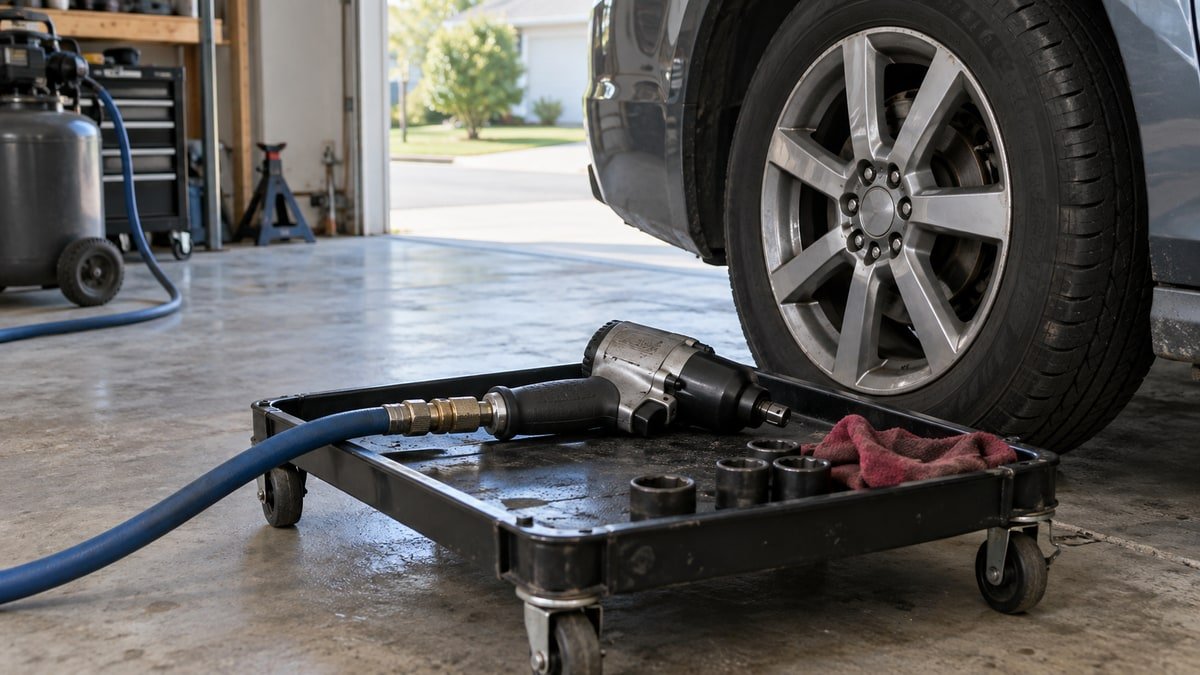
Between these two sizes, a 3/8 inch hose is the more forgiving starting point for many home garage main runs. It gives impact wrenches, ratchets, die grinders, small spray equipment, and other higher consumption tools more flow headroom. The advantage grows as the hose gets longer. Follow any tool manual that calls for 1/2 inch or larger. A 3/8 inch hose also makes sense on many reels because the full path may include a leader hose, swivel, internal reel passage, main hose, coupler, and short whip.
Larger is not free. A 50 foot 3/8 inch rubber hose can be tiring at the wrist and awkward around a vehicle. A flexible material and sensible routing help. Some users keep a 3/8 inch main hose on the wall, then add a short light whip at the tool. That preserves most of the flow while reducing strain at the inlet.
Check the tool maker’s recommendation. The Chicago Pneumatic air line guide tells users to follow the specified minimum inside diameter and discusses increasing diameter as hose length grows.
Length changes the answer quickly
Every foot adds resistance. A 1/4 inch hose that behaves well at 15 feet may feel different at 50 feet with the same tool. Coiled hose can add more actual length than its compact stored size suggests. Count the leader hose and whip too.
Use the shortest route that still lets the tool reach the job without stretching. Stretching pulls on fittings, increases trip risk, and encourages the user to drag the compressor into awkward spots. If the garage needs 50 feet to work around two cars and into the driveway, 3/8 inch is usually the more forgiving main hose.
Map the run through the garage workshop layout. A central drop or wall reel may cut the required length in half. Do not trade pressure loss for a hose that lies across every aisle. Routing and diameter belong in the same decision.
Match hose size to tool CFM
Find the tool’s stated air consumption at its required pressure. Some manuals give average consumption, while continuous operation can ask for more. Impact wrenches cycle, so the user’s pace matters. Sanders and grinders draw air for longer stretches and expose a restrictive hose sooner.
Compare the tool requirement with delivered compressor output at the same pressure. Add the hose, regulator, filter, and fittings after that. A 3/8 inch hose cannot turn a 2 CFM compressor into a 6 CFM compressor. It can keep an already suitable compressor from losing as much performance on the way to the tool.
Think in complete jobs. Removing four lug nuts is different from running a body shop impact all morning. A hobbyist may tolerate recovery pauses that would be unacceptable in paid work. Buy for the longest regular trigger time, not the most dramatic tool in the drawer.
Couplers can become the narrowest point
A wide hose with a small plug, restrictive quick coupler, undersized regulator, or clogged filter still has a bottleneck. The nominal thread size on a fitting does not reveal its internal flow area. Compare the coupler series and published flow data as a matched system.
Do not mix plug profiles because they happen to click together once. A partial fit can leak, release unexpectedly, or restrict flow. Choose one compatible family for the garage and replace questionable pieces. Apply thread sealant only where the fitting maker permits it, and keep sealant away from the first thread so fragments do not enter the tool.
Chicago Pneumatic notes in the same guide that each air line accessory creates pressure drop and that incorrect coupling dimensions can cause localized loss. That is why swapping only the hose may fail to fix a weak impact wrench.
Measure pressure while air is moving
Static pressure is the gauge reading with no flow. It can look perfect even when the hose is too small. Dynamic pressure is measured while the tool runs. To diagnose a problem, use a suitable gauge at the tool inlet, operate the tool in the manner stated by its maker, and compare the result with the required pressure.
Start at the compressor outlet, then work downstream. A large drop across the regulator points to a regulator or flow problem. A drop after the hose points toward hose length, diameter, kinks, or fittings. Leaks can confuse every reading, so listen and use an approved leak detection method first.
Never exceed the pressure rating of the hose, couplers, regulator, reel, or tool to hide a restriction. The lowest rated component sets the limit. Raising pressure can add risk and may damage the tool without correcting the real flow problem.
Balance hose weight against tool control
Hose weight is easy to dismiss until a small sander or nailer stays in the hand for an hour. A thick hose can steer the tool, rub paint, and tug at the wrist. A short flexible whip between the main line and tool can improve movement if every fitting and the whip itself meet the airflow and pressure requirements.
Material changes handling too. Rubber, hybrid polymer, and polyurethane hoses of the same nominal diameter can feel different in cold weather and carry different outside diameters. Bend radius matters near the coupler. A tight kink reduces flow and weakens the hose wall.
Store the coil on a broad hanger or compatible reel. Small hooks create sharp bends. Put hose accessories with the rest of the garage tool storage system so reducers and plugs do not migrate into unmarked bins.
Route the hose away from tires and feet
A hose across the center aisle will be stepped on, rolled over, and pulled around sharp corners. Route the main line along a wall or overhead where allowed, then bring a controlled working length to the job. Keep it clear of vehicle tires, doors, hot exhaust, grinding sparks, and sharp sheet metal.
The garage workshop aisle clearance guide helps preserve a walking path when the car is parked. If a reel retracts the hose, set the stop so the coupling does not strike the ceiling or reel body. Guide the hose back by hand rather than letting it snap.
Compressed air hoses store energy. Inspect the cover, end crimps, plugs, and couplers. Remove a damaged hose from service instead of wrapping a soft spot in tape. Depressurize before changing fittings, and follow the equipment manuals for isolation and maintenance.
Use a two hose setup when the work is mixed
Many garages do not need to choose one diameter for every task. A 3/8 inch main line can stay on a wall reel for vehicle and bench work. A short 1/4 inch hose can live with the finish nailer or inflator. Connect the light hose only when its tool demand and total length make sense.
This arrangement reduces the temptation to drag 50 feet of heavy hose across a cabinet project. It also keeps the higher flow route ready for an impact wrench. Mark both coils by diameter at the coupler end, where the user can see the difference before connecting a tool.
If two tools may run at the same time, size the compressor and distribution for combined demand. The layout in garage workshop zones can help separate a vehicle air station from the clean assembly bench without duplicating every accessory.
Pick the smallest hose that passes the test
Read the tool manual, record CFM and pressure, measure the real route, then select a diameter. For a short nailer hose, 1/4 inch is easy to live with. Between these two sizes, 3/8 inch is the better starting point for a 25 to 50 foot garage hose or a demanding tool. Follow a tool manual that requires something larger, and keep the fittings at least as capable as the hose.
After assembly, check for leaks and measure pressure at the tool under normal flow. If performance is poor, trace the drop instead of buying random parts. A clogged filter, narrow coupler, weak regulator, or undersized compressor may be the culprit.
For a garage that uses both nailers and high demand tools, keeping two hoses is often the most practical answer. Use the light line where it genuinely works and the larger line where demand rises. That costs a little more than one universal coil, but it gives the nailer a pleasant lead and the impact wrench the airflow it was designed to use.
Useful products to compare
These links open current Amazon search results. Check the dimensions, manual, mounting hardware, warranty, and current availability for the exact model before you order.
Before you buy or install
Read the current manual for the exact product you are considering. Confirm its assembled dimensions, rated capacity, mounting requirements, included hardware, working clearances, warranty, and any limits that apply to your wall, floor, electrical circuit, or garage layout.
Frequently asked questions
Is a 1/4 inch air hose enough for an impact wrench?
It may handle brief use with some compact impacts, but longer runs and higher demand models can lose substantial pressure through a 1/4 inch hose. Follow the wrench maker minimum inside diameter and CFM guidance. A 3/8 inch hose is usually the more forgiving garage choice for wheel work.
Does a 3/8 inch air hose use more air?
The tool determines its air demand. A 3/8 inch hose does not force the tool to consume more simply because it is larger. It reduces restriction, so a tool that was starved by a smaller hose may finally receive the flow and pressure intended by its design.
Can I put quarter inch fittings on a 3/8 inch hose?
Thread size, plug profile, and internal flow area are separate details. A fitting may screw onto the hose yet become the narrowest part of the system. Use compatible fittings rated for the required pressure and flow, and keep one coupler family throughout the garage.
What air hose diameter is best for a 50 foot run?
A 3/8 inch hose is a sensible starting point for many 50 foot home garage runs because pressure loss grows with length. High consumption tools may need an even larger passage. Check the tool and hose maker data, then verify dynamic pressure at the inlet.
Why does my air tool feel weak when the gauge reads 90 PSI?
The gauge may show static pressure with no air moving. The reading can fall when the tool runs because of a narrow hose, long run, restrictive coupler, regulator, dirty filter, leak, or inadequate compressor output. Measure pressure at the tool under flow to find the drop.
Leave a Reply