Author: Jeremy Moon

  • Steel vs Resin Garage Shelving

    Steel vs Resin Garage Shelving

    Affiliate disclosure: As an Amazon Associate I earn from qualifying purchases. This article may contain affiliate links, and Bay & Bench may earn a commission at no extra cost to you. Read our full Affiliate Disclosure.

    Steel is the usual choice for dense tools and long shelf spans. Resin is easy to wash and will not rust. Either material can disappoint when the shelf dimensions or published ratings do not match the load.

    Quick answer

    Choose steel for compact heavy objects and broad modular choices, after checking finish and corrosion conditions. Choose resin for damp, washable storage and lighter household goods. Compare exact per shelf ratings and restraint instructions.

    Steel vs Resin Garage Shelving
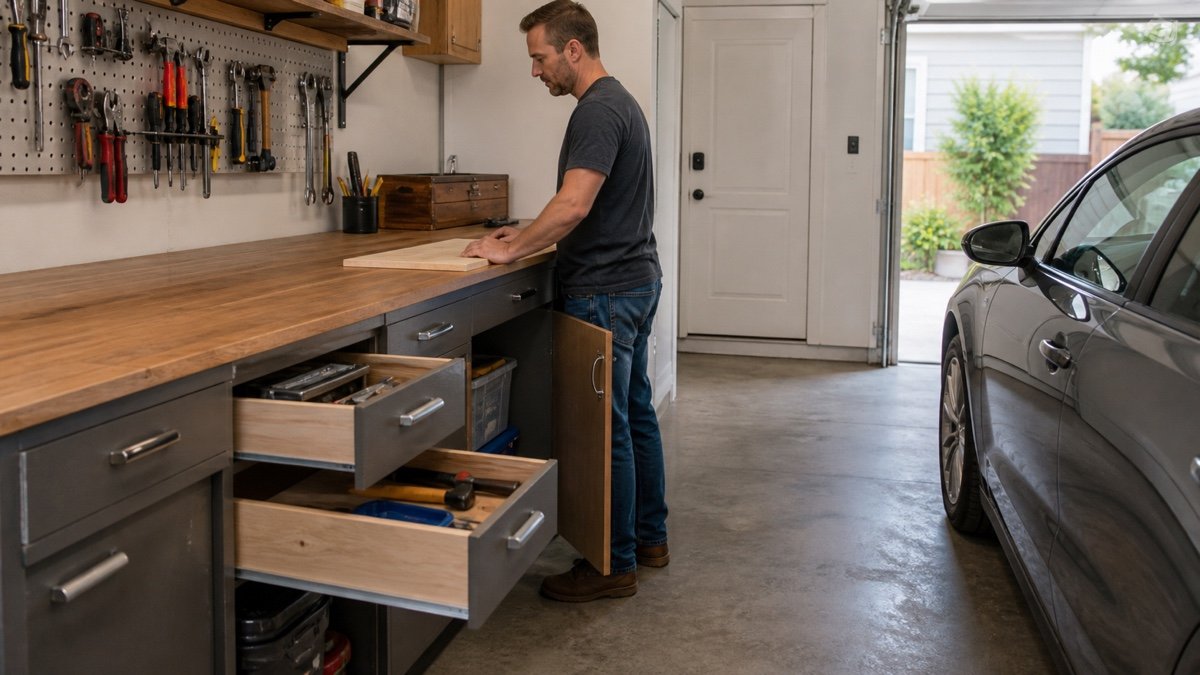
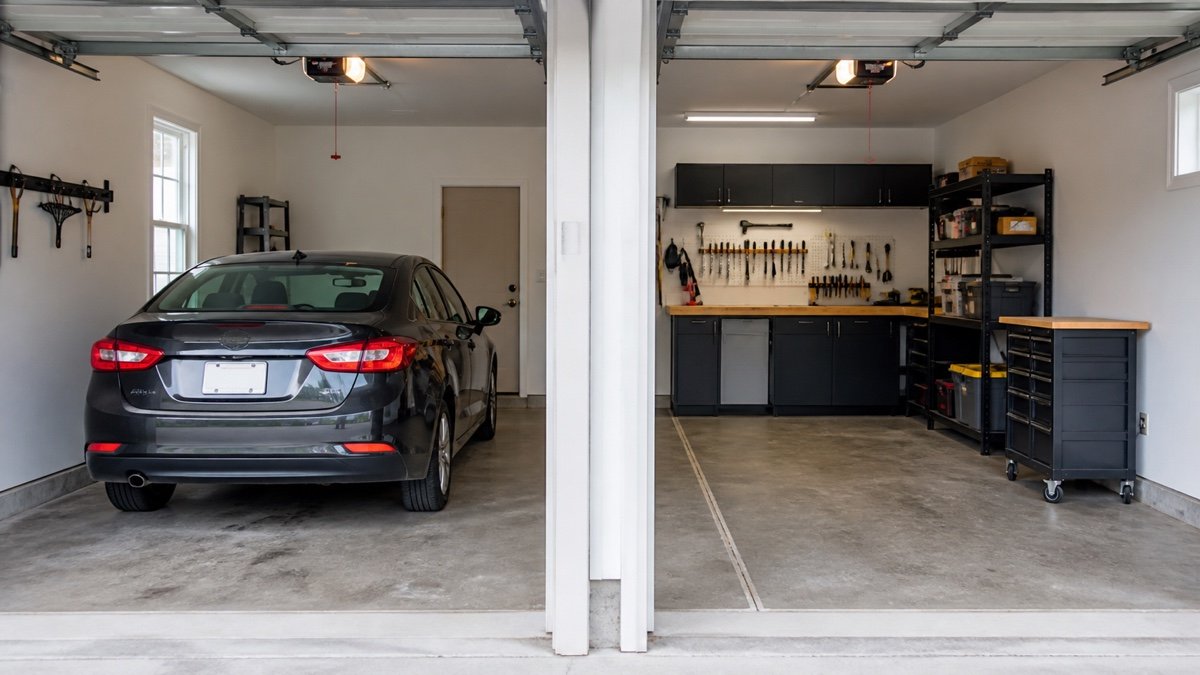
    Planning example for steel vs resin garage shelving.

    Material does not replace specifications

    A thin steel shelf may carry less than a well-designed resin shelf. A thick resin frame may still creep under heat or long-term loading. Product geometry, span, bracing, and rating matter more than a one-word material label.

    Where steel makes sense

    Steel racks are common around power tools, automotive supplies, and dense bins. Adjustable boltless designs can offer many shelf positions. Scratched finishes and damp floors deserve attention, so inspect contact points and follow care instructions.

    Where resin is pleasant to own

    Resin units are often light to move before loading and simple to wipe down. Molded shelves do not have a coating that can rust. They suit sports gear, cleaning supplies, and household bins when the stated ratings fit.

    Daily differences

    FactorSteelResin
    Dense loadsMany strong optionsVerify span and rating
    Water cleanupFinish needs careUsually simple to wash
    AssemblyMay need mallet or fastenersOften press fit
    AdjustabilityCommon on many systemsVaries, sometimes fixed
    Unit weightOften heavierOften lighter

    Check stability

    Tall shelving needs a flat footing and correct assembly regardless of material. Keep heavy items low and use wall restraint when the instructions call for it. Do not assume a light resin unit is safe to leave unrestrained or that a heavy steel unit cannot tip.

    Choose by storage zone

    A garage does not need one material everywhere. Steel can handle the tool zone while resin serves a damp garden or cleaning zone. Keep incompatible chemicals separated according to their labels.

    Continue with the garage shelving buying guide to compare dimensions and shelf surfaces.

    Temperature and sunlight matter

    Garages can become hot, and direct sun near an open door can warm one side of a rack. Read the product guidance for environmental limits. Resin response to heat and steel coating durability vary by design.

    Keep both materials away from sources of heat or chemicals that their documentation does not permit.

    Moving the unit later

    Resin sections may be light enough to reposition while empty. Steel systems can be heavier but may offer boltless parts that separate. Neither should be dragged while loaded.

    If you expect frequent layout changes, look at the empty unit weight, disassembly instructions, and availability of replacement clips or shelves.

    Useful products to compare

    Use these searches to compare current dimensions, ratings, manuals, and availability. Check the exact model before buying.

    Before you buy or install

    Download the current manual for the exact model. Confirm assembled and packaged dimensions, individual and total load ratings, required clearances, mounting structure, included hardware, warranty, and inspection instructions. Product listings and specifications can change.

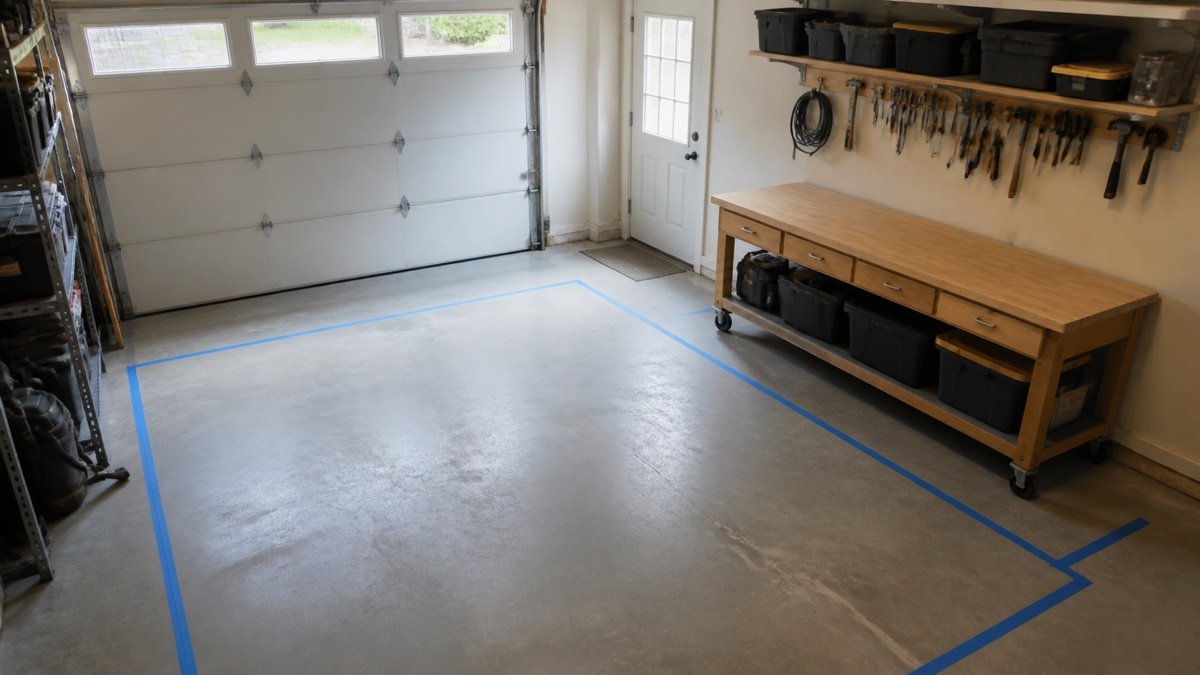
    Mark the footprint or platform edges in the garage. Operate the vehicle doors and garage door, carry the intended bin through the access route, and check service panels and utilities. Do not improvise around electrical, gas, fire, or structural conditions.

    Frequently asked questions

    Does resin shelving sag?

    Any shelf can deflect when the load, span, heat, or long-term use exceeds its design. Follow the exact rating and distribution rules.

    Will steel shelves rust in a garage?

    Damage, condensation, salt, and finish quality affect corrosion. Inspect the coating and keep the feet out of standing water.

    Can I mix steel and resin shelves?

    Yes. Choosing each unit for its storage zone is often more sensible than forcing one material throughout the garage.

    Last reviewed: July 2026. Verify current product specifications and installation requirements before purchase.

  • 18 vs 24-Inch-Deep Garage Shelves

    18 vs 24-Inch-Deep Garage Shelves

    Affiliate disclosure: As an Amazon Associate I earn from qualifying purchases. This article may contain affiliate links, and Bay & Bench may earn a commission at no extra cost to you. Read our full Affiliate Disclosure.

    Six inches sounds minor until it runs beside a parked car for eight feet. Shelf depth affects the aisle every day, while extra capacity matters only when the objects use it.

    Quick answer

    Choose 18 inch shelves for tighter parking, medium bins, and better visibility. Choose 24 inch shelves for genuinely deep totes and bulky gear, provided the aisle and reach still work. Measure usable deck depth, not just the product name.

    18 vs 24-Inch-Deep Garage Shelves
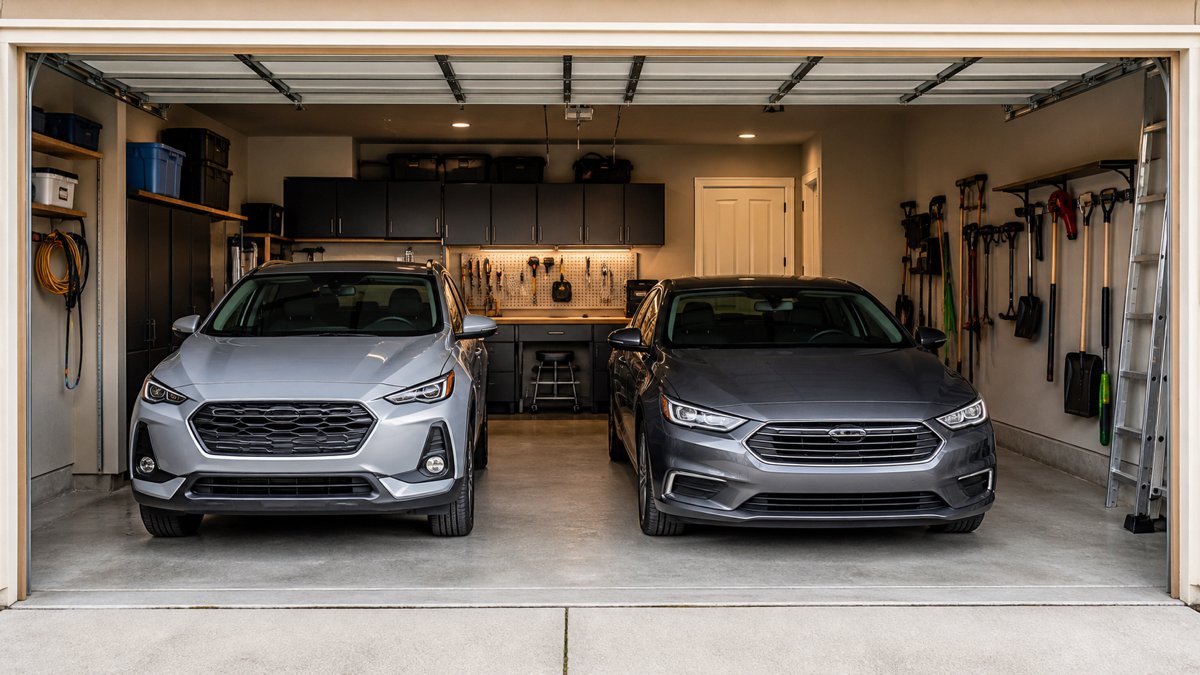
    Planning example for 18 vs 24-inch-deep garage shelves.

    Tape both footprints

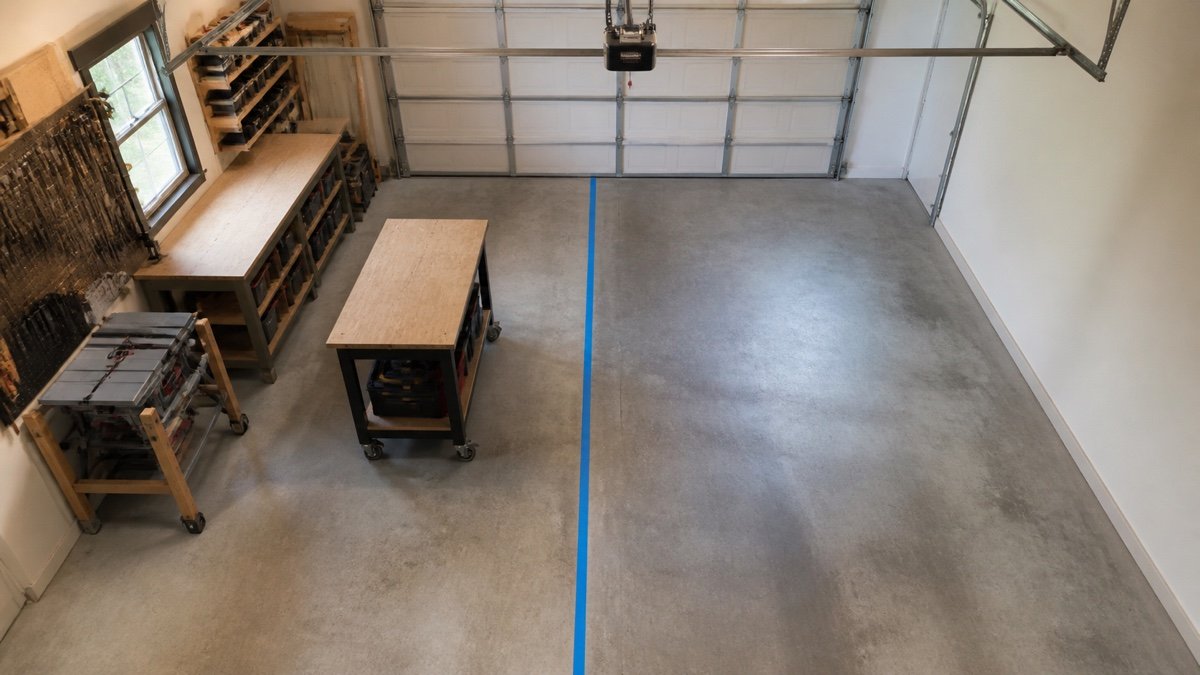
    Mark 18 and 24 inches from the wall, including any base gap or upright projection. Park the vehicle and walk the route carrying the largest tote. Open the nearest car door.

    The better depth is the one that passes this test without forcing awkward movement.

    What 18 inches does well

    Shallow shelves make labels easier to see and reduce double rows. They suit many medium bins, tool cases, gardening supplies, and household stock. Less depth also discourages forgotten objects at the back.

    When 24 inches earns its space

    Large totes, coolers, shop equipment, and wide automotive gear may need the deeper deck. Confirm that the object sits fully supported and fits between the uprights.

    Do not buy deep shelves for future capacity without naming the objects that will occupy it.

    Compare the tradeoffs

    Factor18 inch24 inch
    Aisle usePreserves 6 inchesConsumes 6 more inches
    VisibilityEasier single rowsMore chance of hidden items
    Large tote fitMay leave overhangOften better, verify exact tote
    ReachEasy to reach rearHarder on high shelves

    Use mixed depths carefully

    A deep rack at the back wall and shallow shelving beside the vehicle can make sense. Keep transitions visible so shoulders and carried bins do not catch a projecting corner.

    Measure the usable shelf

    Frames, lips, braces, and uprights can reduce usable space. Check the clear depth and opening in the manual. Then enter the wall and unit dimensions in the shelving planner.

    The broader buying guide covers materials and ratings.

    High shelves make depth harder to use

    Deep storage above eye level hides labels and pushes the rear row beyond comfortable reach. A 24 inch deck that works at waist height can be irritating near the top of the rack. Plan depth and shelf height together.

    If deep upper shelves are unavoidable, use one light pull-forward bin per position instead of loose objects in two rows.

    Calculate capacity with real bins

    Divide usable shelf width by the loaded bin width, then check depth and opening height. Repeat for every shelf. Marketing photos often use containers chosen to make the rack look full; your bin family may leave large gaps.

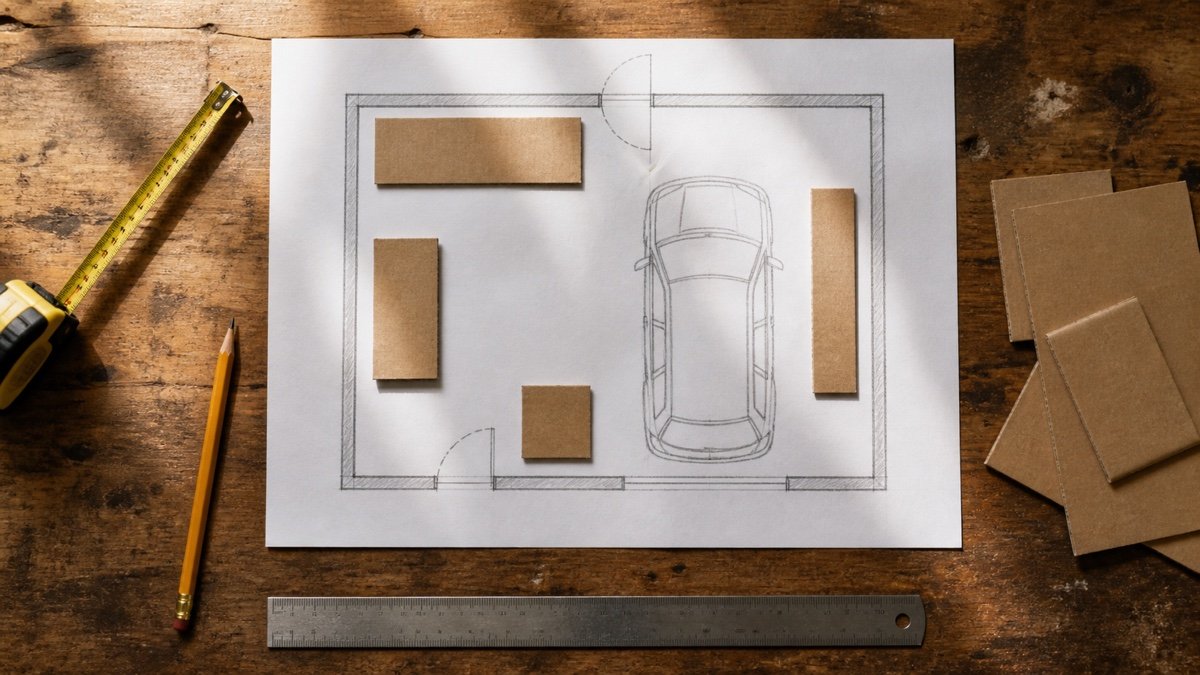
    A cardboard template of the shelf opening is a quick way to test handles and lids in the store or garage.

    Useful products to compare

    Use these searches to compare current dimensions, ratings, manuals, and availability. Check the exact model before buying.

    Before you buy or install

    Download the current manual for the exact model. Confirm assembled and packaged dimensions, individual and total load ratings, required clearances, mounting structure, included hardware, warranty, and inspection instructions. Product listings and specifications can change.

    Mark the footprint or platform edges in the garage. Operate the vehicle doors and garage door, carry the intended bin through the access route, and check service panels and utilities. Do not improvise around electrical, gas, fire, or structural conditions.

    Frequently asked questions

    Will an 18 inch tote fit an 18 inch shelf?

    Not necessarily. Measure the tote at its widest point and compare it with the usable deck and upright opening.

    Can bins overhang the shelf?

    Follow the shelf and bin instructions. Overhang can reduce stability and make retrieval awkward.

    Which depth is better for a one car garage?

    Often 18 inches, but only a parked vehicle and tape mockup can confirm the room.

    Last reviewed: July 2026. Verify current product specifications and installation requirements before purchase.

  • Garage Shelving Buying Guide: Depth, Load, and Layout

    Garage Shelving Buying Guide: Depth, Load, and Layout

    Affiliate disclosure: As an Amazon Associate I earn from qualifying purchases. This article may contain affiliate links, and Bay & Bench may earn a commission at no extra cost to you. Read our full Affiliate Disclosure.

    Garage shelving works when the shelf matches the objects, not when the box carries the largest capacity number. Depth, clear opening, shelf surface, and the way you retrieve a bin matter every week.

    Quick answer

    Measure the largest tote and the parking aisle. Compare usable shelf dimensions, per shelf ratings, upright spacing, surface material, leveling, restraint instructions, and whether replacement shelves or add-on bays are available.

    Garage Shelving Buying Guide: Depth, Load, and Layout
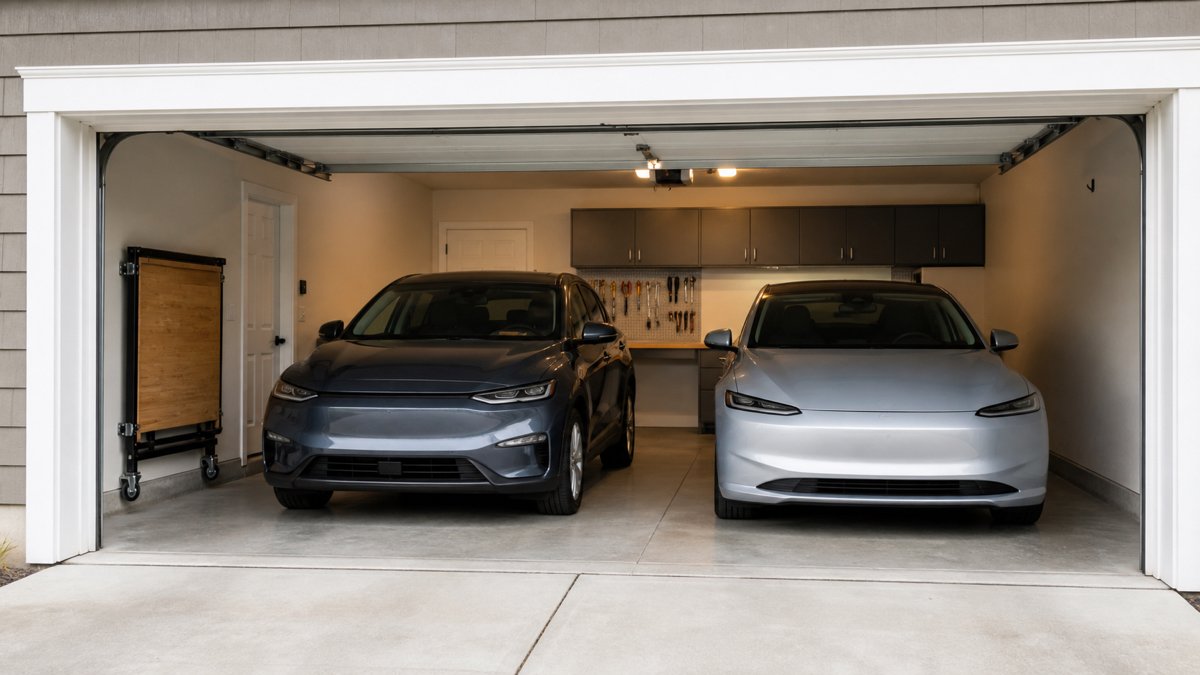
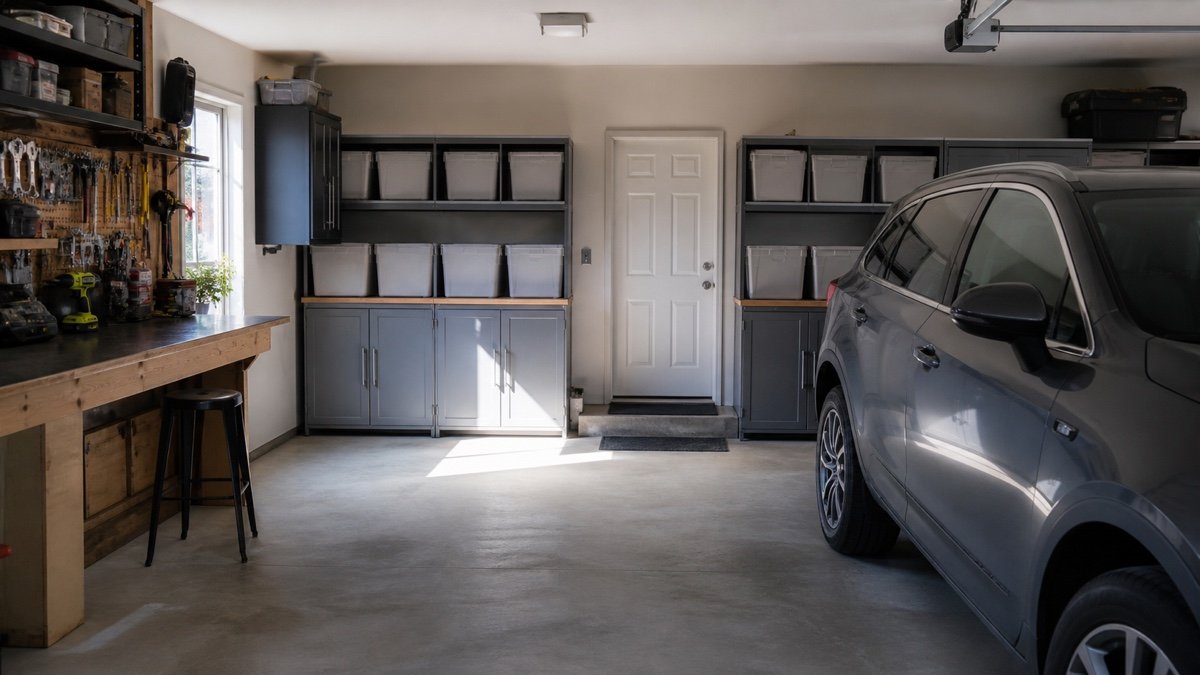
    Planning example for garage shelving buying guide: depth, load, and layout.

    Start with the objects

    List the widest, deepest, tallest, and heaviest objects intended for the rack. Measure totes at the lid and handles. A shelf can be wide enough overall while the clear opening between uprights is too narrow.

    Keep dense tools low. Reserve eye-level shelves for frequently used bins and supplies.

    Depth changes the aisle

    Eighteen inch shelves keep contents visible and preserve six inches compared with a 24 inch unit. Deeper shelves handle larger totes, but small objects disappear behind one another.

    Use the garage shelving planner and read the depth comparison before buying.

    Read load ratings carefully

    Check the rating for each shelf and the whole unit. Look for conditions such as evenly distributed load and required wall restraint. Shelf capacity does not override floor condition, assembly errors, or instability from a tall narrow frame.

    Do not use the rack as a ladder.

    Choose a shelf surface

    Wire permits airflow and lets dust fall through, but small parts and spills need trays. Solid steel, resin, or composite decks support little objects and wipe clean differently. Moisture matters, especially with unfinished particleboard.

    The wire vs solid guide looks at the daily tradeoffs.

    Material and environment

    Steel handles dense loads well when the complete design and finish suit the environment. Resin avoids rust and is easy to wash, but heat, shelf span, and product rating still matter. Compare the exact models in our steel vs resin shelving guide.

    Specification sheet

    SpecificationWhy it matters
    Outside W x D x HRoom and aisle fit
    Clear shelf openingActual object access
    Adjustable spacingTall bins and changing use
    Per shelf ratingLocal load limit
    Total ratingComplete unit limit
    Surface materialSpills, small parts, moisture
    Restraint instructionsStability and installation

    Shelf spacing sets usable capacity

    Count shelf levels only after assigning bin heights. Five closely spaced decks may hold less useful gear than four well-spaced shelves. Include the thickness of beams and decks when calculating the clear opening.

    Put the tallest object in the lowest practical zone. Raising it above shoulder height makes both loading and inspection harder.

    Test the floor and the feet

    Garage floors slope toward the door and may have joints, curbs, or drains. Small adjustable feet can help with minor variation when the product allows it, but they are not a cure for a poor location. Check whether feet, casters, or base plates concentrate load on a fragile surface.

    Assemble and level the empty rack before adding weight. Recheck it after the first full loading.

    Useful products to compare

    Use these searches to compare current dimensions, ratings, manuals, and availability. Check the exact model before buying.

    Before you buy or install

    Download the current manual for the exact model. Confirm assembled and packaged dimensions, individual and total load ratings, required clearances, mounting structure, included hardware, warranty, and inspection instructions. Product listings and specifications can change.

    Mark the footprint or platform edges in the garage. Operate the vehicle doors and garage door, carry the intended bin through the access route, and check service panels and utilities. Do not improvise around electrical, gas, fire, or structural conditions.

    Frequently asked questions

    How deep should garage shelves be?

    Use the shallowest shelf that fits the largest intended bin while preserving the aisle.

    Do high load ratings mean the rack is stable?

    No. Stability also depends on assembly, floor, proportions, restraint, placement, and correct loading.

    Are adjustable shelves worth it?

    Usually, if the adjustment range matches your bins and the hardware is easy to reposition safely.

    Last reviewed: July 2026. Verify current product specifications and installation requirements before purchase.

  • Garage Storage Rack Above the Garage Door: A Clearance Guide

    Garage Storage Rack Above the Garage Door: A Clearance Guide

    Affiliate disclosure: As an Amazon Associate I earn from qualifying purchases. This article may contain affiliate links, and Bay & Bench may earn a commission at no extra cost to you. Read our full Affiliate Disclosure.

    The space above a garage door can be useful, but it is not empty space. Door panels, tracks, the opener, springs, cables, and emergency hardware all need room to move and service access.

    Quick answer

    Operate the door through its full cycle and map the highest moving point. Add the rack frame, tote height, handling gap, and every clearance required by both the rack and door equipment. If those zones overlap, move or resize the rack.

    Garage Storage Rack Above the Garage Door: A Clearance Guide
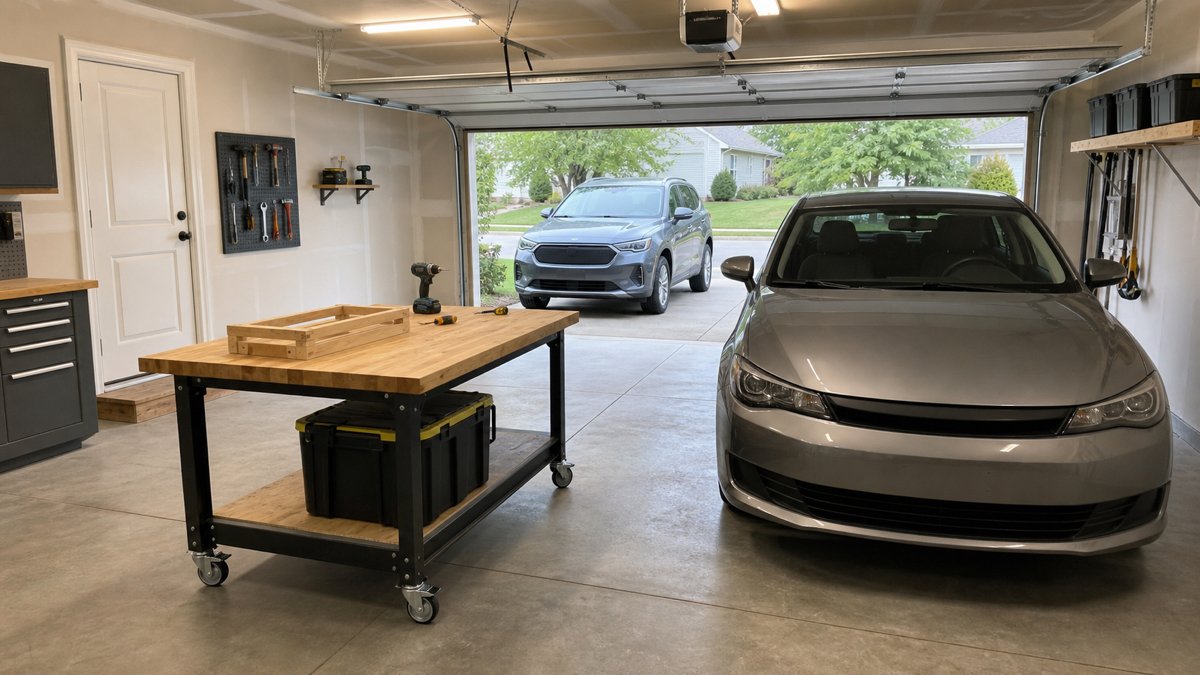
    Planning example for garage storage rack above the garage door: a clearance guide.

    Watch a complete door cycle

    Stand inside the garage and watch from the side while another person operates the door safely. The panel path changes through the curved track. The opener arm and emergency release move too.

    Never place yourself beneath unsupported components or interfere with door hardware while measuring.

    Map service space

    Technicians need access to springs, cables, tracks, fasteners, opener components, and manual release hardware. A rack that clears normal movement can still make inspection or repair difficult.

    Ask the door manufacturer or service provider when required clearances are not documented.

    Build the vertical stack

    Start at the lowest usable ceiling point. Subtract mounting space, tote height, handling room, platform thickness, and the moving door envelope. Use the calculator to organize the numbers, then verify them physically.

    Choose the rack orientation

    A narrow platform parallel to the door may stay outside the opener rail. A rack across the garage may offer more capacity but cross several moving and service zones. Smaller modules can work around hardware more easily.

    Store the right things

    Above-door storage favors light seasonal totes. Keep each bin closed and stable. Avoid loose objects that vibration might move, and do not store materials whose labels prohibit garage heat or overhead locations.

    Final check before ordering

    • Door clears through the entire cycle.
    • Emergency release remains visible and reachable.
    • Tracks, springs, cables, and opener retain service access.
    • Rack mounting follows the exact structural requirements.
    • Totes can be loaded from a stable position.
    • The selected load remains within every verified limit.

    Return to the broader overhead storage buying guide to compare platform sizes and deck formats.

    Door type changes the available zone

    A sectional overhead door follows curved tracks. Other door types move differently, and high-lift configurations change the ceiling envelope. Do not transfer measurements from a neighbor’s garage or an online diagram to your door.

    Record the door and opener model when possible. Current technical documents or a service technician can answer questions that a tape measure cannot.

    Vibration and falling objects deserve attention

    A garage door cycles beneath or beside the storage area. Use closed bins in good condition and keep every object within the platform edge. Loose sports gear, scrap wood, and open boxes do not belong above a moving door.

    Listen after loading. New rattles, rubbing, or movement are reasons to stop the door and inspect the area.

    Useful products to compare

    Use these searches to compare current dimensions, ratings, manuals, and availability. Check the exact model before buying.

    Before you buy or install

    Download the current manual for the exact model. Confirm assembled and packaged dimensions, individual and total load ratings, required clearances, mounting structure, included hardware, warranty, and inspection instructions. Product listings and specifications can change.

    Mark the footprint or platform edges in the garage. Operate the vehicle doors and garage door, carry the intended bin through the access route, and check service panels and utilities. Do not improvise around electrical, gas, fire, or structural conditions.

    Frequently asked questions

    Can a rack touch the garage door tracks?

    No. Keep the clearances required by the rack and door equipment, including service access.

    Can I move the opener to make space?

    Changes to door and opener systems should follow manufacturer requirements and may need qualified service. Do not redesign them around a rack casually.

    What is best stored above the door?

    Light, stable, seasonal goods in closed totes are usually the sensible use.

    Last reviewed: July 2026. Verify current product specifications and installation requirements before purchase.

  • Fixed vs Adjustable Overhead Garage Racks

    Fixed vs Adjustable Overhead Garage Racks

    Affiliate disclosure: As an Amazon Associate I earn from qualifying purchases. This article may contain affiliate links, and Bay & Bench may earn a commission at no extra cost to you. Read our full Affiliate Disclosure.

    Adjustability is useful when it solves a measured problem. If every support ends up at the same height and never moves again, a simpler fixed setup may be the cleaner choice.

    Quick answer

    Choose adjustable drop supports when ceiling height, obstructions, or tote sizes demand a specific platform level permitted by the manual. Choose fixed supports when the required height is known, the mounting plane is straightforward, and fewer joints suit the application.

    Fixed vs Adjustable Overhead Garage Racks
    Planning example for fixed vs adjustable overhead garage racks.

    What adjustable usually means

    Many adjustable racks use slotted vertical posts with a set of approved hole positions. Adjustment is not continuous, and the allowed range may change with rack size or configuration. Read the exact manual before assuming a desired drop is available.

    Where adjustment helps

    A measured drop can place the platform above an open door while preserving tote space. Separate approved settings may also help with a sloped ceiling or a beam, although every support and connection must follow the instructions.

    The clearance guide shows which dimensions to collect.

    Why fixed can be appealing

    Fixed hardware has fewer adjustment points and fewer opportunities to choose the wrong hole. That simplicity can make inspection easier. It does not remove the need for correct structure, fasteners, leveling, and load distribution.

    Side by side

    FactorFixedAdjustable
    Drop choicesOne designed heightApproved positions within a range
    Changing totesMay require new storage planMay permit a different setting
    PartsOften fewer jointsMore connection points to inspect
    Uneven geometryLess flexibleCan offer approved correction

    Do not plan on frequent adjustment

    A loaded ceiling rack is not a height adjustable desk. Changing the drop normally means unloading, supporting, loosening, aligning, and reinstalling parts according to the manual. Choose a setting you expect to keep.

    Decision rule

    Measure the lowest obstruction and the loaded tote. If one fixed configuration gives comfortable handling room and clearance, extra adjustment may add little. If the fit depends on a narrow height window, an adjustable model can be worth comparing.

    Whatever you choose, record the final setting and include it in periodic inspections.

    Adjustment can create setup errors

    More holes mean more possible configurations to verify. Count exposed holes or measure the final drop at every post before loading. Photograph the connections so a later inspection can tell whether anything moved.

    Use only approved fasteners and hole positions. A post that looks nearly aligned should not be forced into a custom setting.

    Future vehicles are worth one measurement

    If you expect to replace a sedan with an SUV, record the likely roof and hatch height before settling on a low rack. This does not justify buying excess adjustment. It simply prevents a platform from locking the garage to the current vehicle.

    Changing the rack later may be possible, but unloading and reinstalling it is work. A sensible initial height is cheaper.

    Useful products to compare

    Use these searches to compare current dimensions, ratings, manuals, and availability. Check the exact model before buying.

    Before you buy or install

    Download the current manual for the exact model. Confirm assembled and packaged dimensions, individual and total load ratings, required clearances, mounting structure, included hardware, warranty, and inspection instructions. Product listings and specifications can change.

    Mark the footprint or platform edges in the garage. Operate the vehicle doors and garage door, carry the intended bin through the access route, and check service panels and utilities. Do not improvise around electrical, gas, fire, or structural conditions.

    Frequently asked questions

    Can I change rack height after installation?

    Only as the manufacturer permits. Unload the rack and follow the adjustment procedure rather than moving loaded supports.

    Are fixed racks stronger?

    Not automatically. Compare the exact published ratings and required configuration.

    Can adjustable posts handle a sloped ceiling?

    Some systems may accommodate certain layouts, but the manual must explicitly support the installation.

    Last reviewed: July 2026. Verify current product specifications and installation requirements before purchase.

  • 2×4 vs 4×8 Overhead Garage Rack: Which Size Fits Better?

    2×4 vs 4×8 Overhead Garage Rack: Which Size Fits Better?

    Affiliate disclosure: As an Amazon Associate I earn from qualifying purchases. This article may contain affiliate links, and Bay & Bench may earn a commission at no extra cost to you. Read our full Affiliate Disclosure.

    A 4×8 rack offers four times the platform area of a 2×4 rack. That does not make it four times as useful. Reach, ceiling obstructions, tote layout, and mounting locations decide how much of the deck you can use.

    Quick answer

    Choose 2×4 when the ceiling is broken up by lights, doors, or access points, or when you want easy reach from one side. Choose 4×8 when you have a verified open mounting zone, enough loading access, and a tote plan that uses the center of the platform.

    2x4 vs 4x8 Overhead Garage Rack: Which Size Fits Better?
    Planning example for 2×4 vs 4×8 overhead garage rack: which size fits better?.

    The area difference is large

    A nominal 2×4 platform covers 8 square feet. A 4×8 covers 32. Map both rectangles on the floor and arrange the totes you already own. This reveals gaps caused by lids, handles, and incompatible bin sizes.

    Compare actual outside dimensions, since frames and extensions may not match the nominal label exactly.

    Reach can waste the middle

    A small rack can often be loaded from one stable ladder position. A broad 4×8 platform may require access from more than one edge. If walls, vehicles, or cabinets block those positions, the center becomes dead space or encourages unsafe reaching.

    Plan the ladder footprint before celebrating the extra capacity.

    Small racks work around obstacles

    Two smaller racks can sit in separate clear ceiling bays and leave a light, opener, or attic access untouched. They also allow different drop heights where the ceiling changes.

    A single large rack looks cleaner and may use fewer separate frames, but it gives you less freedom once the mounting zone is chosen.

    Compare before buying

    Question2×4 rack4×8 rack
    Platform area8 sq ft nominal32 sq ft nominal
    Typical reachEasier from one edgeOften needs multiple access points
    Obstacle avoidanceFlexible placementNeeds a broad clear zone
    ExpansionAdd another module laterLarge commitment at once
    Tote planningFew rowsCenter arrangement matters

    Capacity is not just deck area

    The larger rack may have a higher published capacity, but the building structure remains separate. Do not assume that doubling platform length doubles the load a ceiling location should carry. Review the weight guide.

    A practical decision

    Start with the smallest platform that holds the intended seasonal items. If you still need more room, decide whether another small rack in a different bay is easier to reach than one deep platform.

    Run both options through the clearance calculator and tape the platform edges overhead with visible wall marks.

    Think in reachable rows

    Platform area is less useful than reachable tote positions. Sketch the rack as rows of your actual bins and mark which edge each row is loaded from. A 4×8 plan with inaccessible center bins may offer less working capacity than two smaller platforms with clear approaches.

    Leave labels facing the access edge. Rotating bins overhead wastes time and encourages reaching beyond a stable position.

    Price the complete layout

    Compare delivered cost, extension pieces, extra supports, required accessories, and any installation help. Two small racks may cost more per square foot, while one large platform may require a more difficult mounting and loading plan.

    Cost per square foot is useful only after both options pass the clearance, access, and structural checks.

    Useful products to compare

    Use these searches to compare current dimensions, ratings, manuals, and availability. Check the exact model before buying.

    Before you buy or install

    Download the current manual for the exact model. Confirm assembled and packaged dimensions, individual and total load ratings, required clearances, mounting structure, included hardware, warranty, and inspection instructions. Product listings and specifications can change.

    Mark the footprint or platform edges in the garage. Operate the vehicle doors and garage door, carry the intended bin through the access route, and check service panels and utilities. Do not improvise around electrical, gas, fire, or structural conditions.

    Frequently asked questions

    How many totes fit on a 4×8 rack?

    It depends on actual platform dimensions and the loaded tote footprint. Lay the totes inside a 4×8 floor outline before buying.

    Are two 2×4 racks the same as one 4×8?

    No. Two 2×4 platforms provide half the nominal area of one 4×8, although separate placement may be more useful.

    Which size is easier to install?

    Size alone does not decide installation difficulty. Package weight, ceiling access, mounting layout, and the manual matter.

    Last reviewed: July 2026. Verify current product specifications and installation requirements before purchase.

  • Overhead Garage Storage Weight Capacity: What the Rating Really Means

    Overhead Garage Storage Weight Capacity: What the Rating Really Means

    Affiliate disclosure: As an Amazon Associate I earn from qualifying purchases. This article may contain affiliate links, and Bay & Bench may earn a commission at no extra cost to you. Read our full Affiliate Disclosure.

    A rack marked 600 pounds does not turn an unknown ceiling into a 600 pound support. The product rating, installation hardware, mounting pattern, and building structure form one chain. The weakest part sets the limit.

    Quick answer

    Use the lowest verified limit in the complete system. Add the rack weight to the stored load, spread contents as instructed, weigh loaded totes, and never infer ceiling capacity from the rack label.

    Overhead Garage Storage Weight Capacity: What the Rating Really Means
    Planning example for overhead garage storage weight capacity: what the rating really means.

    Separate the four limits

    1. The rack frame and deck have a published rating.
    2. Connections between rack parts have their own conditions.
    3. Fasteners and mounting plates depend on correct installation.
    4. The building structure must accept the added load.

    A strong platform can still be poorly mounted. A sound ceiling can still be paired with the wrong fastener. Keep the four questions separate.

    Read the exact wording

    Look for phrases such as evenly distributed load, per rack, per section, static load, and maximum combined capacity. Check whether accessories or extension sections change the rating. Use the current manual for the exact model number.

    Do not divide a headline number among hangers unless the manufacturer provides that method.

    Weigh the tote, not the guess

    Plastic bins hide weight surprisingly well. Put each loaded tote on a bathroom or shipping scale and write the weight on the label. Include lids and loose items on the platform.

    Store the lightest totes overhead. A bin of winter clothing behaves very differently from the same bin filled with metal parts.

    Distribution changes the stress

    Even distribution means more than placing one tote near each corner. Dense loads should not sit on a small patch of wire deck unless the instructions allow it. Keep weight balanced and avoid point loads from narrow feet.

    Recheck the rack after loading. Stop if you see movement, deformation, loosened hardware, or new ceiling damage.

    Make a load sheet

    ItemRecord
    RackModel, empty weight, stated capacity
    TotesIndividual loaded weights
    Loose itemsWeight and contact area
    MountingRequired structure and hardware
    InspectionDate and any movement or damage

    Know when to stop

    If joist direction, spacing, condition, or access is unclear, do not improvise. The buying guide can help choose a format, but it cannot certify a ceiling. Ask a qualified professional to assess uncertain structure.

    Keep hazardous liquids, batteries, fuel, and materials affected by heat out of overhead storage unless their labels and local rules clearly permit that location.

    Create a conservative loading routine

    Give every overhead tote a maximum household weight below the verified system limit and write it on the label. Weigh the bin whenever its contents change. This is more reliable than trying to remember which black tote contains fabric and which one contains hardware.

    Load from the supports toward open deck areas as the manual directs, and keep the platform balanced during the process. Do not stack an entire load on one edge while rearranging.

    Account for changes over time

    People add items to totes. Roof leaks, impacts, renovations, and vibration can change the installation environment too. A rack that looked fine on installation day still needs periodic attention.

    Keep the manual and installation photos. If a support moves, a fastener loosens, or the ceiling surface changes, unload the affected area before investigating.

    Useful products to compare

    Use these searches to compare current dimensions, ratings, manuals, and availability. Check the exact model before buying.

    Before you buy or install

    Download the current manual for the exact model. Confirm assembled and packaged dimensions, individual and total load ratings, required clearances, mounting structure, included hardware, warranty, and inspection instructions. Product listings and specifications can change.

    Mark the footprint or platform edges in the garage. Operate the vehicle doors and garage door, carry the intended bin through the access route, and check service panels and utilities. Do not improvise around electrical, gas, fire, or structural conditions.

    Frequently asked questions

    Does rack capacity include the rack itself?

    Product documentation varies. Confirm whether the stated capacity refers to stored load and whether the building structure must account for rack weight as well.

    Can I put equal weight in every tote?

    Only if the total, distribution, platform, mounting, and structure all remain within verified limits.

    How often should I inspect the rack?

    Inspect after installation and loading, then periodically and after any impact, movement, or change in the ceiling area.

    Last reviewed: July 2026. Verify current product specifications and installation requirements before purchase.

  • How Much Clearance Do You Need for Overhead Garage Storage?

    How Much Clearance Do You Need for Overhead Garage Storage?

    Affiliate disclosure: As an Amazon Associate I earn from qualifying purchases. This article may contain affiliate links, and Bay & Bench may earn a commission at no extra cost to you. Read our full Affiliate Disclosure.

    The useful number is not ceiling height. It is the smallest clear opening left after the door, opener, rack frame, tote, and retrieval movement have all taken their space.

    Quick answer

    Find the lowest obstruction in the proposed rack area. Subtract the platform thickness and selected drop. Then check the rack bottom against the open door, vehicle, walking route, and the way you will lift each tote.

    How Much Clearance Do You Need for Overhead Garage Storage?
    Planning example for how much clearance do you need for overhead garage storage?.

    Measure the garage in motion

    Record ceiling height at each rack corner, not at one convenient spot. Open and close the garage door while watching the highest panel, curved track section, opener arm, and emergency release. A still photograph of the closed door misses most conflicts.

    Measure the vehicle too. Roof rails, an open hatch, and a tall replacement vehicle can change the usable zone.

    Use a simple vertical stack

    Write the stack from top to bottom: ceiling or obstruction, required mounting space, tote height, handling gap, platform thickness, and clear space below. If any item is unknown, stop. A catalog image cannot supply the missing dimension.

    Try the numbers in the clearance calculator, then tape the proposed rack-bottom height on two walls. View it from the driveway and from beside the parked car.

    Do not forget the tote opening

    A 17 inch tote does not fit comfortably in a 17 inch opening. You need enough room to lift the rim over any lip and slide the tote without scraping the lid. Bulging lids, handles, and wheels add height.

    Measure the loaded tote. Flexible bins often grow after they are packed.

    Headroom depends on location

    A rack over a parked vehicle can sit lower than one crossing an active walking route, but access still matters. Check where a person stands while loading it. The lowest hardware should remain obvious and out of the natural path.

    Do not use one universal headroom claim. People, vehicles, and local conditions differ.

    Clearance worksheet

    MeasurementWhere to take it
    Ceiling heightAt every proposed mounting corner
    Lowest fixed obstructionBeam, light, opener, duct, or pipe
    Highest moving obstructionDoor panel, arm, hatch, or vehicle
    Rack thicknessOutside frame and deck
    Tote heightLoaded, including lid and handles
    Handling gapSpace needed to lift and slide

    When the margin is tight

    Change one variable at a time. A shallower tote may recover more space than changing the whole rack. A smaller rack may move into a clearer ceiling bay. If the rack must sit around the garage door, review the above-door guide.

    Do not modify hangers, tracks, or structural parts to rescue a poor fit unless the manufacturer specifically permits it.

    Check all four corners

    Ceilings and garage floors are rarely perfect. A platform that clears at the front left corner may sit closer to a track or vehicle at the rear. Record the limiting height for every support position and use the smallest number in the first calculation.

    If the rack permits different post settings, verify that the chosen combination is allowed. Do not use mismatched heights simply because the hardware can be bolted together that way.

    Make retrieval part of the drawing

    Draw the ladder or step platform on the floor plan. Add the person, open vehicle door, and tote being carried. If the only usable ladder spot puts you beneath the opener or forces a long sideways reach, the rack is in the wrong place.

    Repeat the test with the garage in its normal condition. An empty bay can make a poor location look generous.

    Useful products to compare

    Use these searches to compare current dimensions, ratings, manuals, and availability. Check the exact model before buying.

    Before you buy or install

    Download the current manual for the exact model. Confirm assembled and packaged dimensions, individual and total load ratings, required clearances, mounting structure, included hardware, warranty, and inspection instructions. Product listings and specifications can change.

    Mark the footprint or platform edges in the garage. Operate the vehicle doors and garage door, carry the intended bin through the access route, and check service panels and utilities. Do not improvise around electrical, gas, fire, or structural conditions.

    Frequently asked questions

    How much gap should be above a tote?

    Enough to lift the tote over the platform lip and slide it without forcing the lid. Test the real tote and follow the rack instructions.

    Can a rack hang over a car?

    It may, if every clearance and installation condition is satisfied. Keep retrieval practical and secure the stored items.

    Should I measure with the garage door open?

    Measure through the complete travel cycle. The highest conflict may occur while the door is moving, not when fully open.

    Last reviewed: July 2026. Verify current product specifications and installation requirements before purchase.

  • Overhead Garage Storage Buying Guide: Fit, Access, and Load

    Overhead Garage Storage Buying Guide: Fit, Access, and Load

    Affiliate disclosure: As an Amazon Associate I earn from qualifying purchases. This article may contain affiliate links, and Bay & Bench may earn a commission at no extra cost to you. Read our full Affiliate Disclosure.

    An overhead rack earns its space only when the garage door still moves freely, the totes fit, and you can load them without an awkward climb. Start with the room. Product size comes later.

    Quick answer

    Measure the lowest obstruction, trace the full garage door path, choose the tote height, and decide how you will reach the platform. Then compare rack size, drop range, mounting layout, and the manufacturer’s published ratings.

    Overhead Garage Storage Buying Guide: Fit, Access, and Load
    Planning example for overhead garage storage buying guide: fit, access, and load.

    Begin with the moving garage door

    The ceiling may look empty while the door is closed. That changes as the panels rise, curve through the tracks, and settle overhead. Measure the door at several points in its travel. Include tracks, springs, opener rail, emergency release, lighting, and any low beam.

    Use our overhead rack clearance calculator for the first geometry check. The result is a planning aid, so verify it against the current rack manual and the real moving door.

    Choose platform size by tote count

    A 2 by 4 foot rack is easier to place in a broken ceiling area and usually easier to access from one side. A 4 by 8 platform holds far more, but its center can be difficult to reach. Large platforms also demand a clean mounting layout.

    Place the actual totes on the floor inside a taped rectangle. If you cannot arrange them without stacking lids against one another, the ceiling will not fix the problem. Read our 2×4 vs 4×8 rack comparison before choosing.

    Treat the drop as working space

    Rack drop controls two things at once: the height available above the deck and the clearance below it. Adjustable posts can help fit a sloped ceiling or different tote heights, but extra adjustment holes do not make every setting compatible with the installation instructions.

    Leave room for fingers, lids, and the angle used to place a tote. A bin that matches the opening exactly will be unpleasant to load.

    Compare ratings without mixing them

    Do not treat the headline capacity as permission to fill every tote with dense hardware. Check whether the number is for the complete rack, one section, or an evenly distributed load. The ceiling structure and fasteners are separate limits.

    The weight capacity guide explains the rating chain. When the structure or mounting location is uncertain, ask a qualified professional rather than guessing.

    Access matters more than maximum volume

    Overhead storage is best for light seasonal objects: camping textiles, holiday decor, empty coolers, and rarely used sports gear. Dense tools and liquids are poor candidates. The retrieval route needs a stable ladder position that is not squeezed between a vehicle and a cabinet.

    Label the short face of every tote. Better yet, keep a simple phone inventory so you do not climb just to find out what is inside.

    A short buying checklist

    CheckWhat to record
    Ceiling geometryLowest obstruction and usable mounting zone
    Door movementClearance through the complete travel path
    PlatformOutside size, deck type, sections, edge lip
    DropAllowed adjustment range and installed height
    MountingRequired structure, spacing, hardware, instructions
    CapacityRack rating and distribution conditions

    Deck style affects daily use

    Wire decks make it easy to see a tote from below and keep the platform visually lighter. Closely spaced bars support more bin shapes than a coarse grid, but the manual still controls what may sit on the deck. Solid panels stop small objects from dropping through, though they can hide leaks and collect dust.

    Check the platform edge as well. A raised lip can help contain a bin, but it also increases the height needed to lift that bin onto the rack. Try the motion at floor level with a board representing the lip.

    Plan the first year, not a fantasy garage

    Write a short inventory before choosing capacity. Six holiday totes, two empty coolers, and camping bedding make a real plan. “Future storage” does not. Undefined capacity tends to fill with objects nobody wants to lift down.

    Photograph the loaded platform from below and keep the photo with the model number, manual, tote weights, and installation date. That record makes later changes easier to judge.

    Useful products to compare

    Use these searches to compare current dimensions, ratings, manuals, and availability. Check the exact model before buying.

    Before you buy or install

    Download the current manual for the exact model. Confirm assembled and packaged dimensions, individual and total load ratings, required clearances, mounting structure, included hardware, warranty, and inspection instructions. Product listings and specifications can change.

    Mark the footprint or platform edges in the garage. Operate the vehicle doors and garage door, carry the intended bin through the access route, and check service panels and utilities. Do not improvise around electrical, gas, fire, or structural conditions.

    Frequently asked questions

    Can a rack go above the garage door?

    Sometimes. The answer depends on the full door path, opener, tracks, rack drop, tote height, and the mounting instructions.

    Is a larger rack always better?

    No. A smaller rack may fit the structure and retrieval route better, and its center is easier to reach.

    What should go overhead?

    Light, stable, infrequently used items are the best candidates. Keep heavy, hazardous, or heat-sensitive products elsewhere.

    Last reviewed: July 2026. Verify current product specifications and installation requirements before purchase.

  • Best Garage Cabinets for Small Garages: A Fit-First Shortlist

    Best Garage Cabinets for Small Garages: A Fit-First Shortlist

    Affiliate disclosure: As an Amazon Associate I earn from qualifying purchases. This article may contain affiliate links, and Bay & Bench may earn a commission at no extra cost to you. Read our full Affiliate Disclosure.

    For a small garage, the best cabinet is usually shallow, tall, and specific to one storage zone. A matched full-wall set can look efficient but may consume the aisle and remove the flexibility a narrow room needs.

    Quick answer

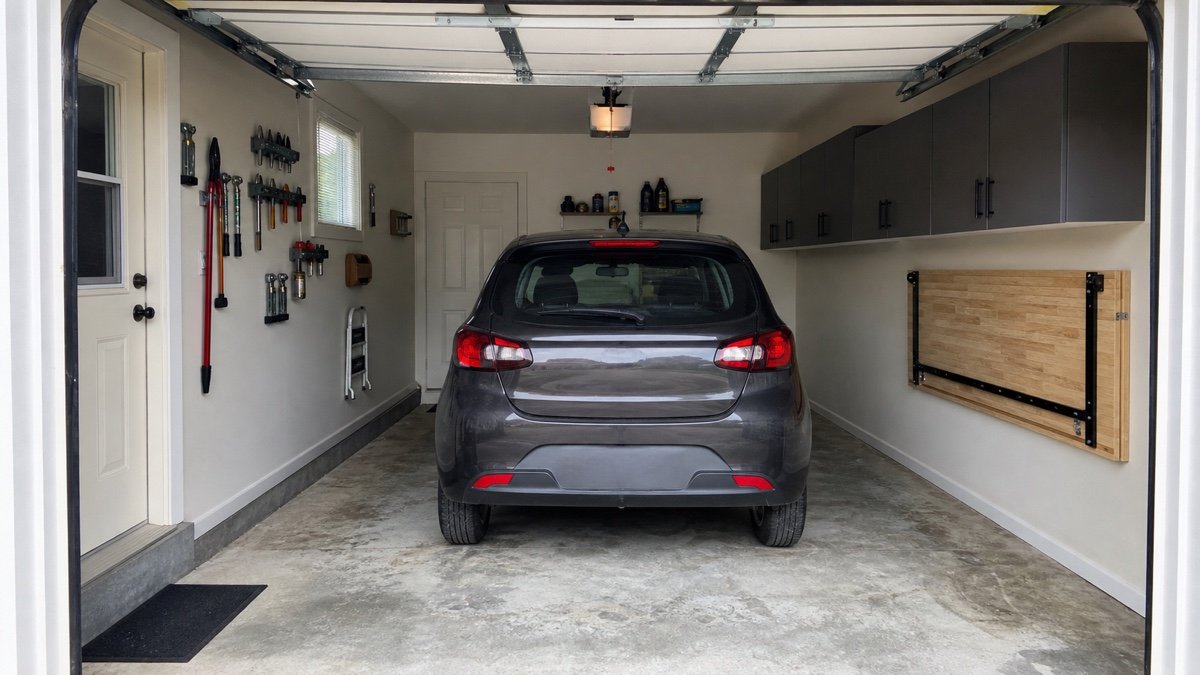
    Prioritize 12-inch wall cabinets, roughly 16–18-inch-deep lockers or bases, narrow tall units, and mobile storage that can leave the parking zone. Select exact products only after tape-testing car doors and walking paths.

    Useful products to compare

    These searches are a practical starting point for comparing current sizes, materials, load ratings, and availability.

    Our fit-first shortlist

    Cabinet formatBest small-garage useMain check
    Shallow wall cabinetChargers and light supplies over a benchReach and wall structure
    Narrow tall lockerMaximum volume on little wall widthTip restraint and door swing
    18-inch-deep lockerBins and tools beside parkingInternal tote fit
    Rolling drawer baseTools that move out for projectsCaster and drawer ratings
    Compact base cabinetFold-down or short work zoneFinished depth and aisle

    Why shallow often beats wide

    When the vehicle already consumes most floor area, cabinet depth affects every trip through the room. NewAge’s current Bold family illustrates shallow choices with up-to-18-inch lockers, 16-inch base cabinets and 12-inch wall cabinets. Those are useful reference points, but verify the exact model and internal dimensions.

    Use height without making storage unsafe

    A narrow tall locker can store far more than a low cabinet on the same wall width. Keep heavy items low, frequent items at comfortable reach, and light seasonal goods high. Do not stack loose objects on top where vibration or door movement can dislodge them.

    Doors and drawers are hidden space consumers

    A cabinet that fits when closed may block the car when open. In a narrow garage, compare double doors, single doors, sliding features where available, and drawer extension. Tape the complete operating envelope and test it with the actual car parked.

    Do not buy a complete set by default

    A full system may force you to accept the wrong mix. One tall cabinet, one wall cabinet and a mobile tool unit can outperform a long symmetrical run. Buy the zone that solves the greatest friction, then observe what remains on the floor.

    Candidate evaluation

    Shortlist products that publish assembled and internal dimensions, shelf ratings, installation instructions, package weight and warranty. Seville Classics currently offers multiple 18-inch-deep UltraHD formats; Suncast publishes reinforced resin options; NewAge publishes modular dimensions and ratings. Availability and exact specifications can change, so treat this as a specification framework rather than a permanent ranking.

    Start with the planning guide, confirm cabinet depth, and use the broader buying guide for final comparison.

    Before you order: the verification pass

    Put the exact model number—not merely the product-family name—at the top of your worksheet. Copy the assembled exterior dimensions, usable interior dimensions, individual shelf or drawer ratings, total cabinet weight, packaged dimensions, adjustable-foot range, and required clearances from the current manufacturer page and manual. Note which accessories are included and which appear only in styled photographs.

    Then return to the garage with painter’s tape. Mark the cabinet case, handles, open doors or extended drawers, and the path needed to load the largest object. Park the vehicle in its normal position and test every door, hatch, step, switch and service panel. Photograph the mock-up from the driver’s seat, house entry and driveway. If a critical measurement is unpublished, ask the manufacturer before placing the order.

    Finally, calculate total delivered cost: cabinet, worktop, shelves, drawer liners, casters or feet, mounting rails, appropriate fasteners, delivery surcharge, assembly help and sales tax. A lower sticker price can become the more expensive installation when essential components are optional.

    Installation-day checklist

    • Inspect packages for damage before assembly and keep model labels and receipts.
    • Read the complete manual before lifting or fastening anything.
    • Confirm the floor is stable and the planned attachment locations are suitable.
    • Use a second capable person whenever the manual or cabinet size calls for one.
    • Level and square the case before aligning doors and loading shelves.
    • Install wall mounting or tip restraints exactly as instructed.
    • Load heavy objects low and distribute weight within every shelf and drawer rating.
    • Recheck fasteners, leveling and door alignment after the cabinet has been loaded.

    Do not improvise around electrical, gas, plumbing, fire-safety or structural conditions. When the required attachment or clearance is uncertain, pause and consult a qualified professional.

    Common mistakes to avoid

    Most disappointing installations trace back to one of five mistakes: measuring only the empty wall; treating total capacity as a per-shelf rating; forgetting doors, drawers and vehicle movement; selecting depth from a catalog image; or filling every wall without reserving adaptable space. A slower specification check is cheaper than returning a pallet-sized cabinet.

    Frequently asked questions

    What cabinet depth is best for a one-car garage?

    Often 18 inches or less, but the correct answer comes from the vehicle-door and aisle mock-up plus the objects you need to store.

    Are wall cabinets enough for a small garage?

    They are excellent for light supplies, but bulky or heavy objects usually need a stable floor-level solution.

    Should I put cabinets on both side walls?

    Only if the measured vehicle and walking envelope remains comfortable. Many narrow garages work better with one primary storage wall.

    Last reviewed: July 2026. Product specifications can change; check the manufacturer’s current documentation before purchase.